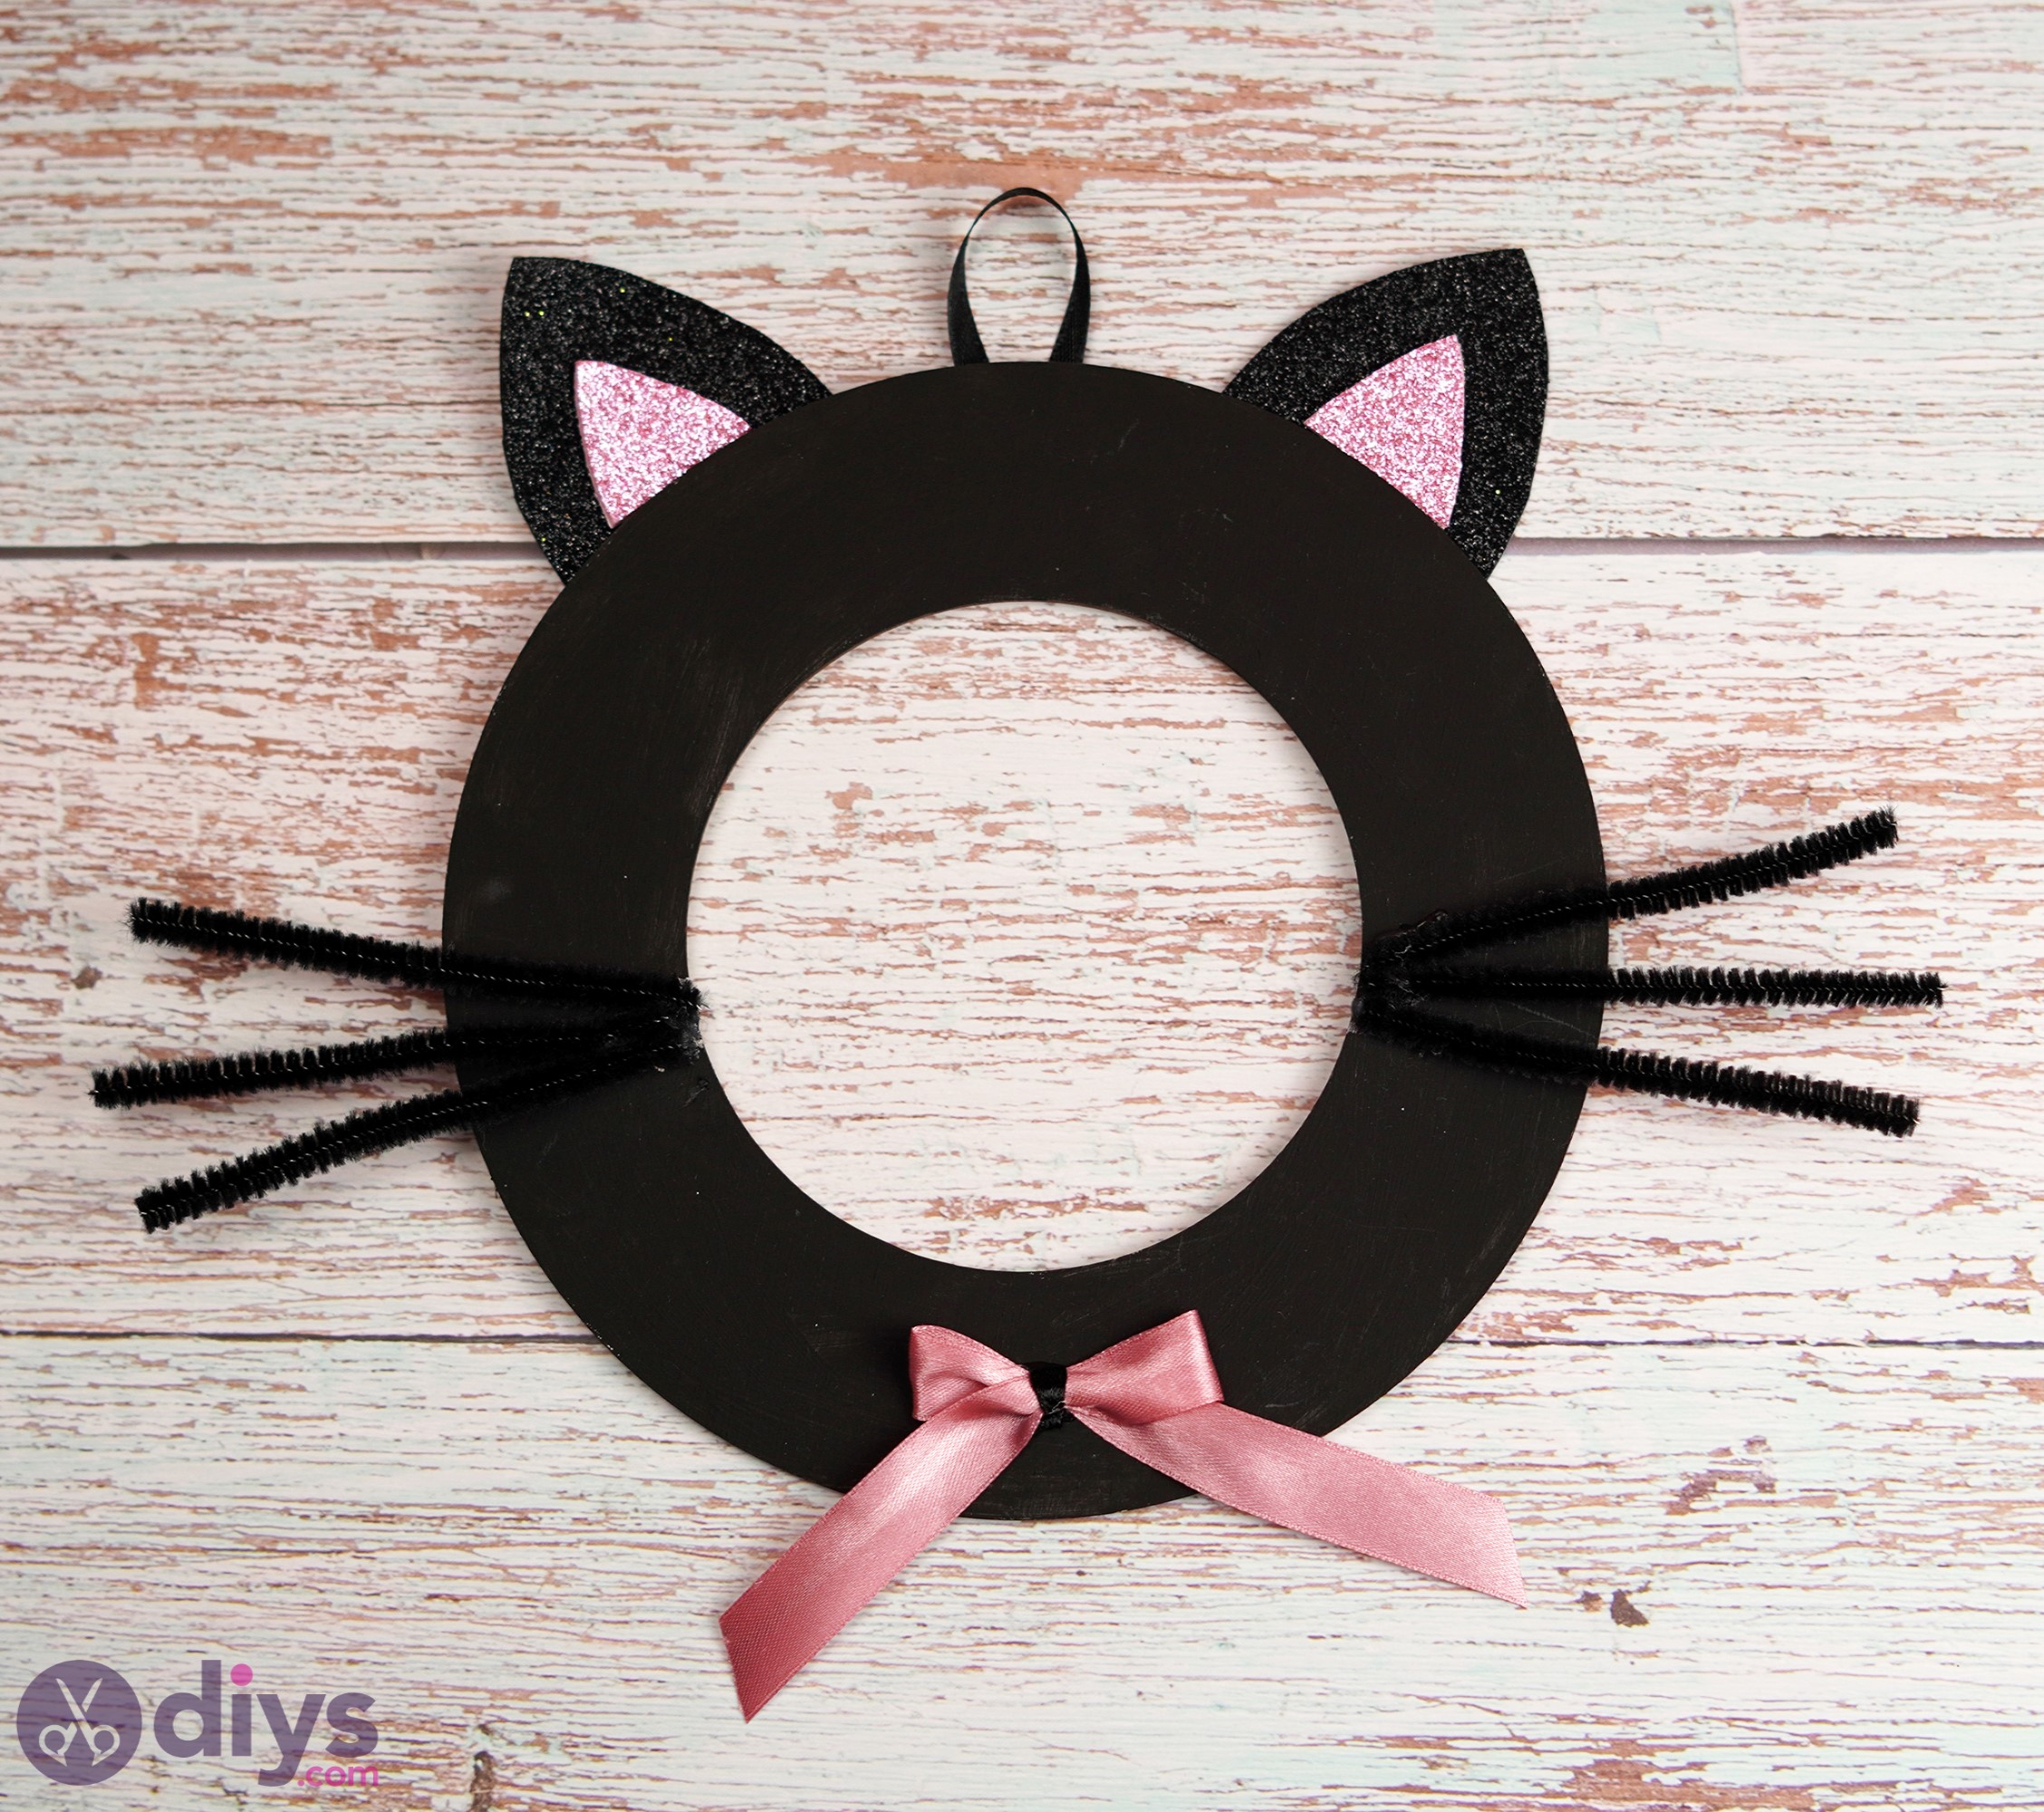
DIY Halloween Cat - Make Your Own Halloween Black Cat Wall Decor
If y'all're looking forward to Halloween, know that nosotros're just every bit excited. Nosotros know autumn is barely here, but information technology's never also early to get started with preparations, especially if you're making your own decor pieces.
A really cool matter about this particular projection is that yous tin definitely make this with your kids by your side and there are steps you can enquire them to complete on their own. Of course, the age will matter quite a flake here, but that'south for y'all to make up one's mind.
Making Your Own Halloween Cat
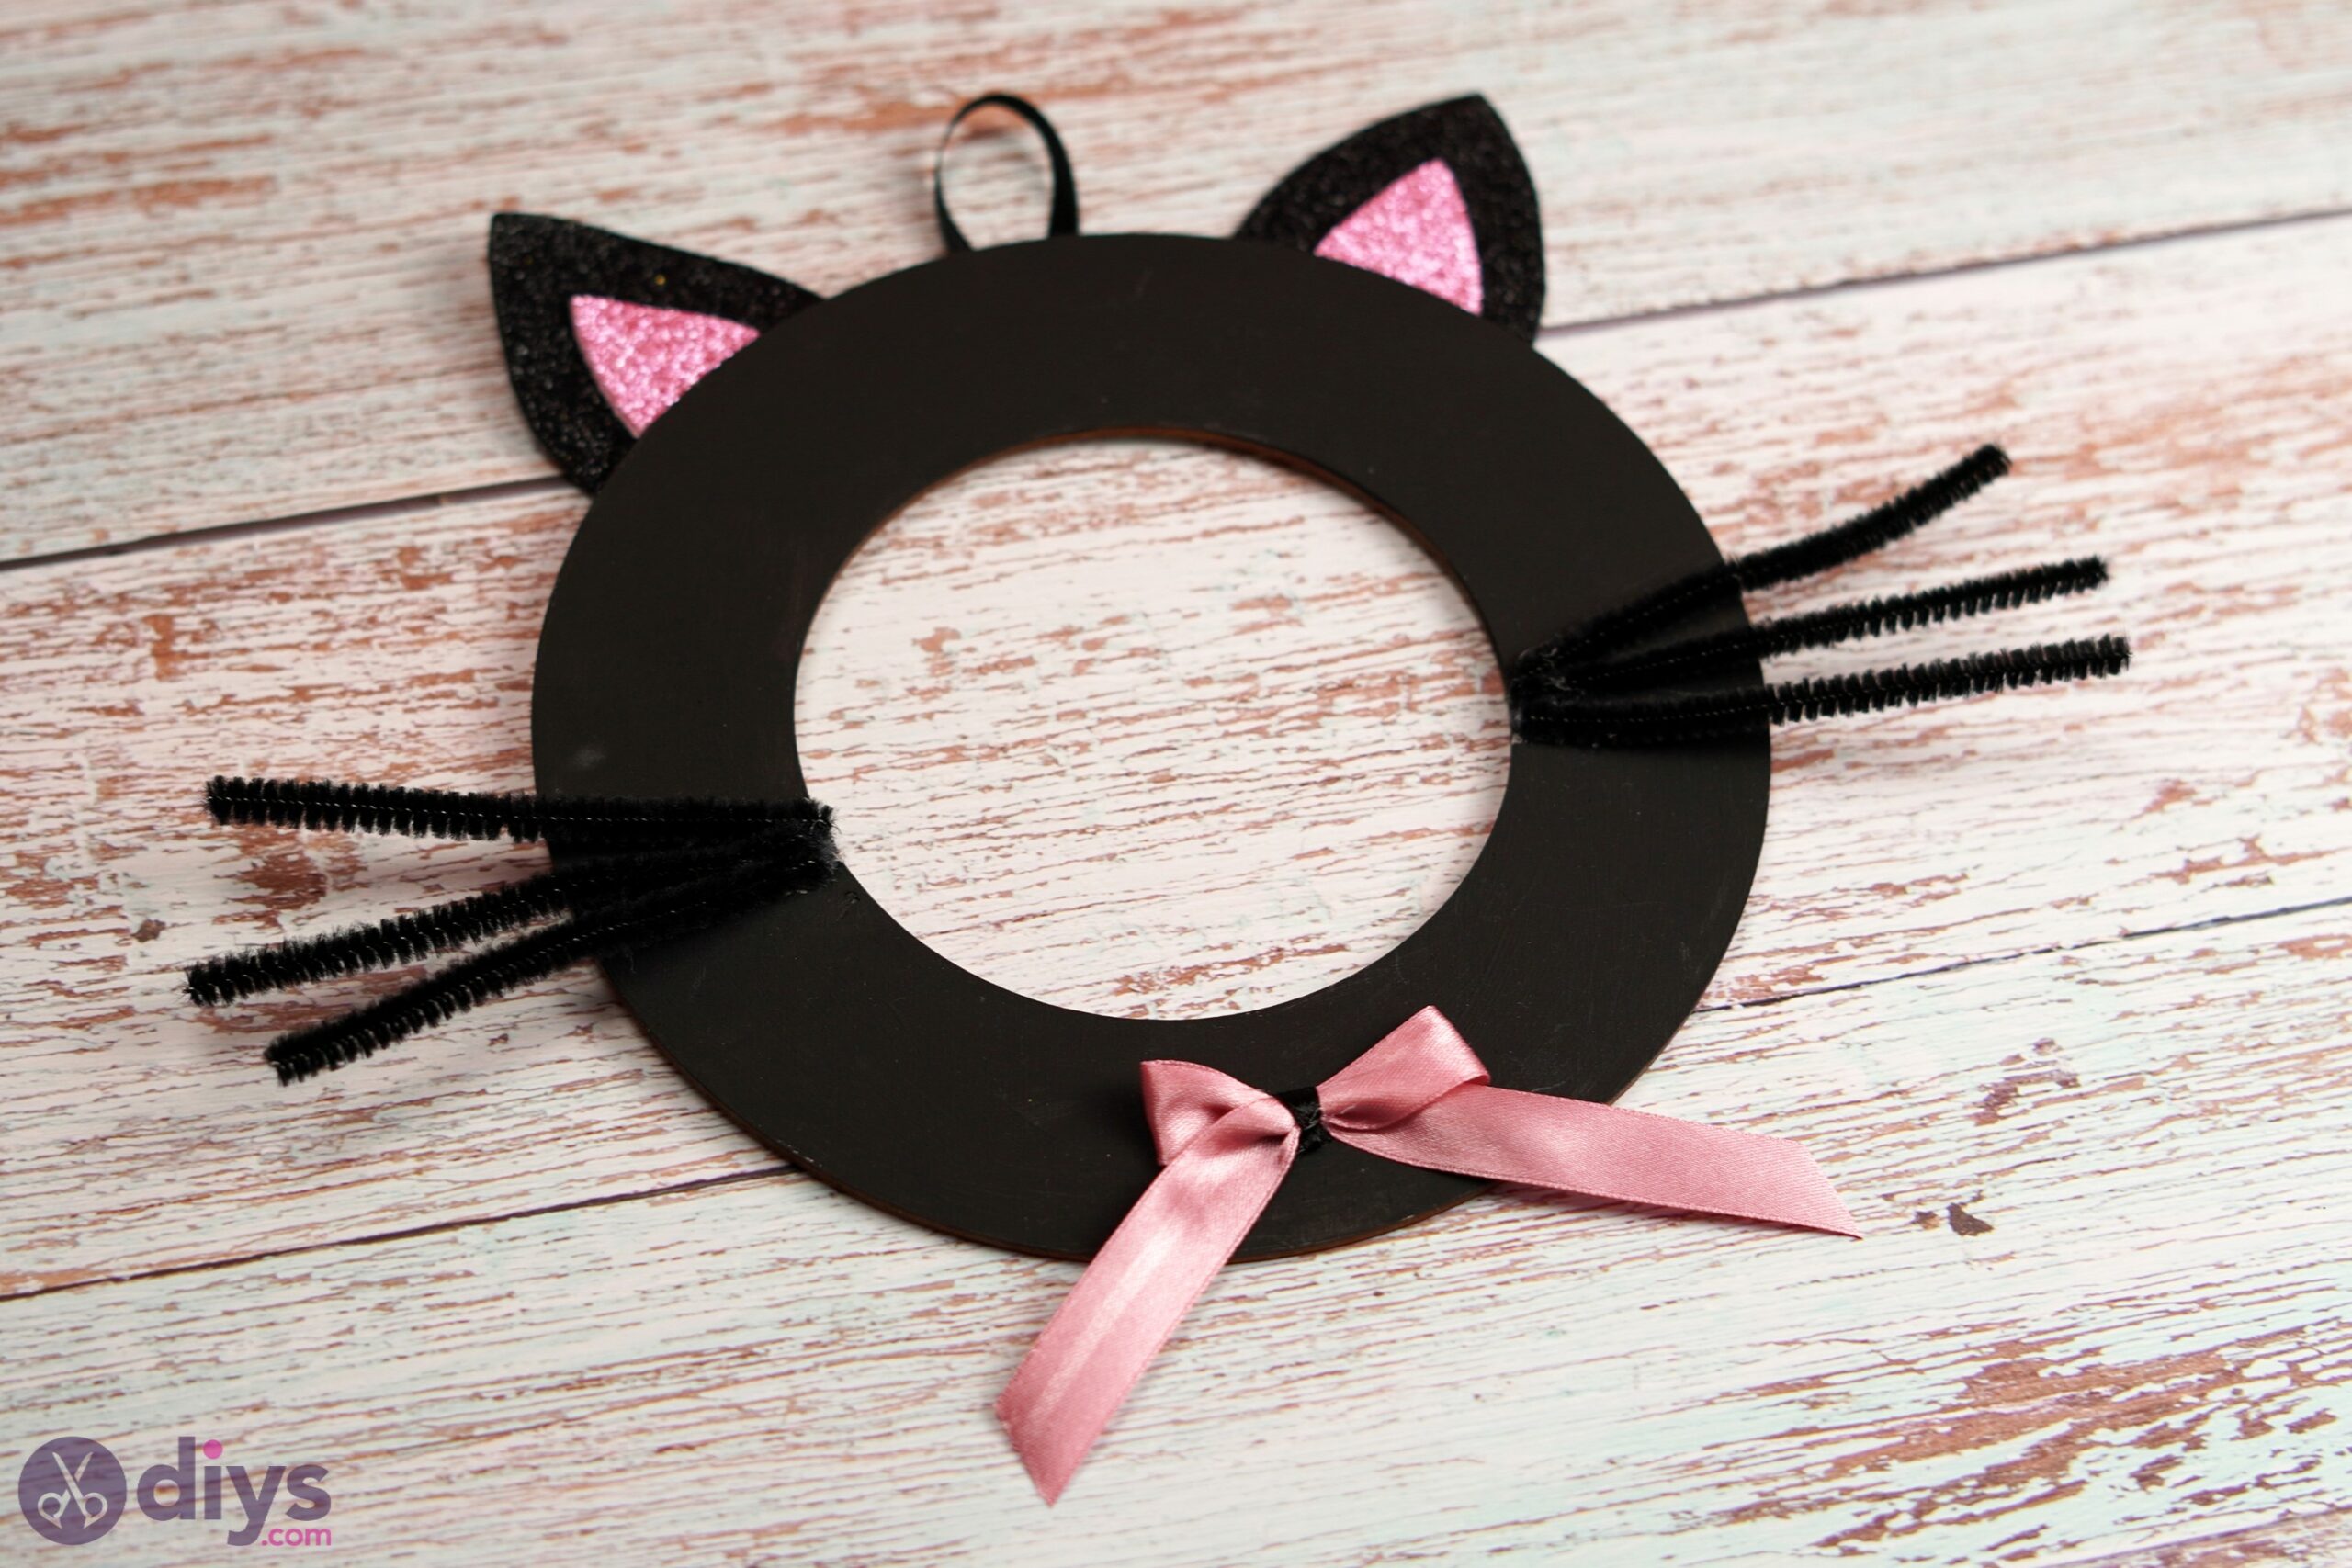
When you set nearly making your own super beautiful Halloween cat, you accept to make sure you have the space to display this masterpiece. It's all-time if it goes up a wall, simply if that'due south not feasible for you, you can just lean it on one instead.
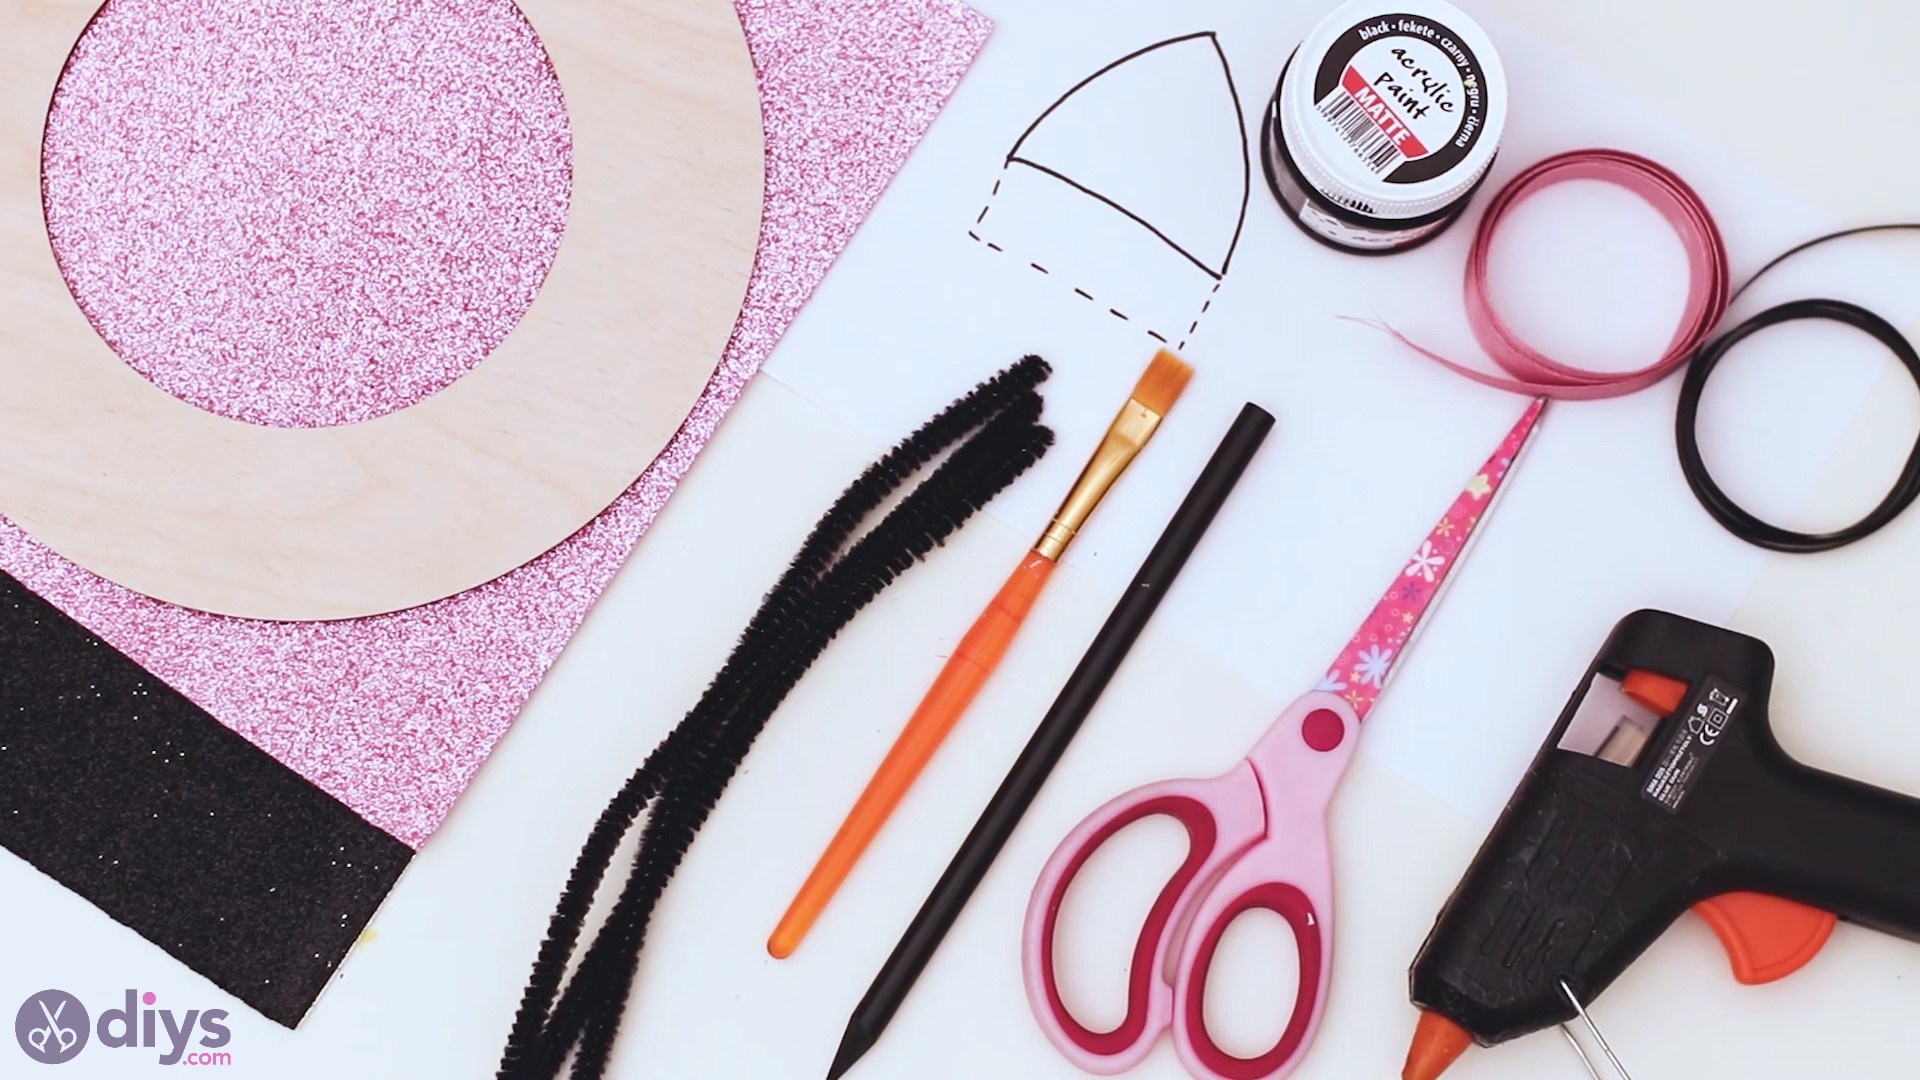
Materials for Halloween Cat Wall Decor
In lodge to make your own Halloween true cat decor, you're going to need a few materials, but nothing you tin can't go from your regular arts and crafts shop or the arts & crafts aisle at the super marketplace.
- Glue gun
- Scissors
- Pencil
- Paintbrush
- Pipe cleaner
- Round woods lath
- Black glittered foam paper canvass
- Pinkish glittered foam paper sheet
- Blackness and pinkish silk ribbon
- Back acrylic pigment
As you can see, there aren't many things on the list, so it shouldn't be likewise difficult to become your easily on them.
How to Make a Halloween Cat?
First off, earlier you start making your very own super beautiful Halloween true cat, delight double-cheque that yous have all the materials on hand and so you don't take to get up and find something or some other that you forgot.
Step one: Pigment the Blackness Halloween Cat
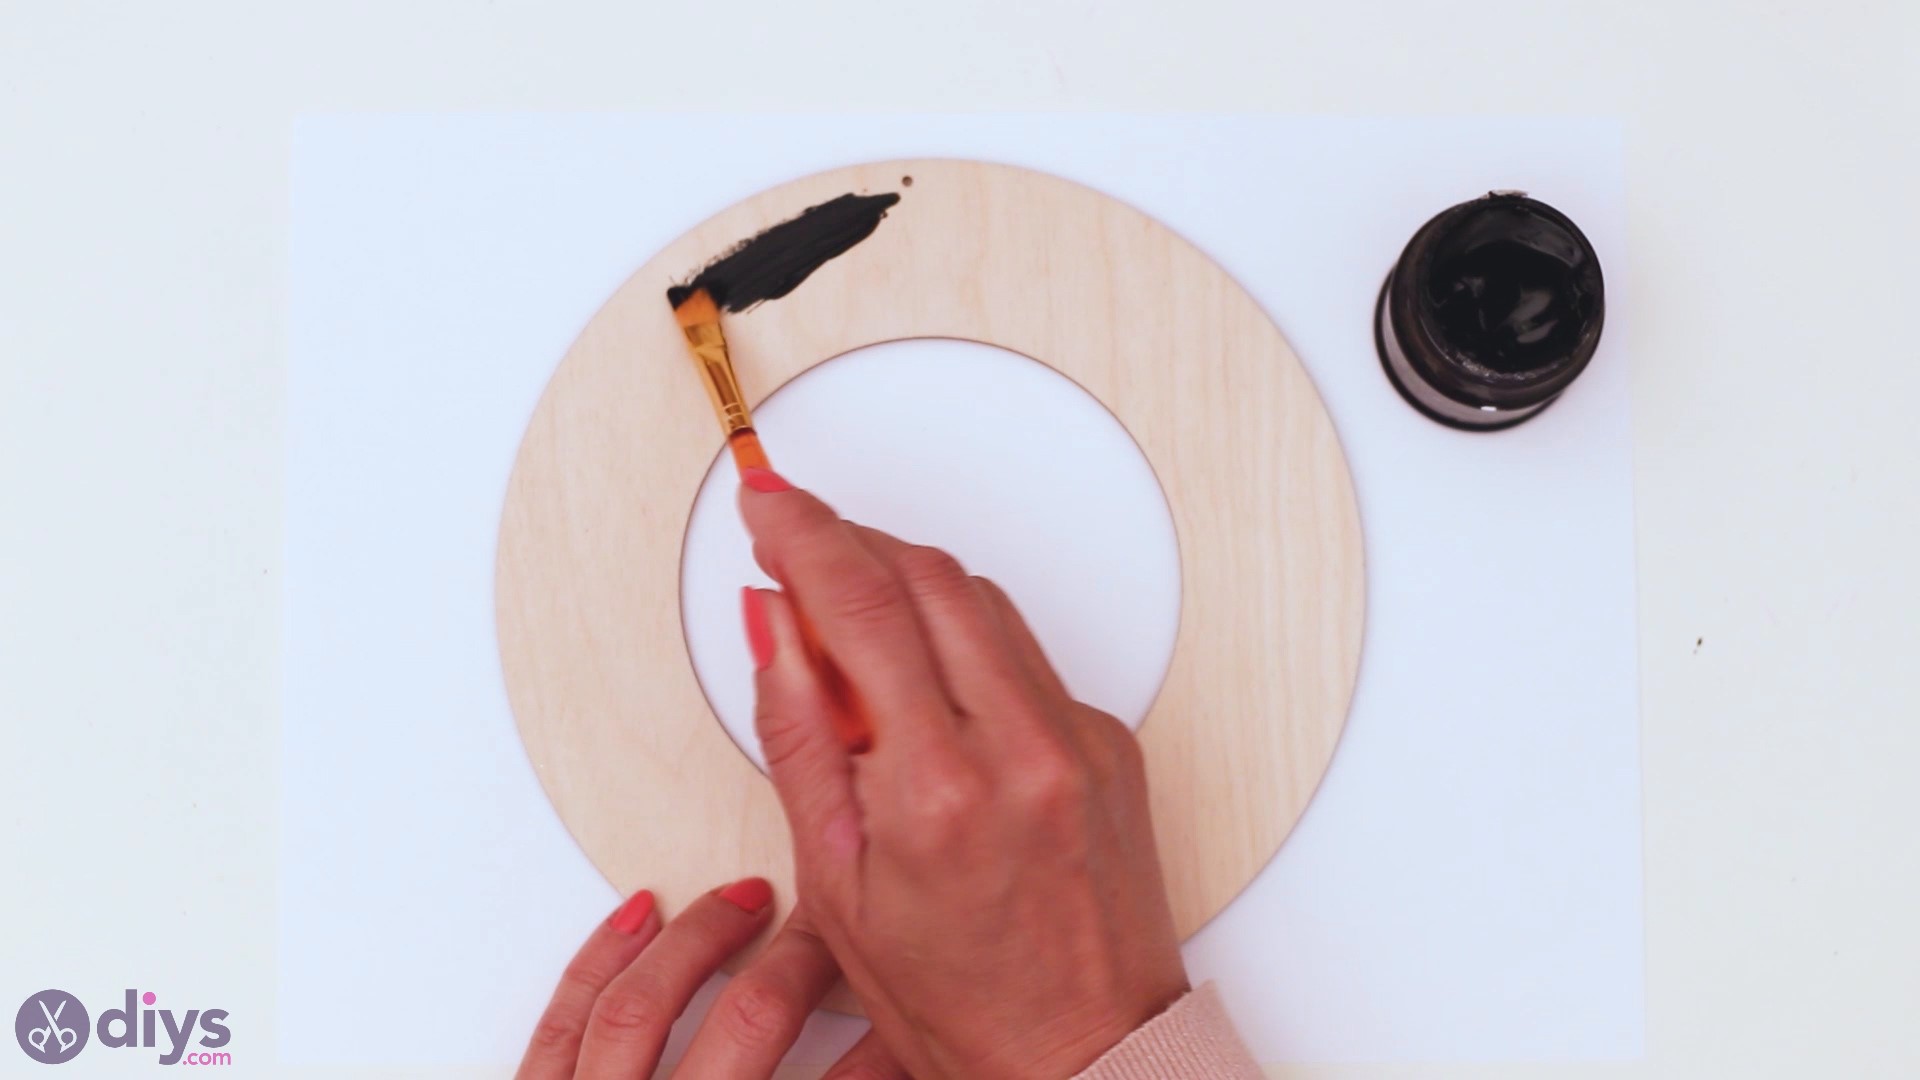
The outset thing we're going to do is to pigment the wood board. And then, pick upwards the round woods lath, the paintbrush and your black acrylic paint. Nosotros're using a apartment brush here, as it can help with a faster coverage.
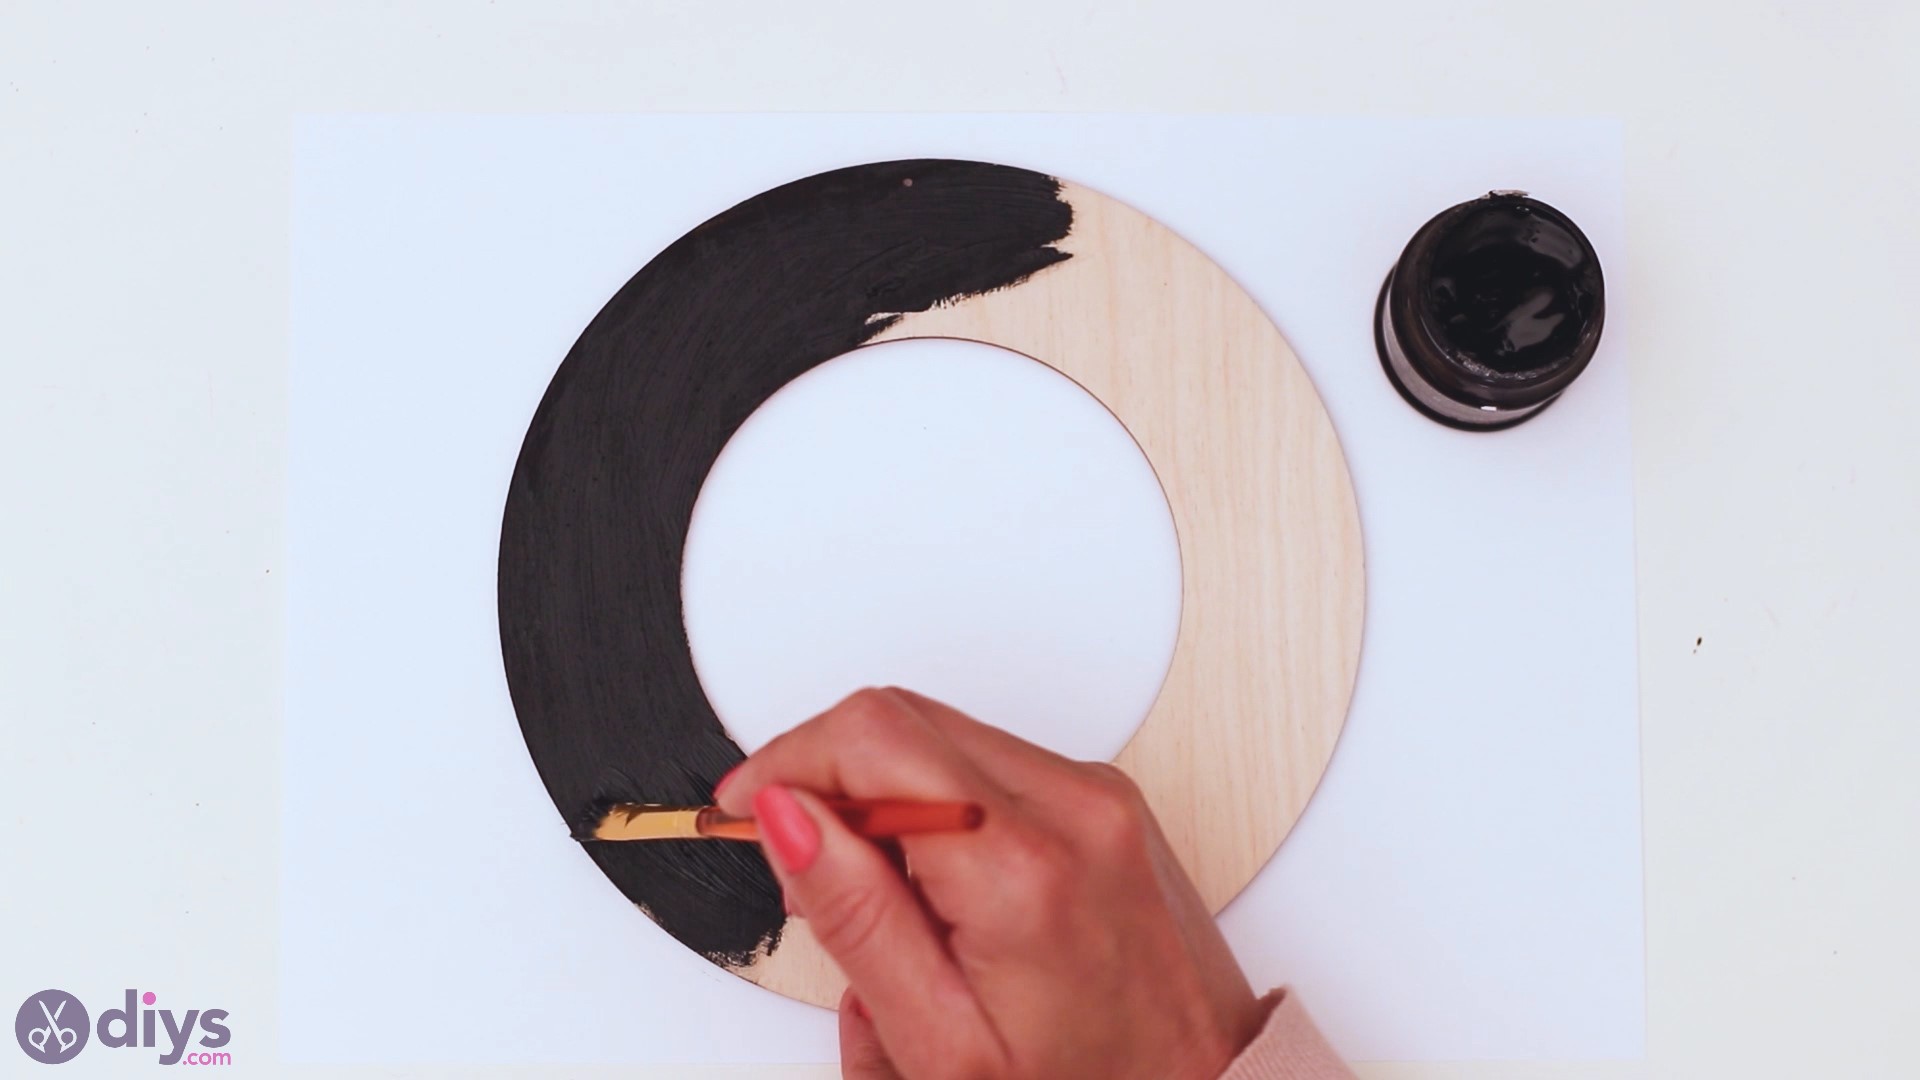
Make certain you cover all areas and that the colour is thick enough that the wood is no longer visible.
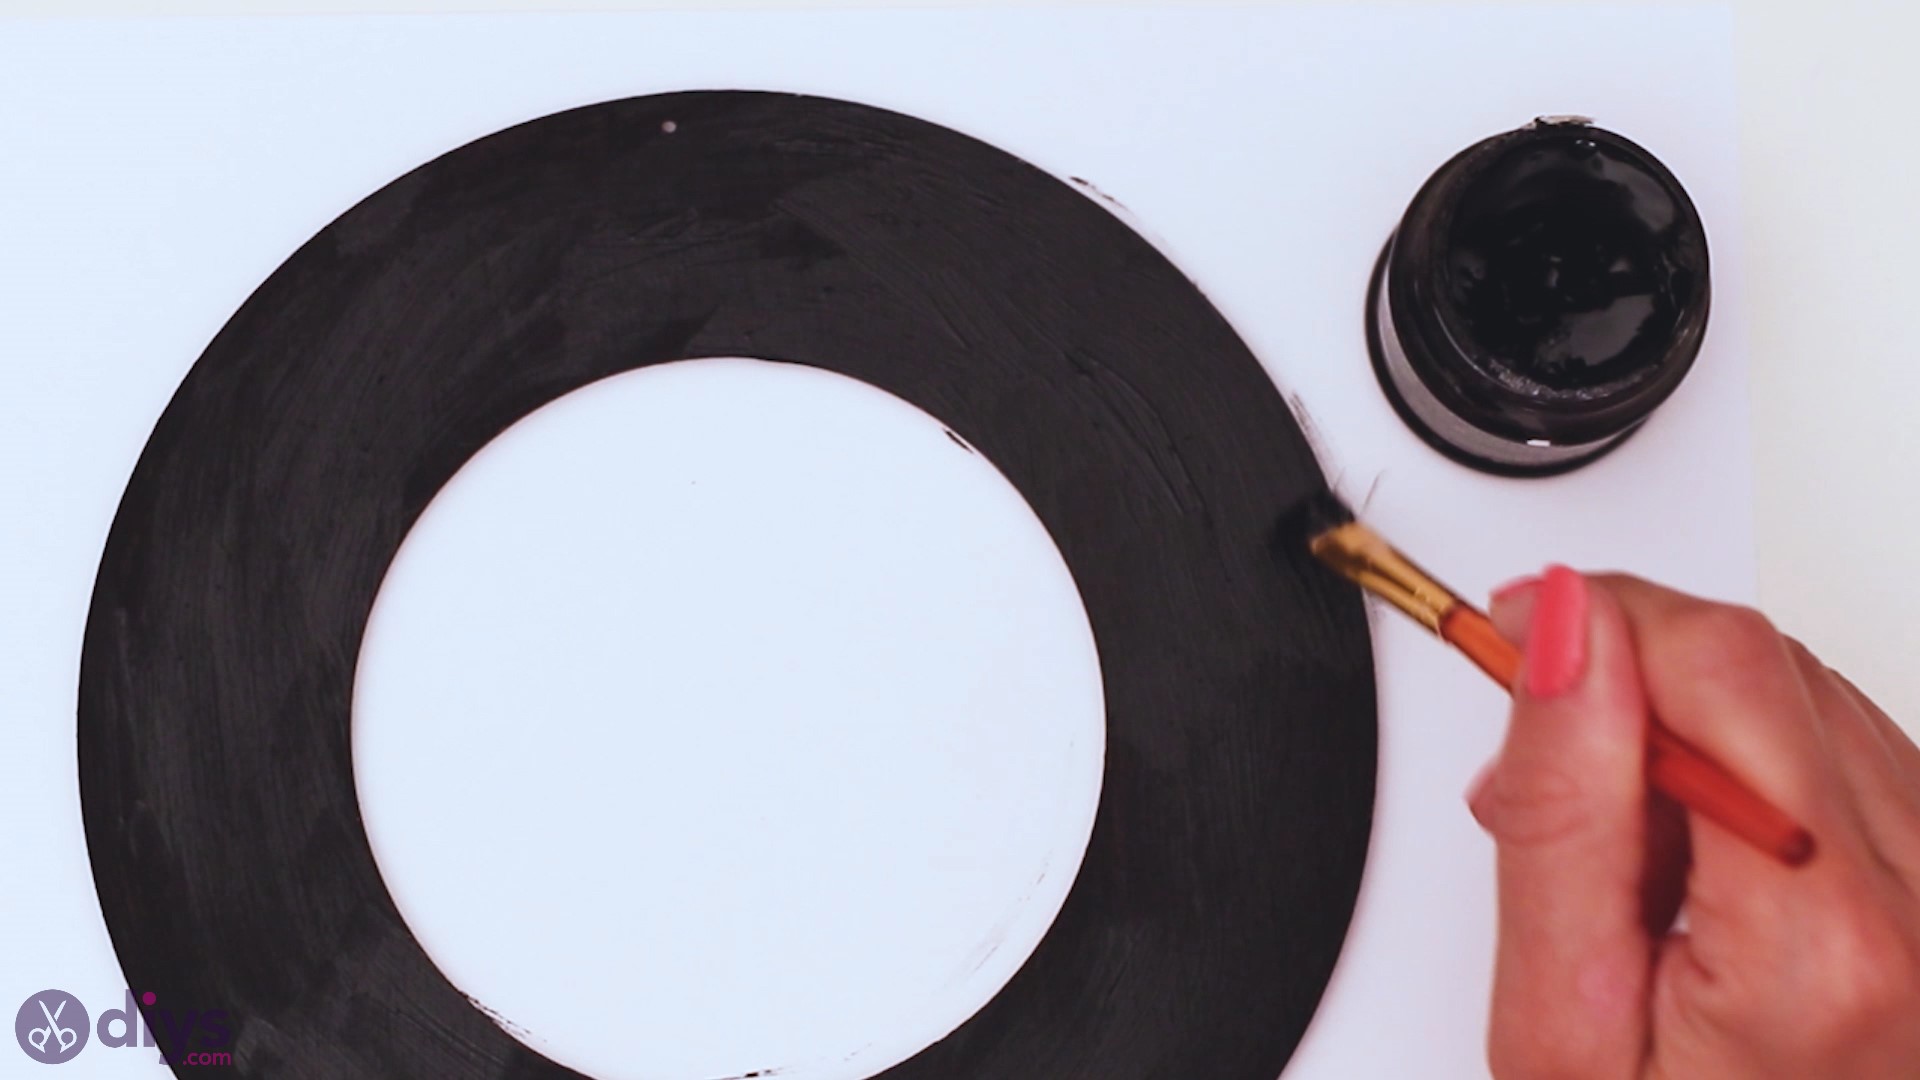
Since this is acrylic paint we're using, the drying procedure is going to be fairly quick, so it should be done soon.
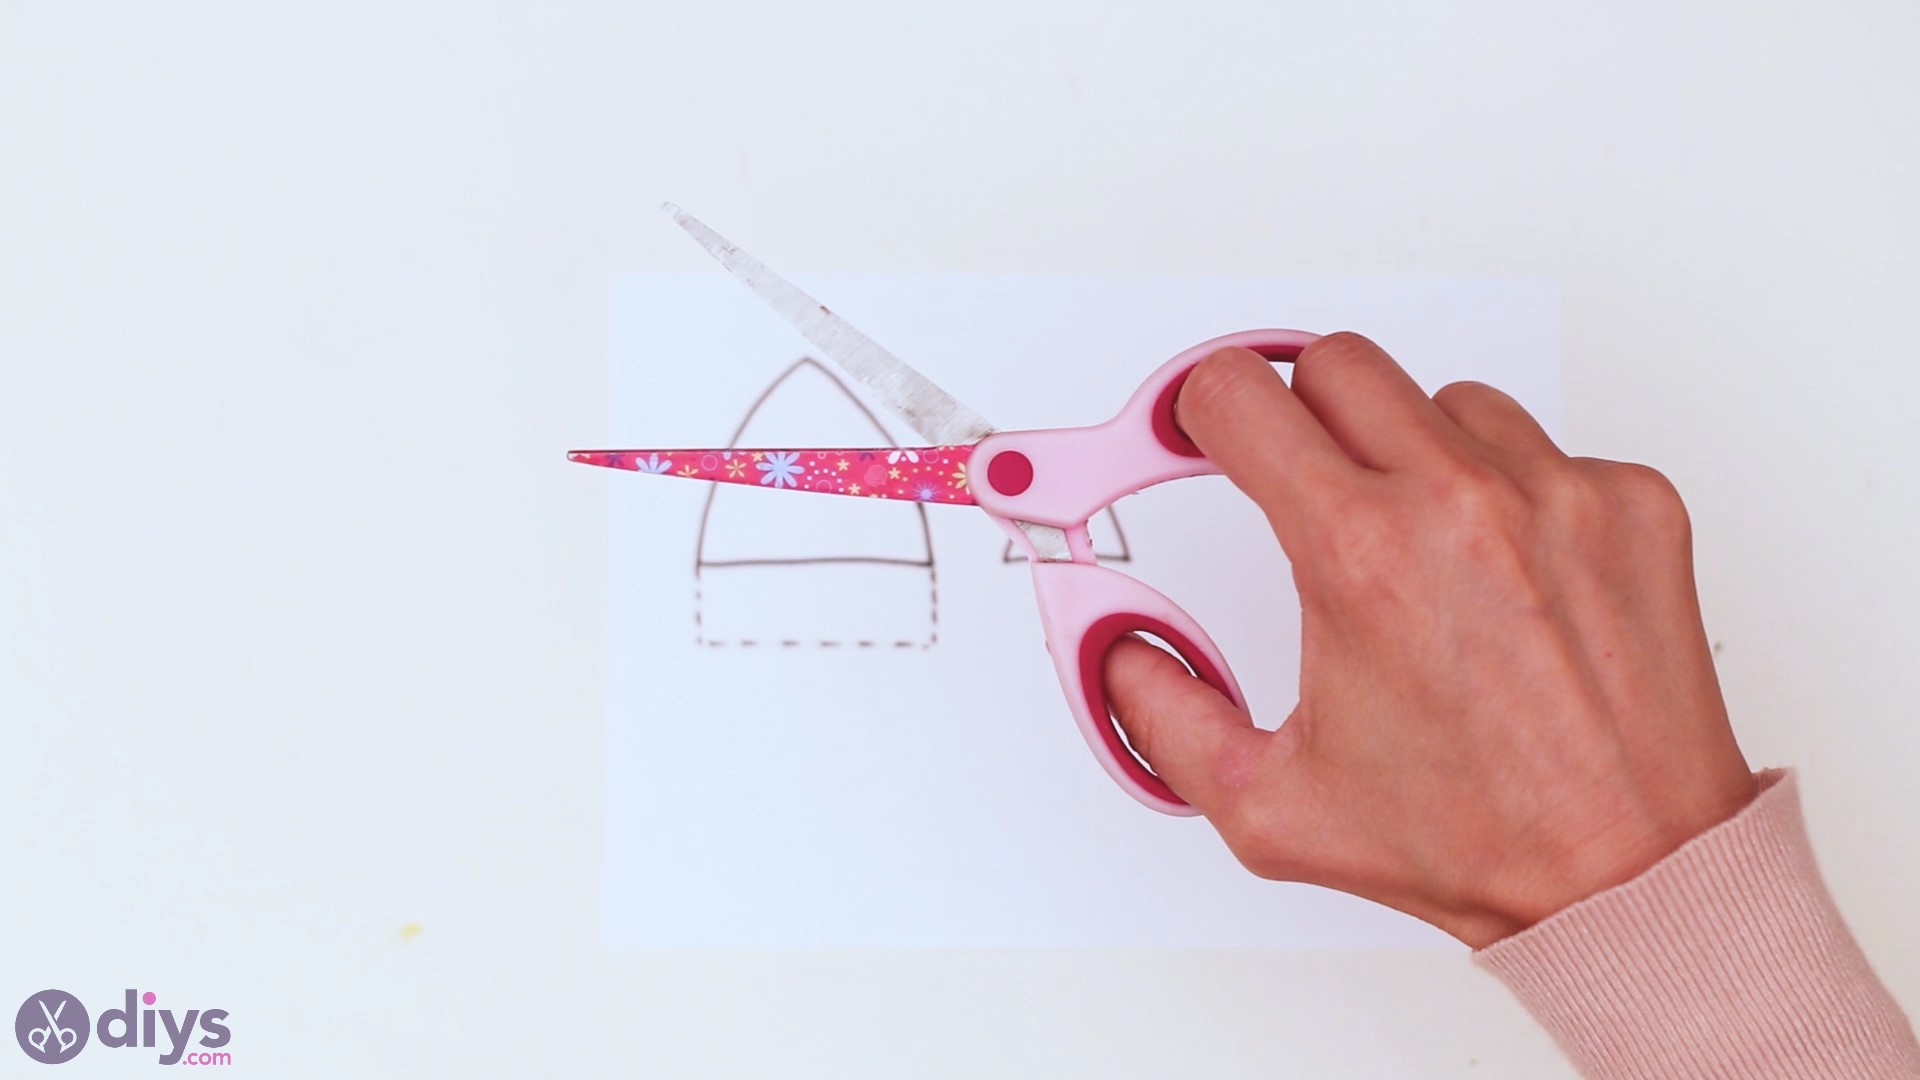
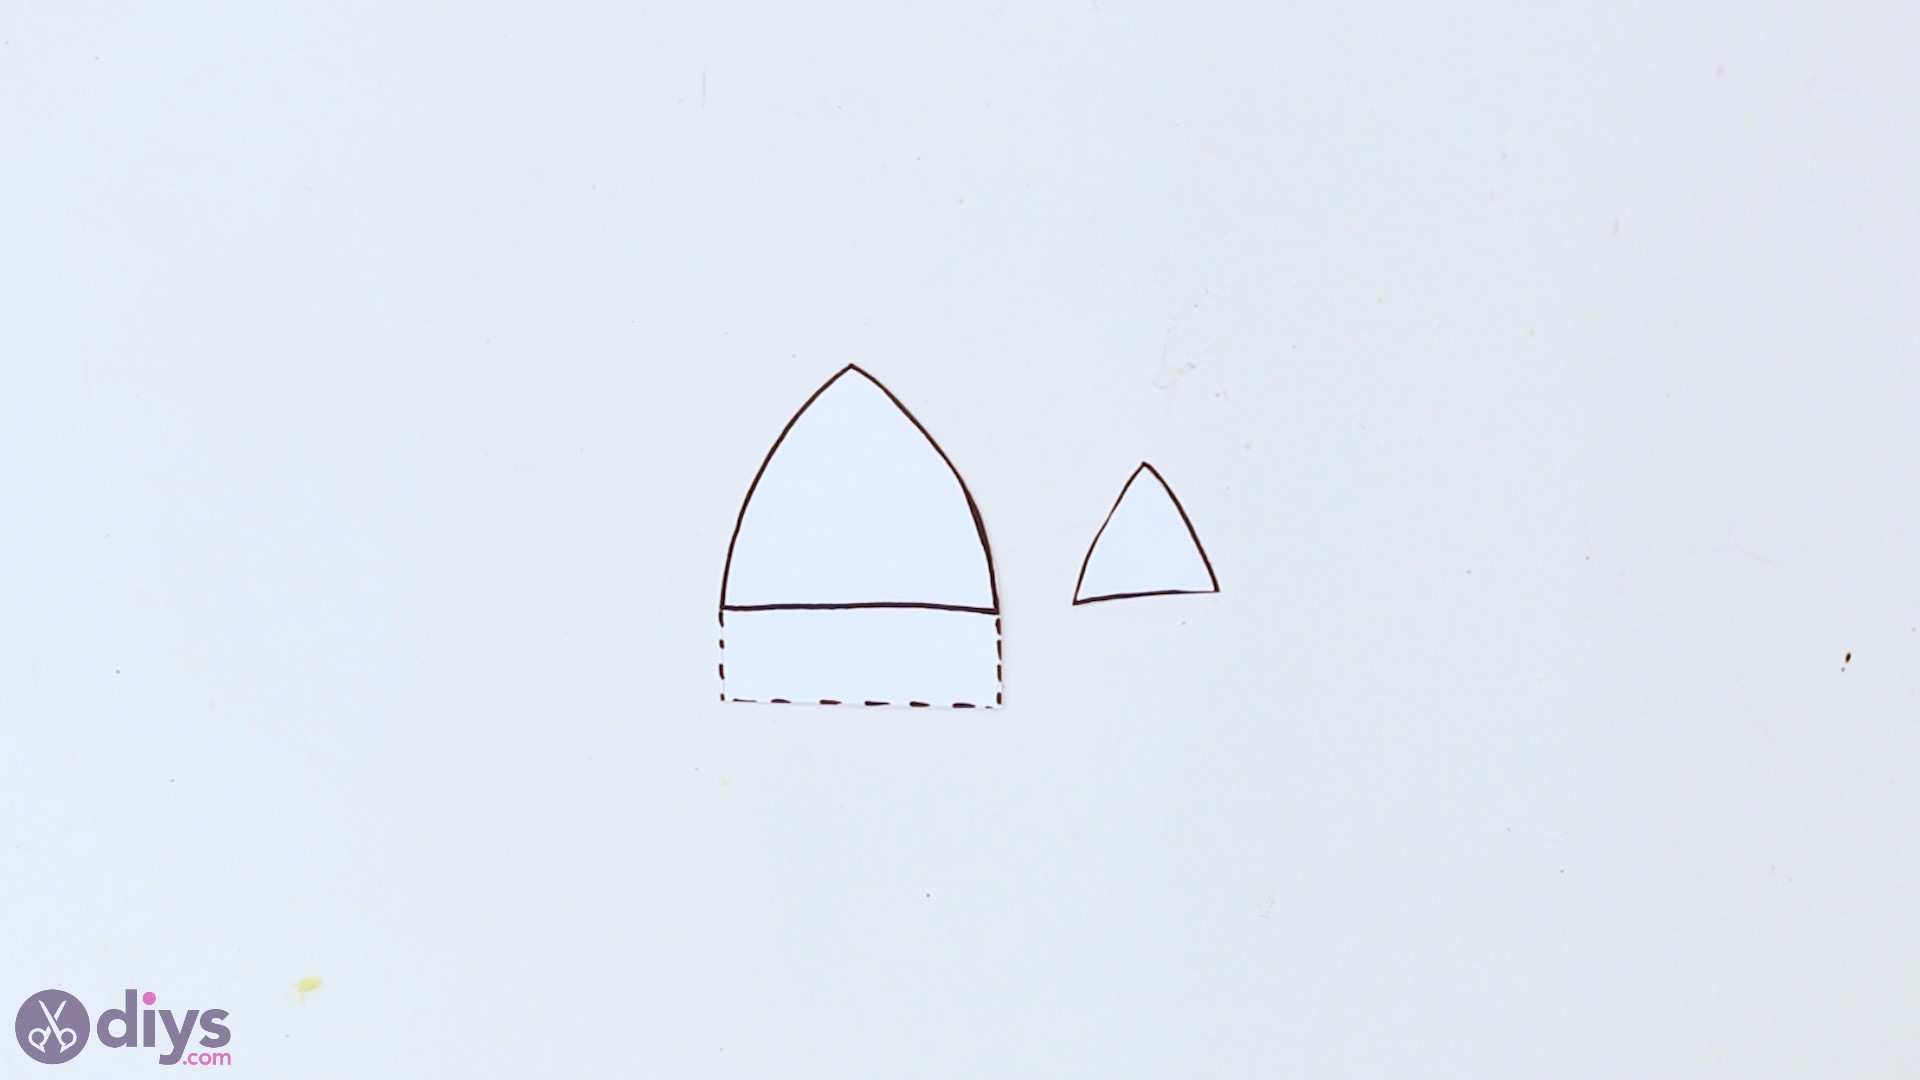
Step 2: Brand Some Cat Ears for the Halloween Cat
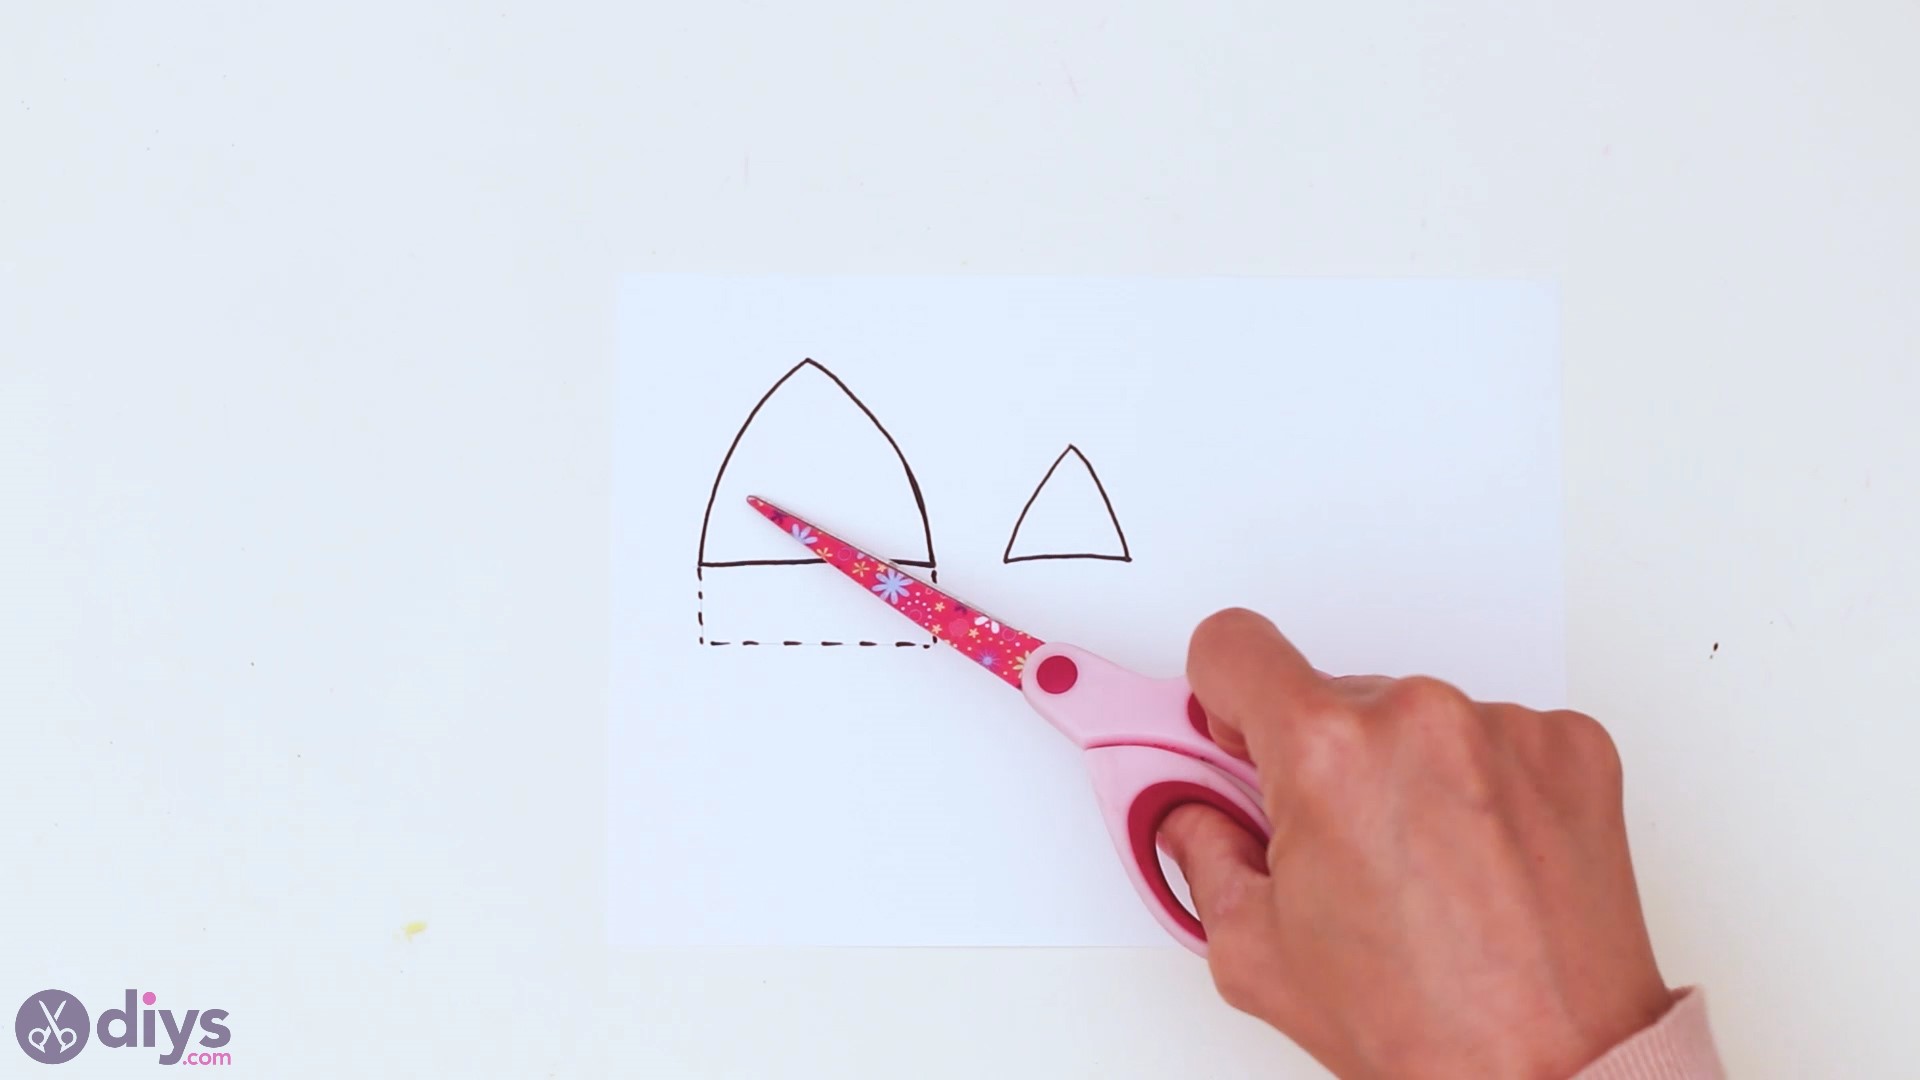
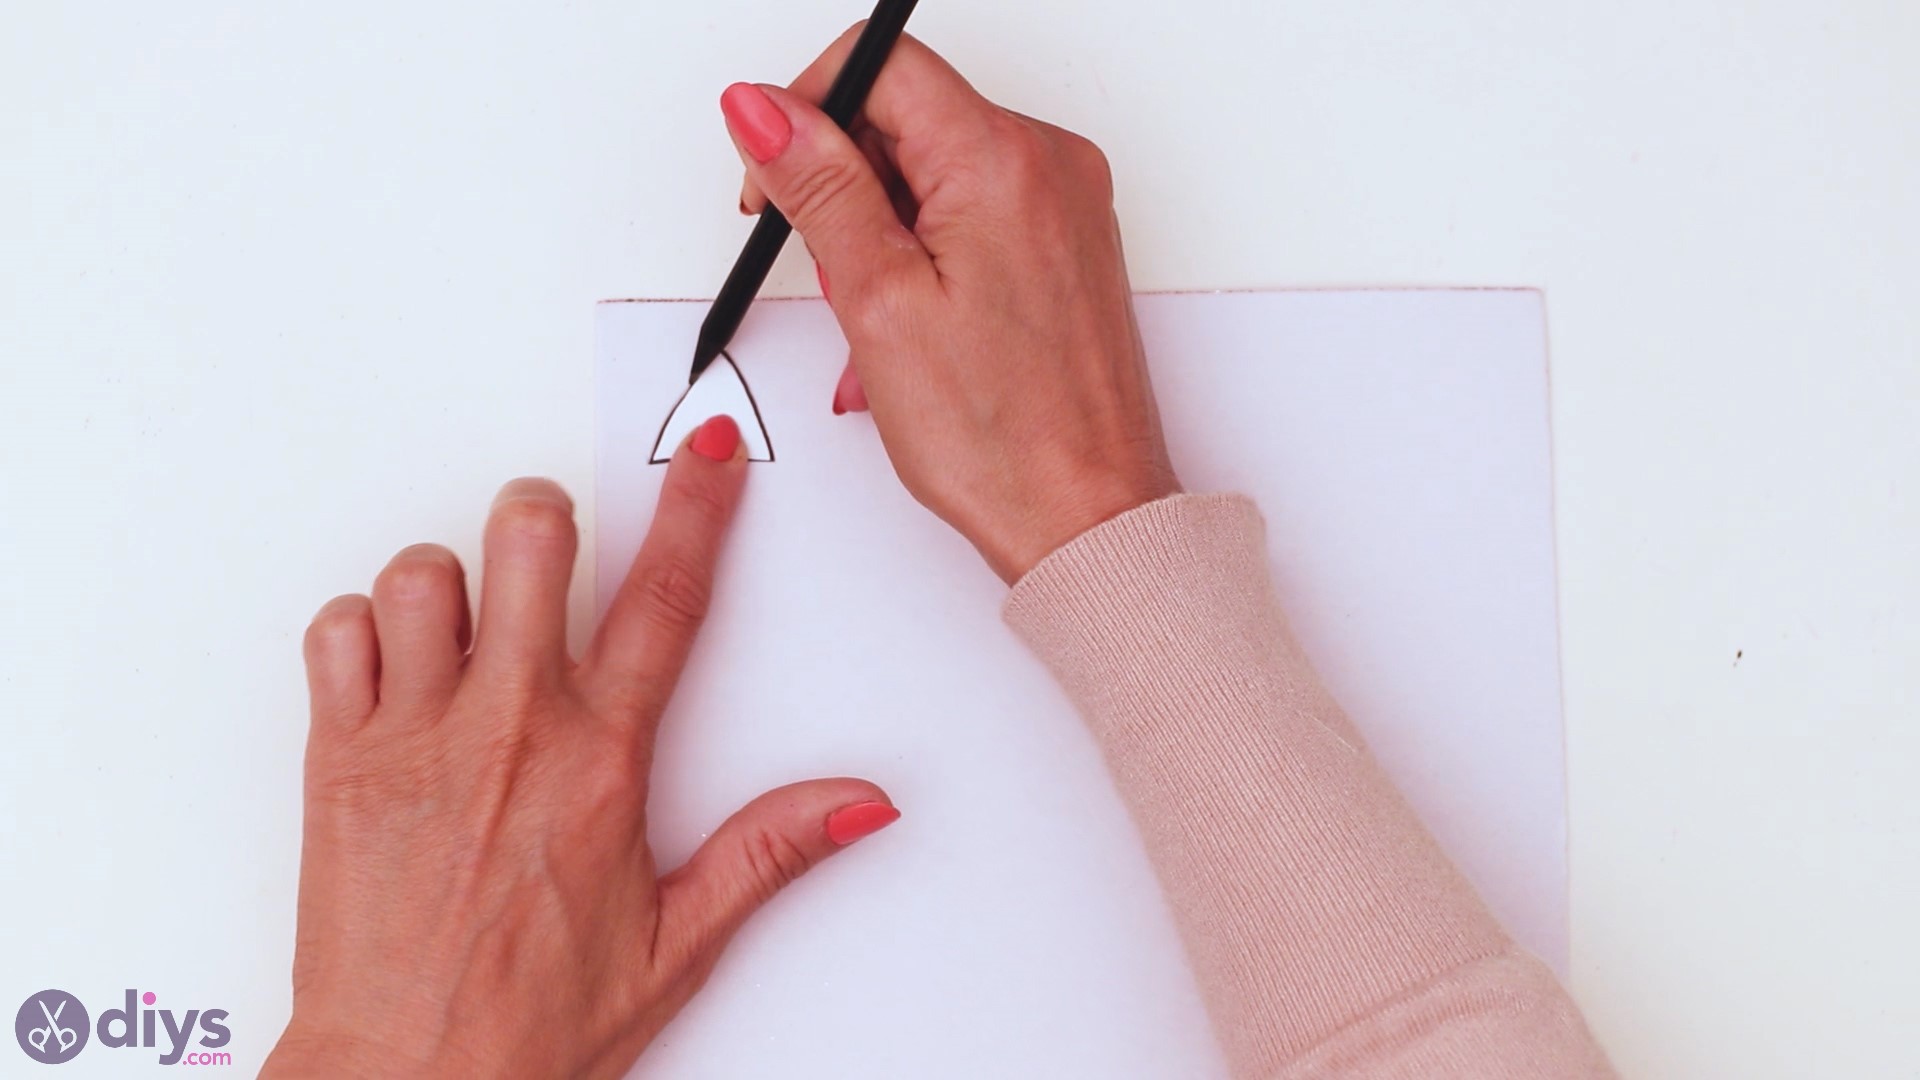
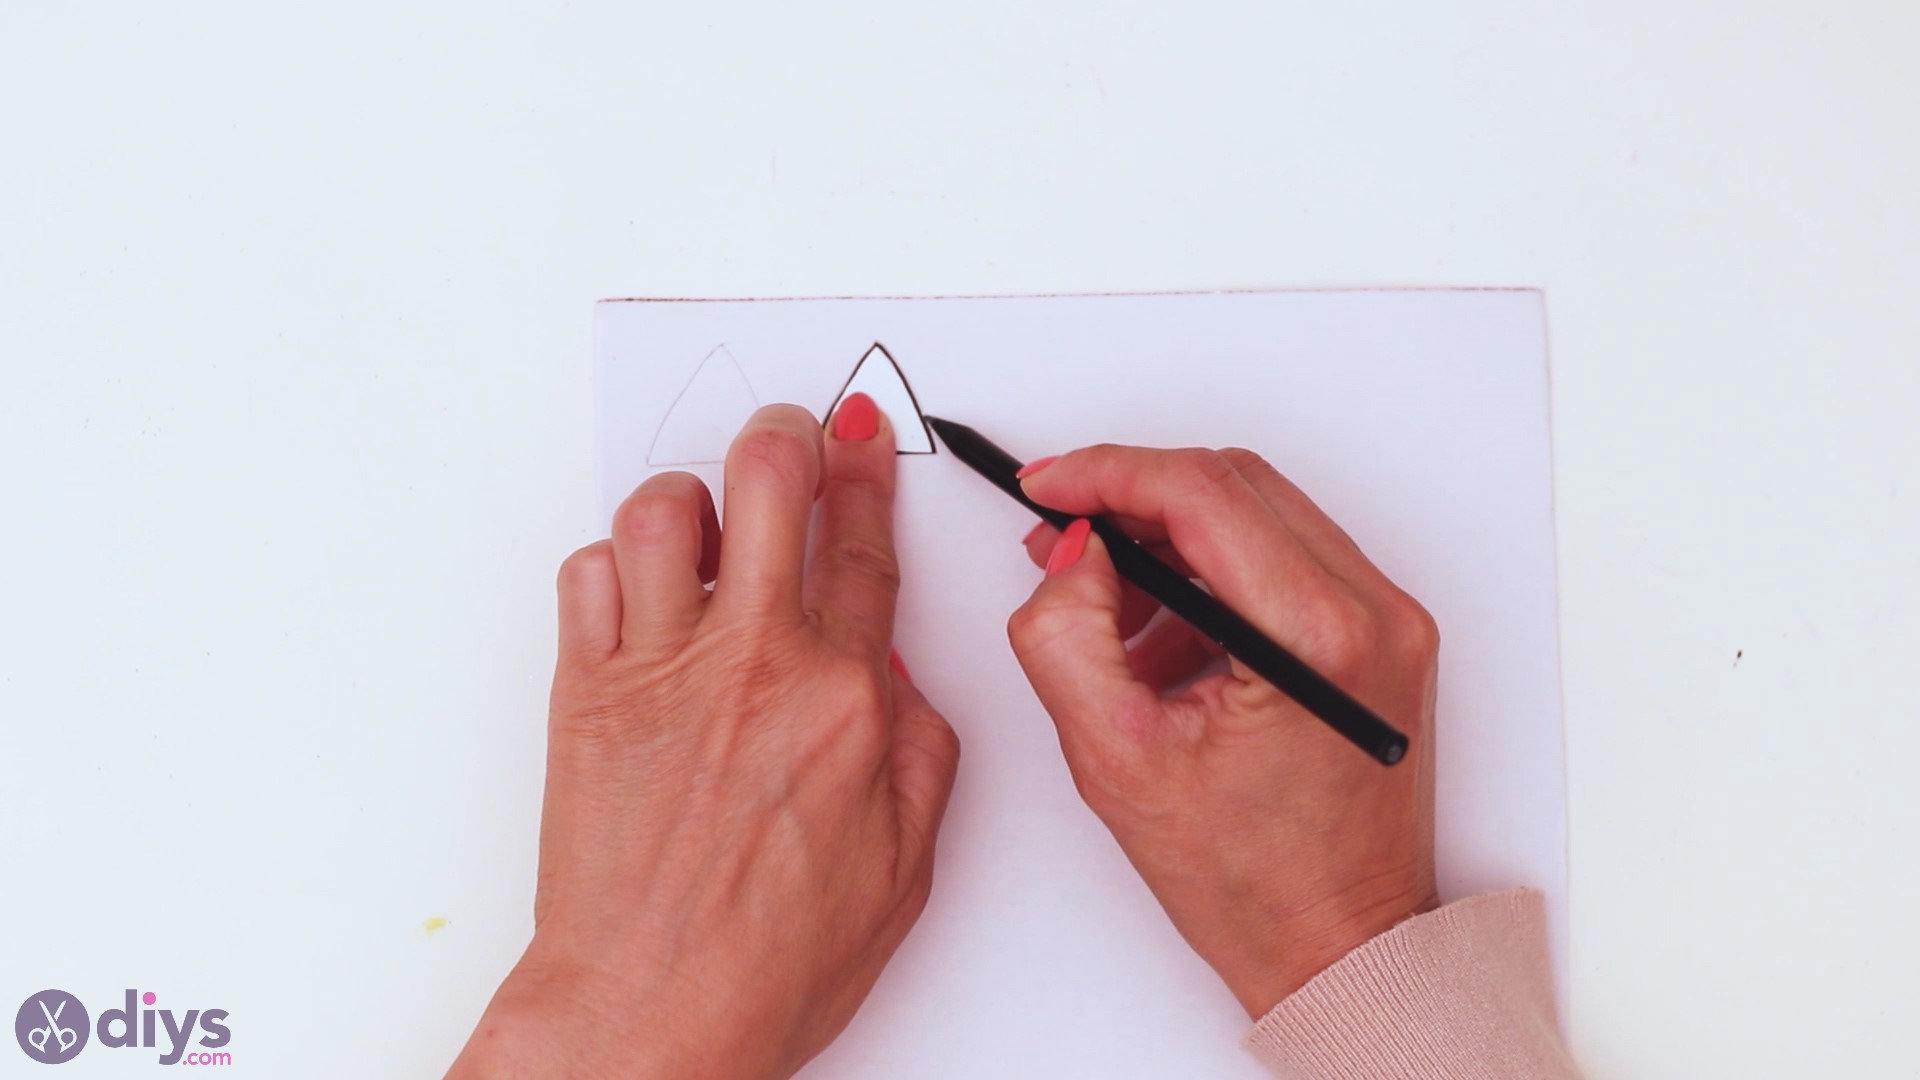
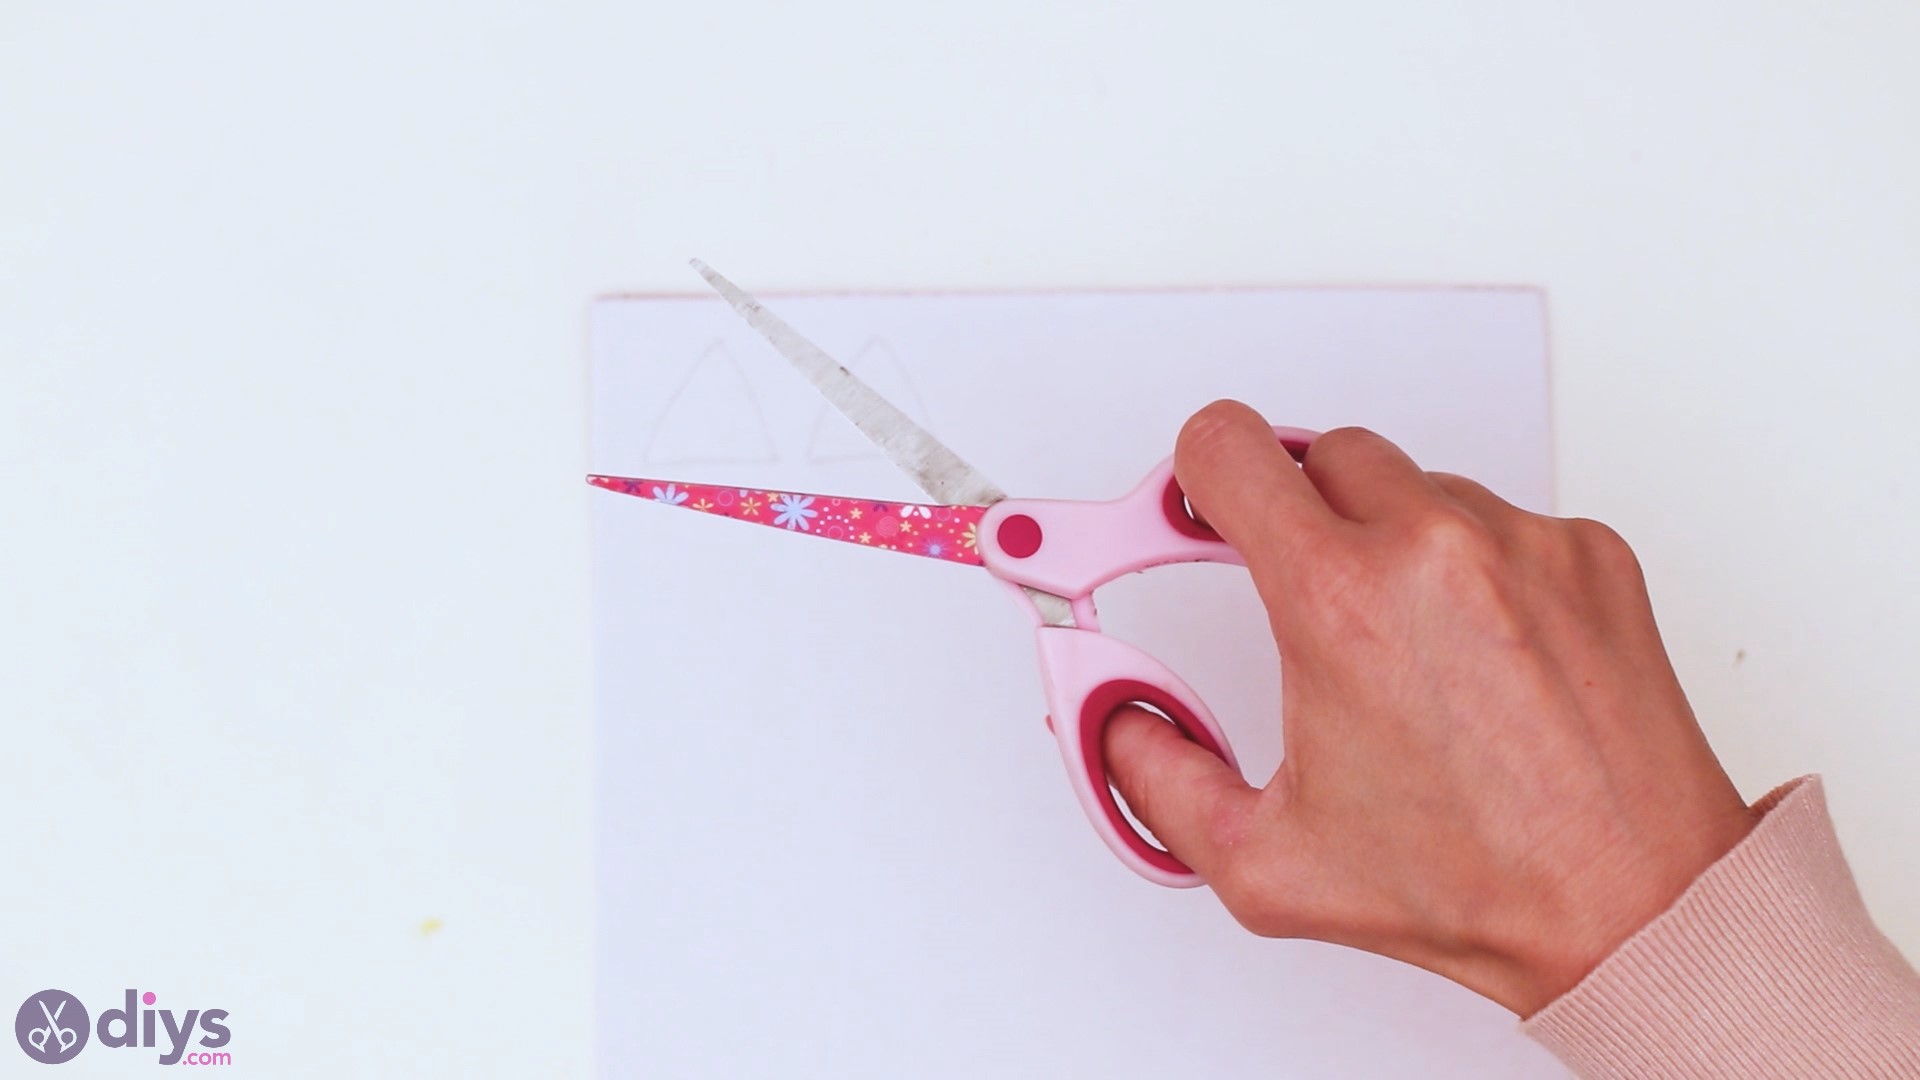
For our next pace, we used a piece of newspaper to describe the outline of some really cute ears. Not only did we practice the slightly-rounded triangle shape, simply we as well made certain to include a little area for a fold. Get yourscissorsand cut out the shape. For the smaller triangles, there's no fold area required.
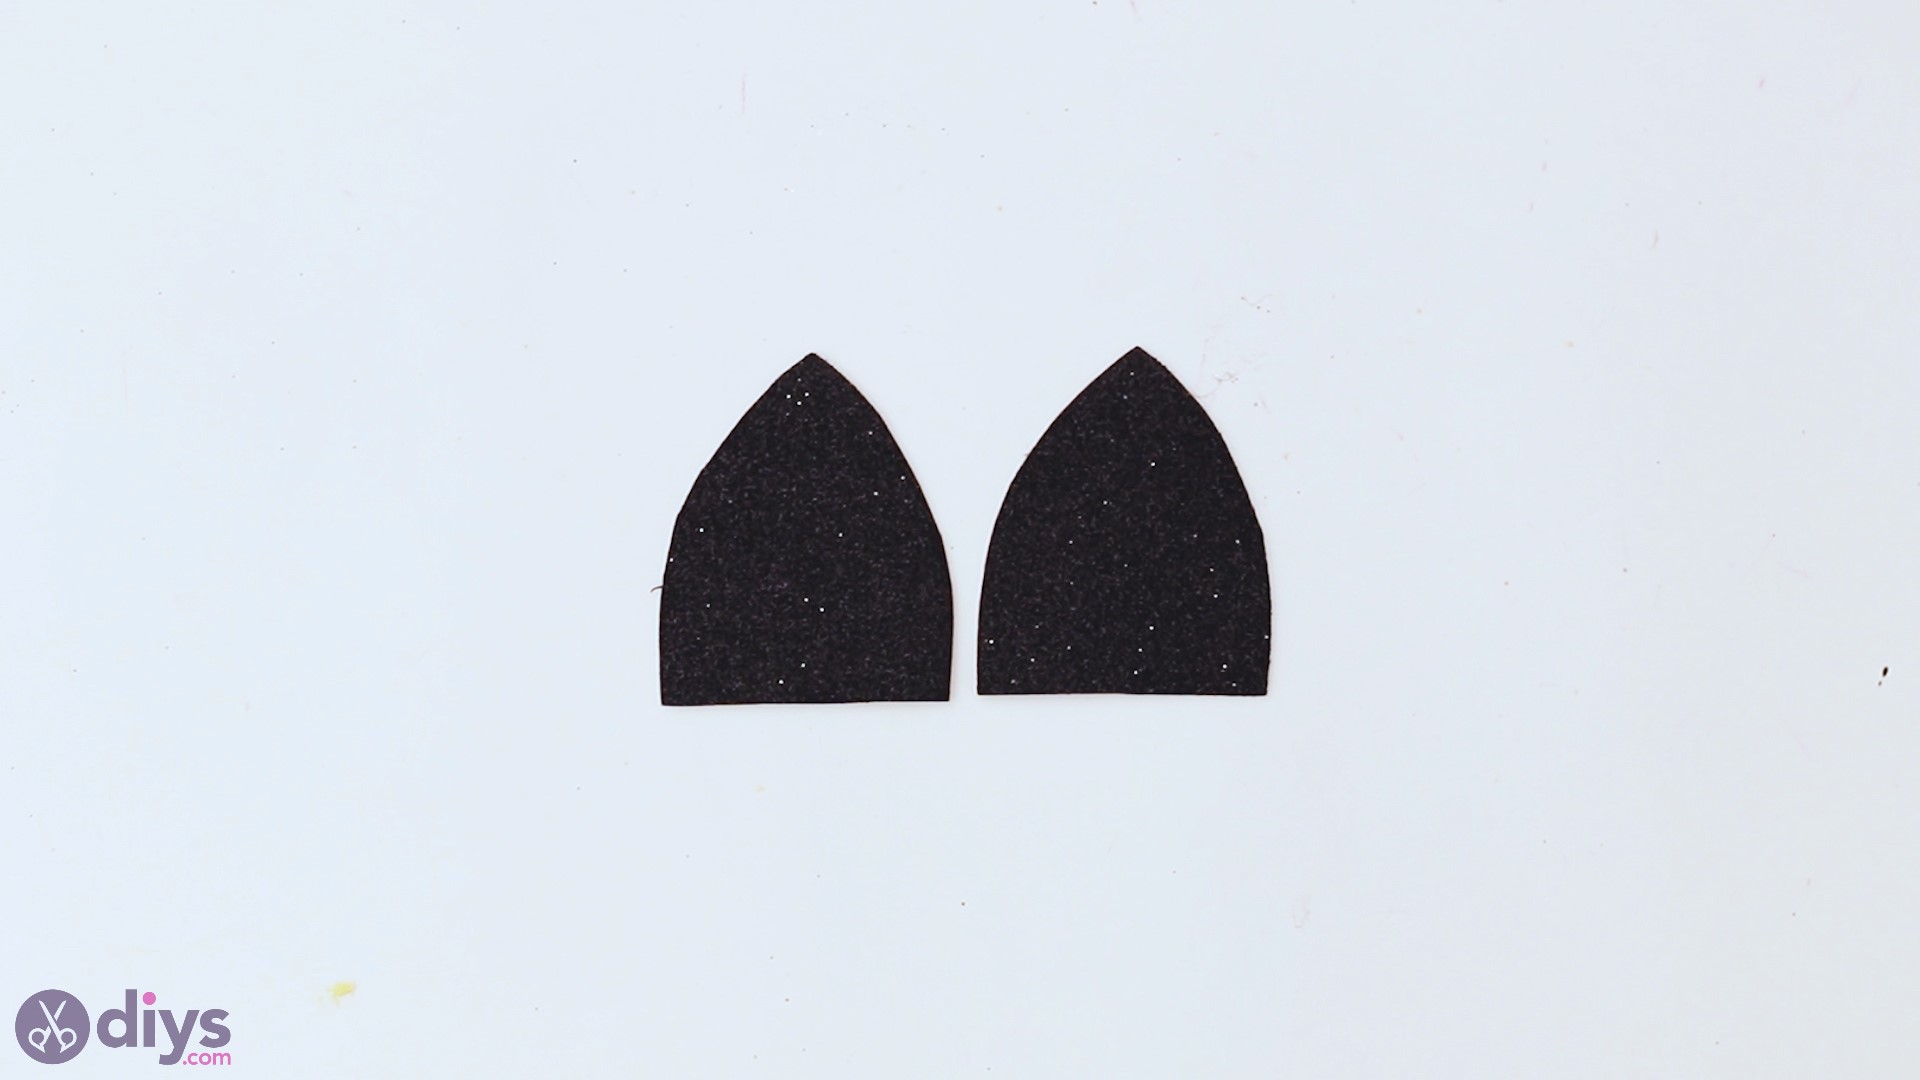
One time the blueprint is done, you lot're going to want to get the black glitter foam paper sheet. Place the larger design over the back of the foam newspaper sail and draw the outline of the cat ear. You'll evidently demand two of these.
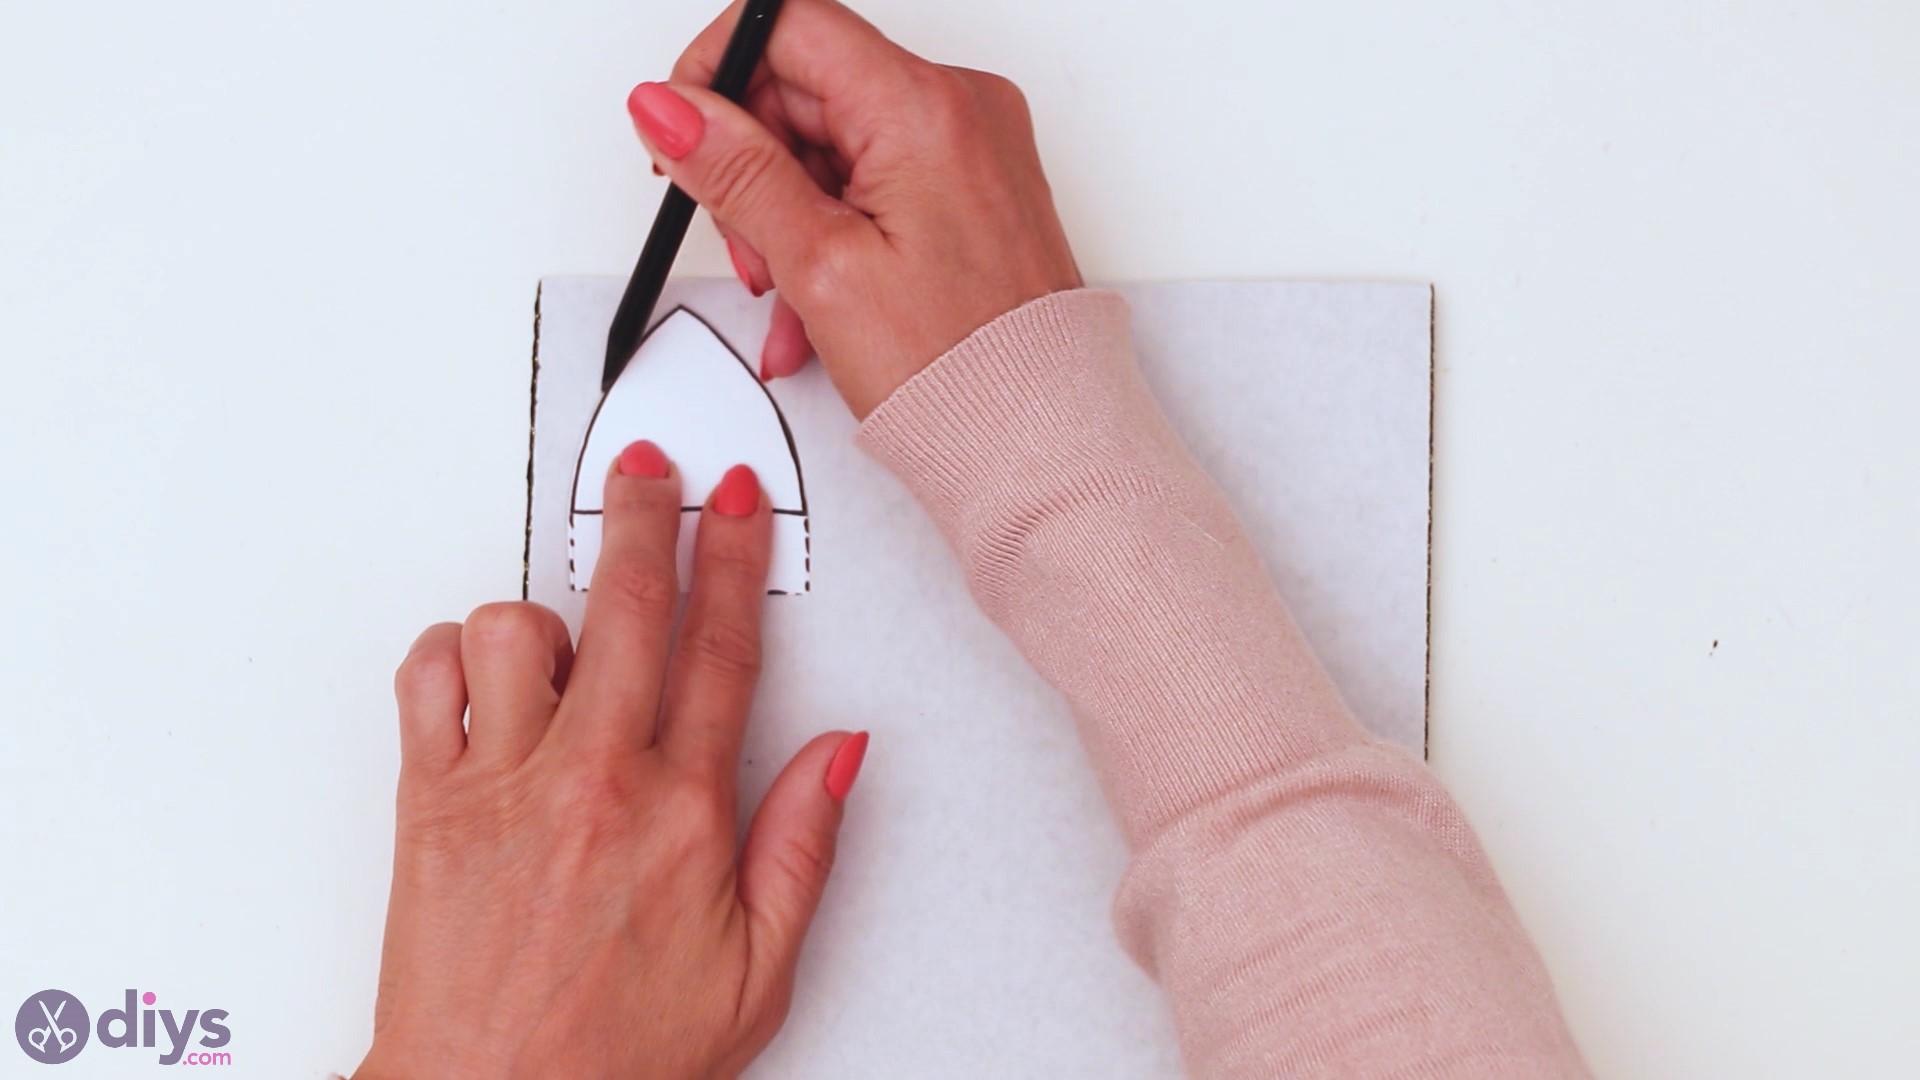
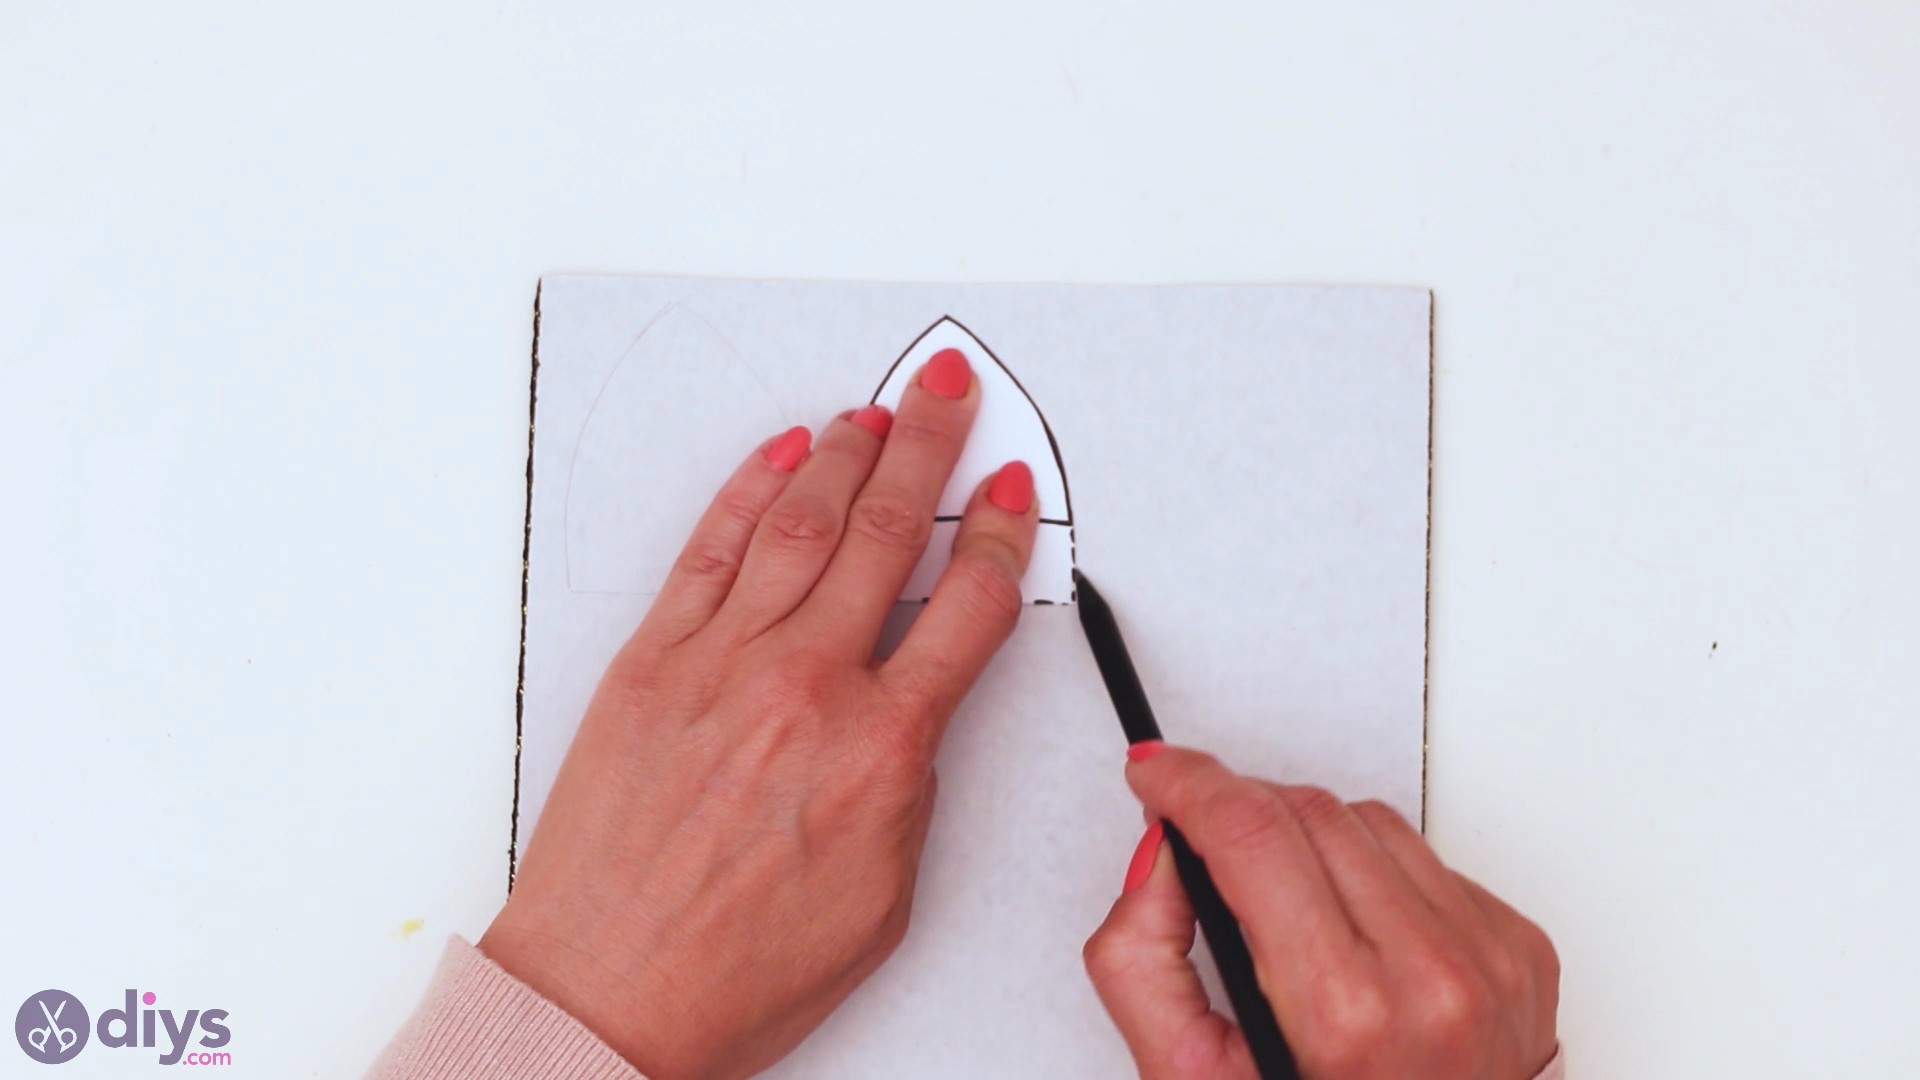
As soon as the drawing is done, yous'll desire to go thepair of scissors over again and cut out the pattern.
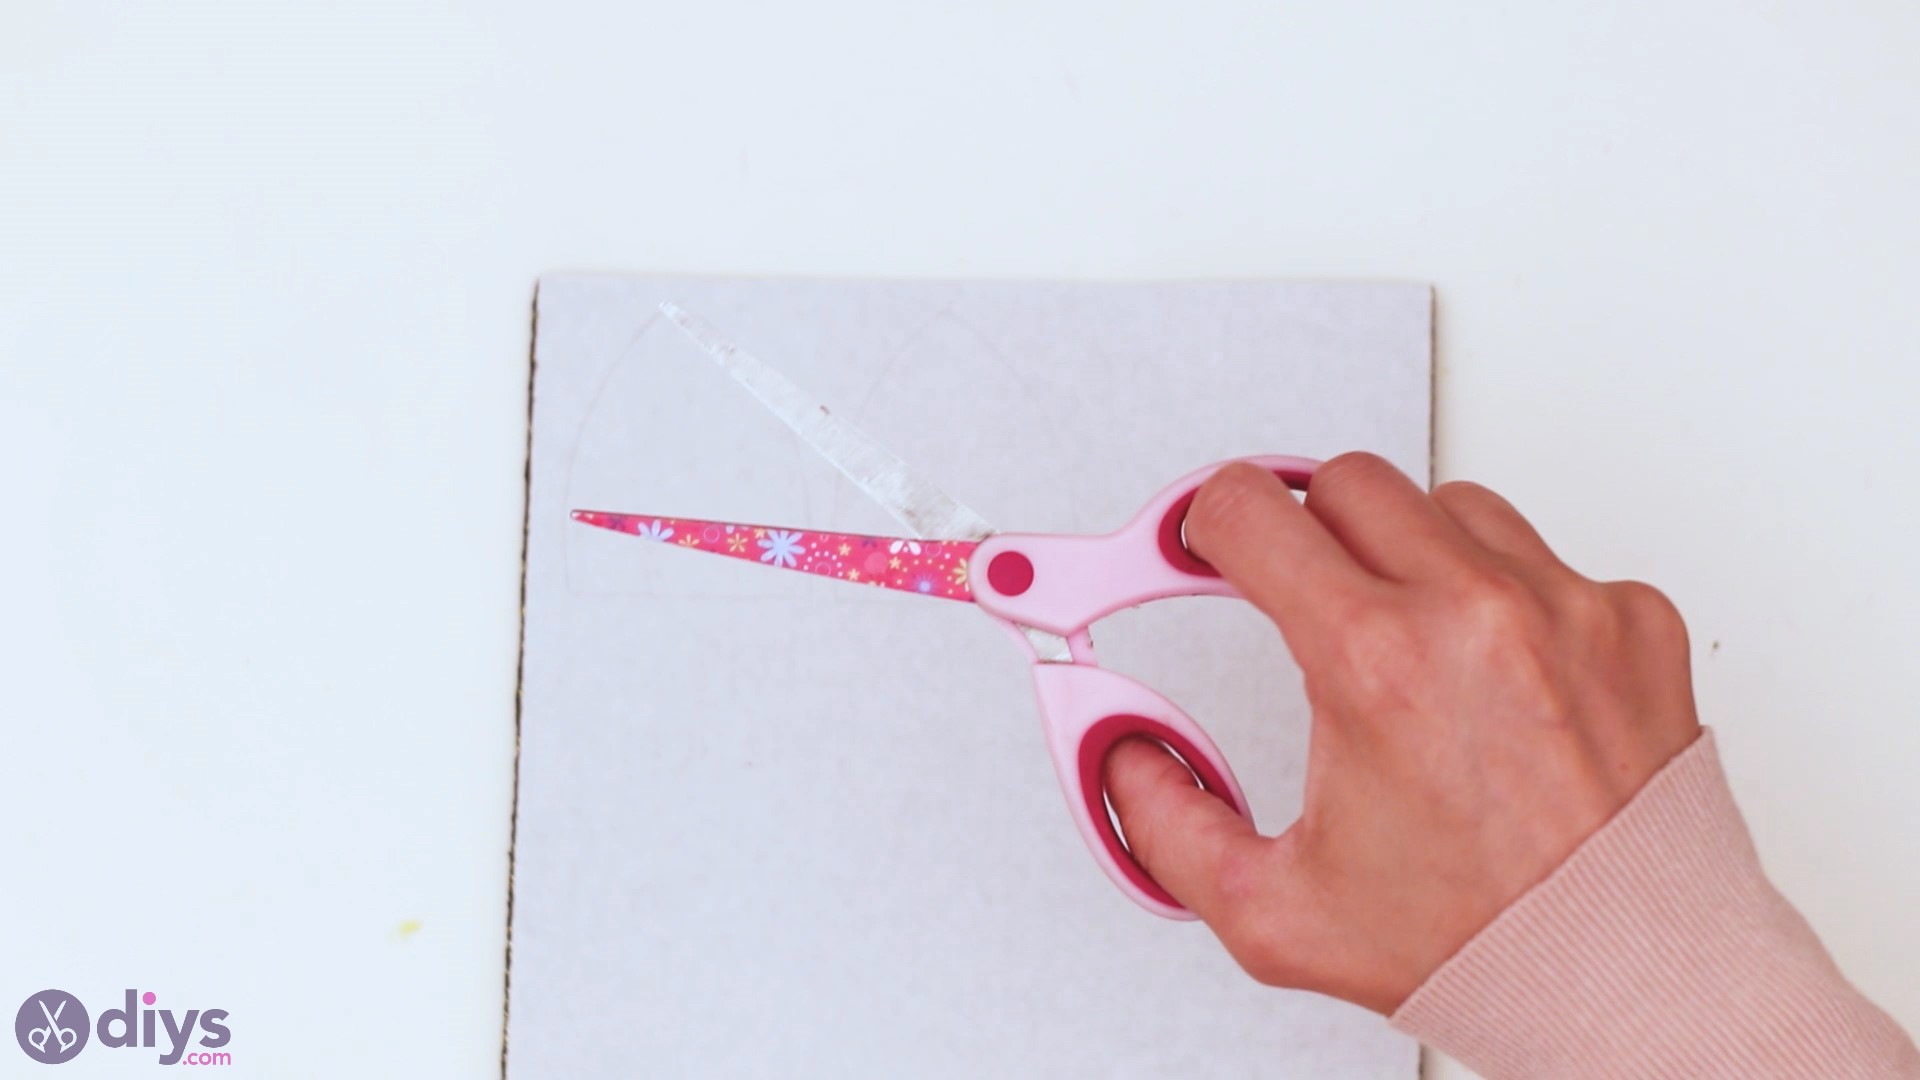
In no fourth dimension you'll some a couple of really cute cat ears like these!.
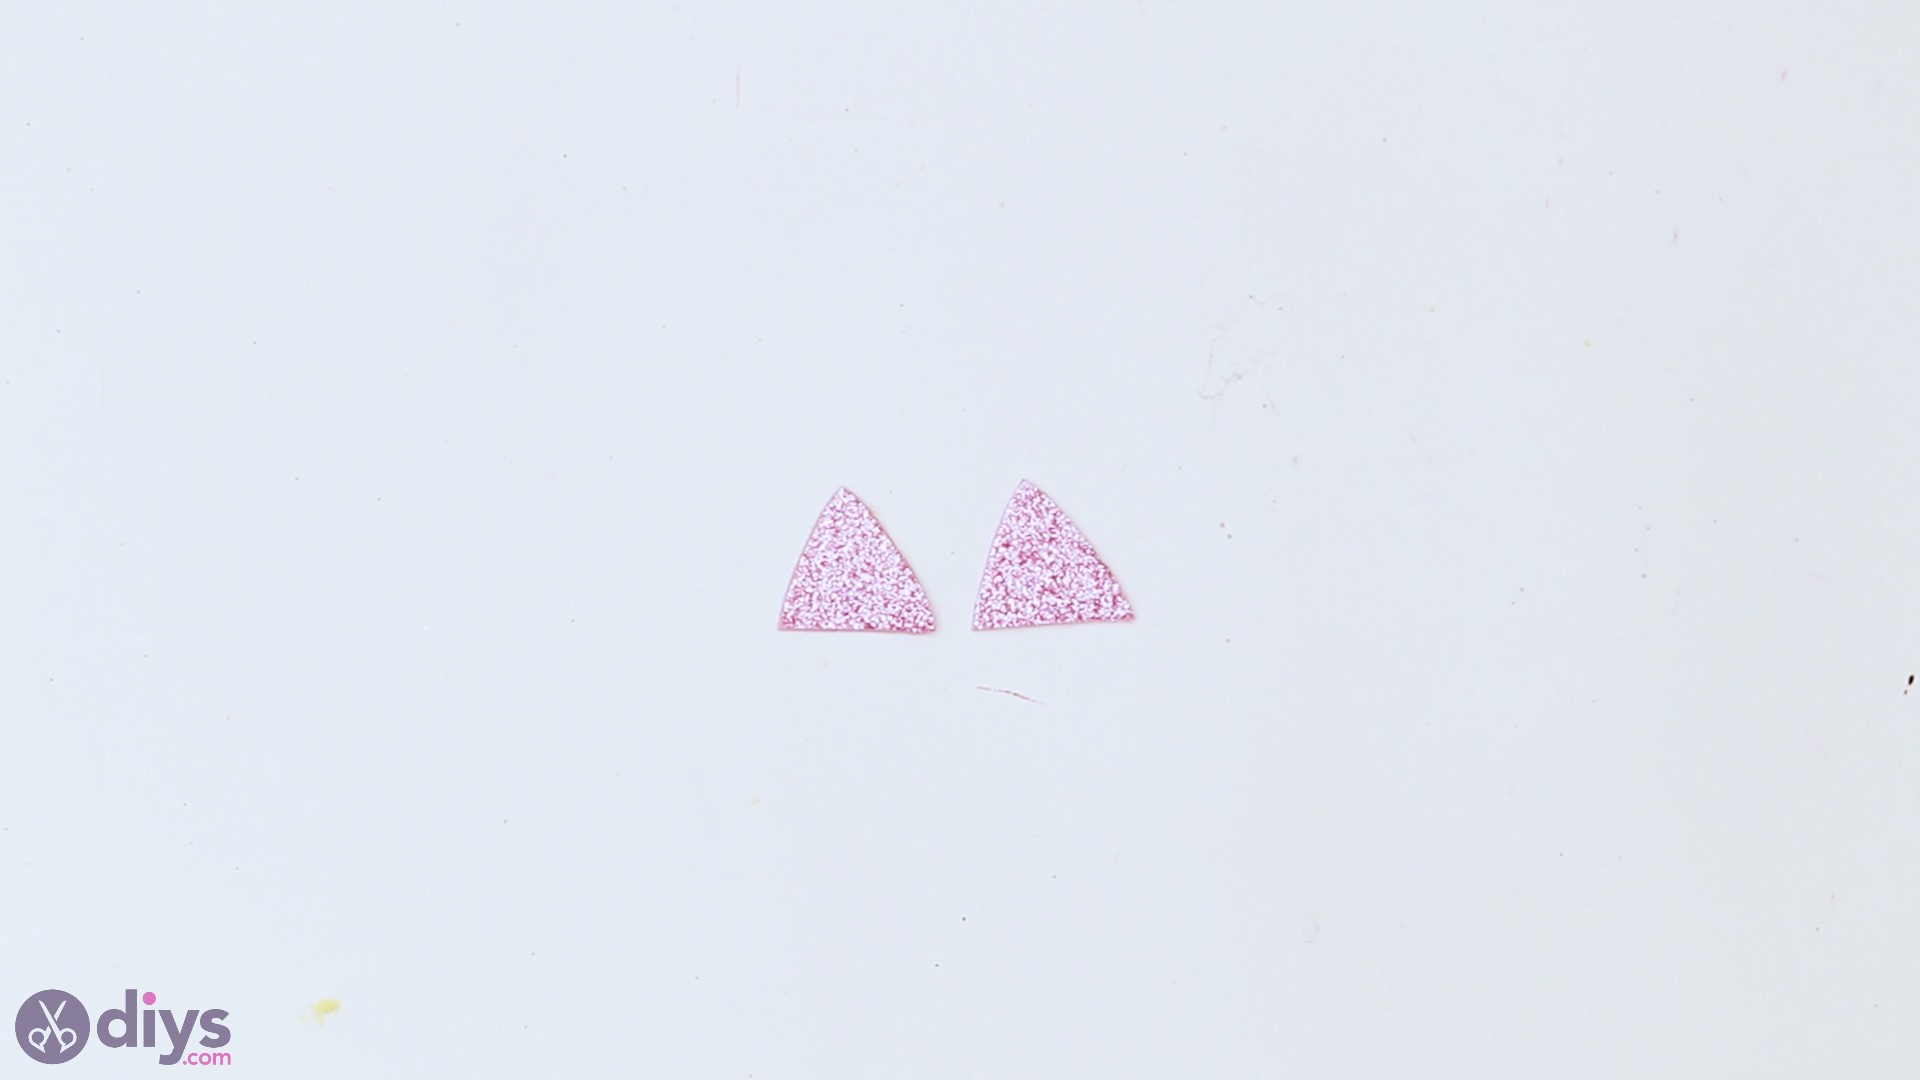
Side by side, nosotros're going to give these ears some dimension, so pick up the pink glittered foam paper sheet and place the smaller triangles on it. Get thepencil and describe the outline on the newspaper sail.
Once you're washed, go ahead and get the scissors to cut the shapes out. Be careful to follow the outline, so you don't take to redo the whole process.
The beautiful pink shapes are washed!
Footstep three: Glue the Ears on the Halloween True cat
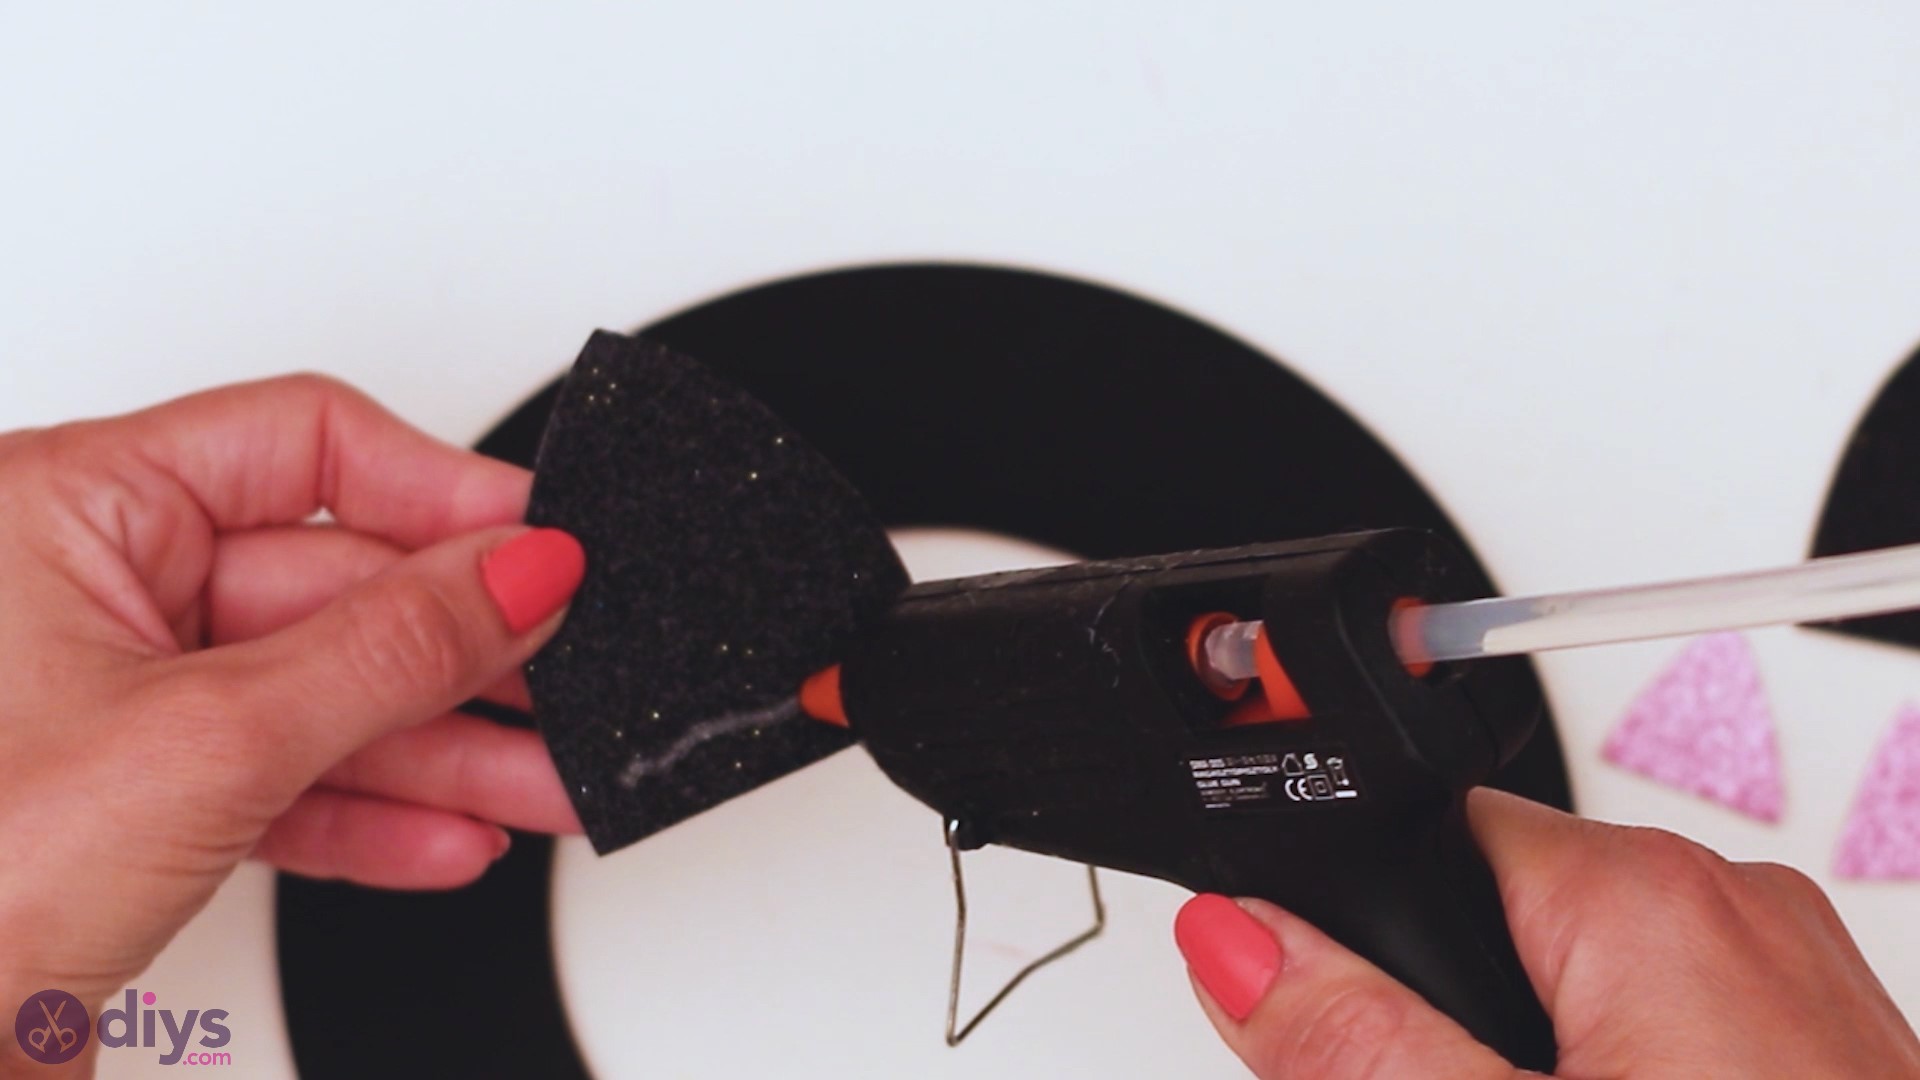
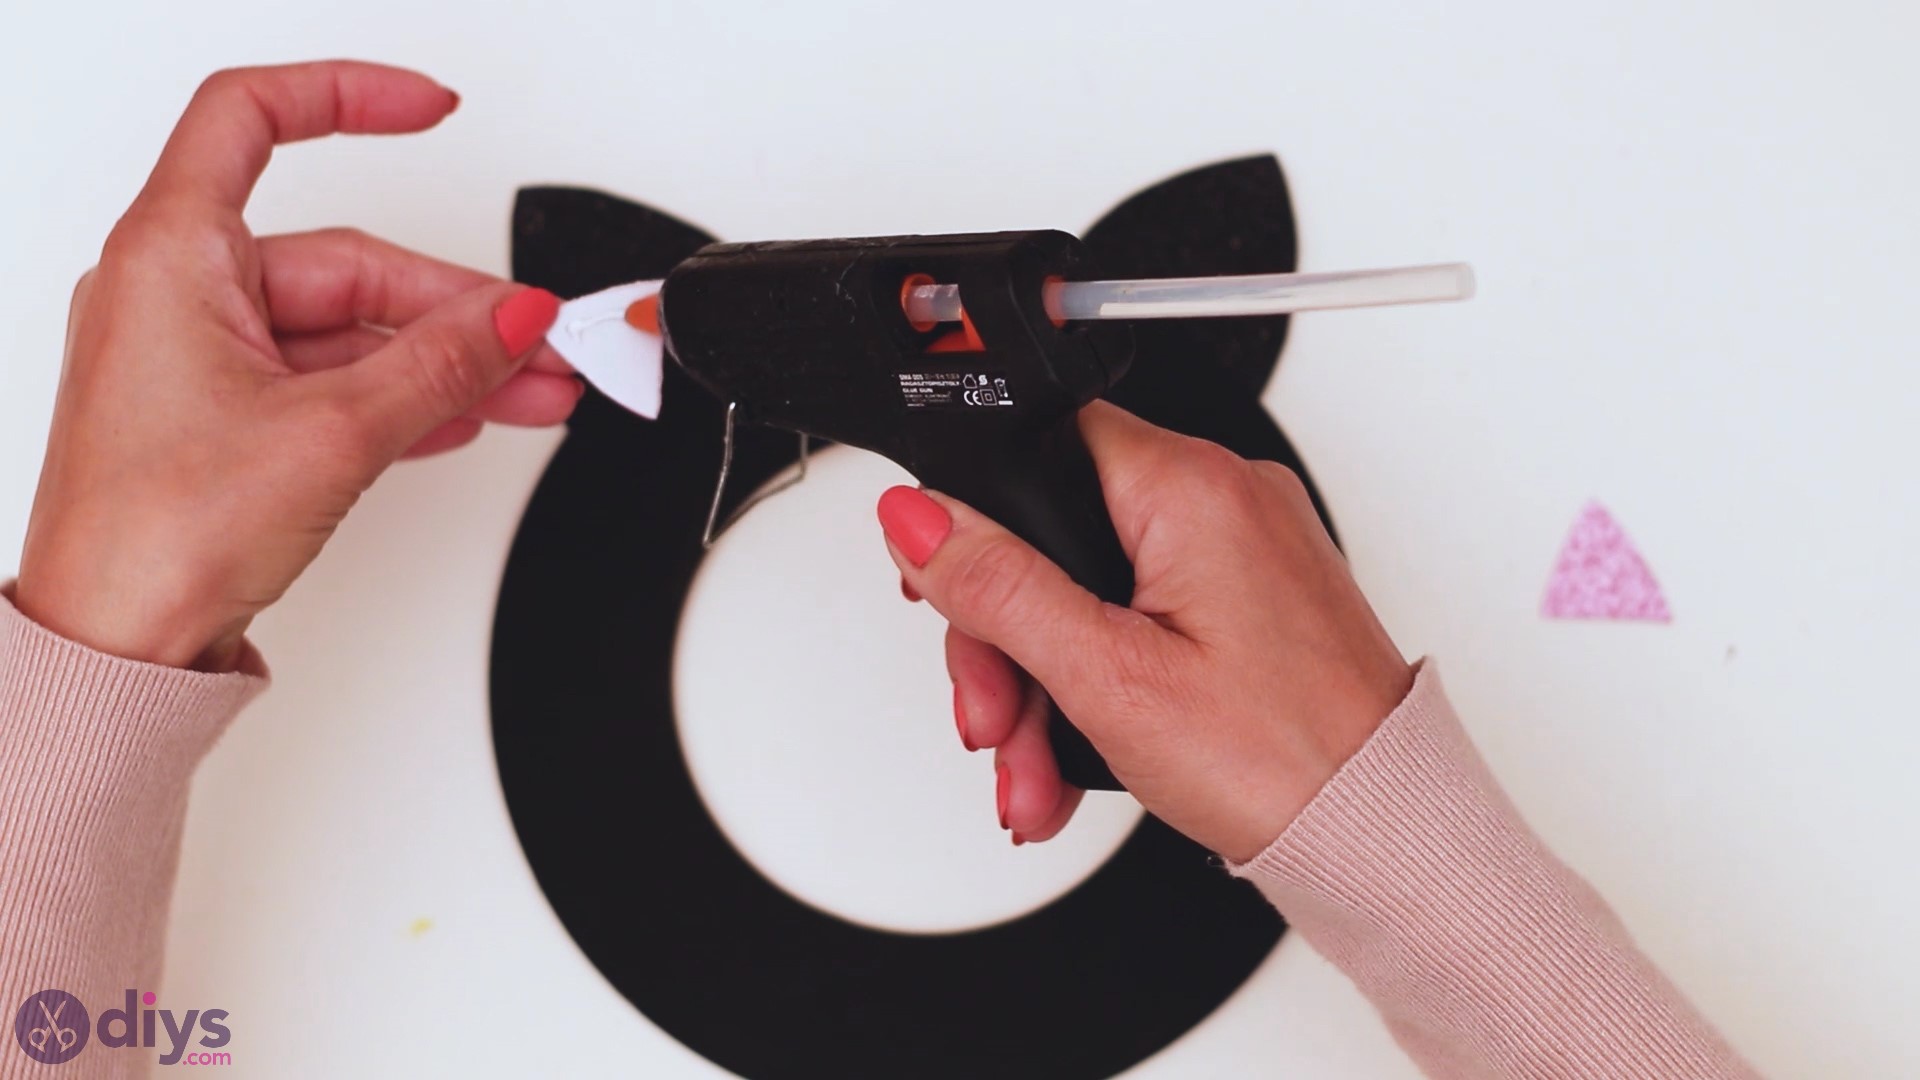
Now that the cat ears are done, it's time nosotros glue them up. The black frame should be dry out by now, and then but get your gum gun. Identify some hot mucilage on the bottom area of the black true cat ear, covering the same area that we initially marked with dotted lines.
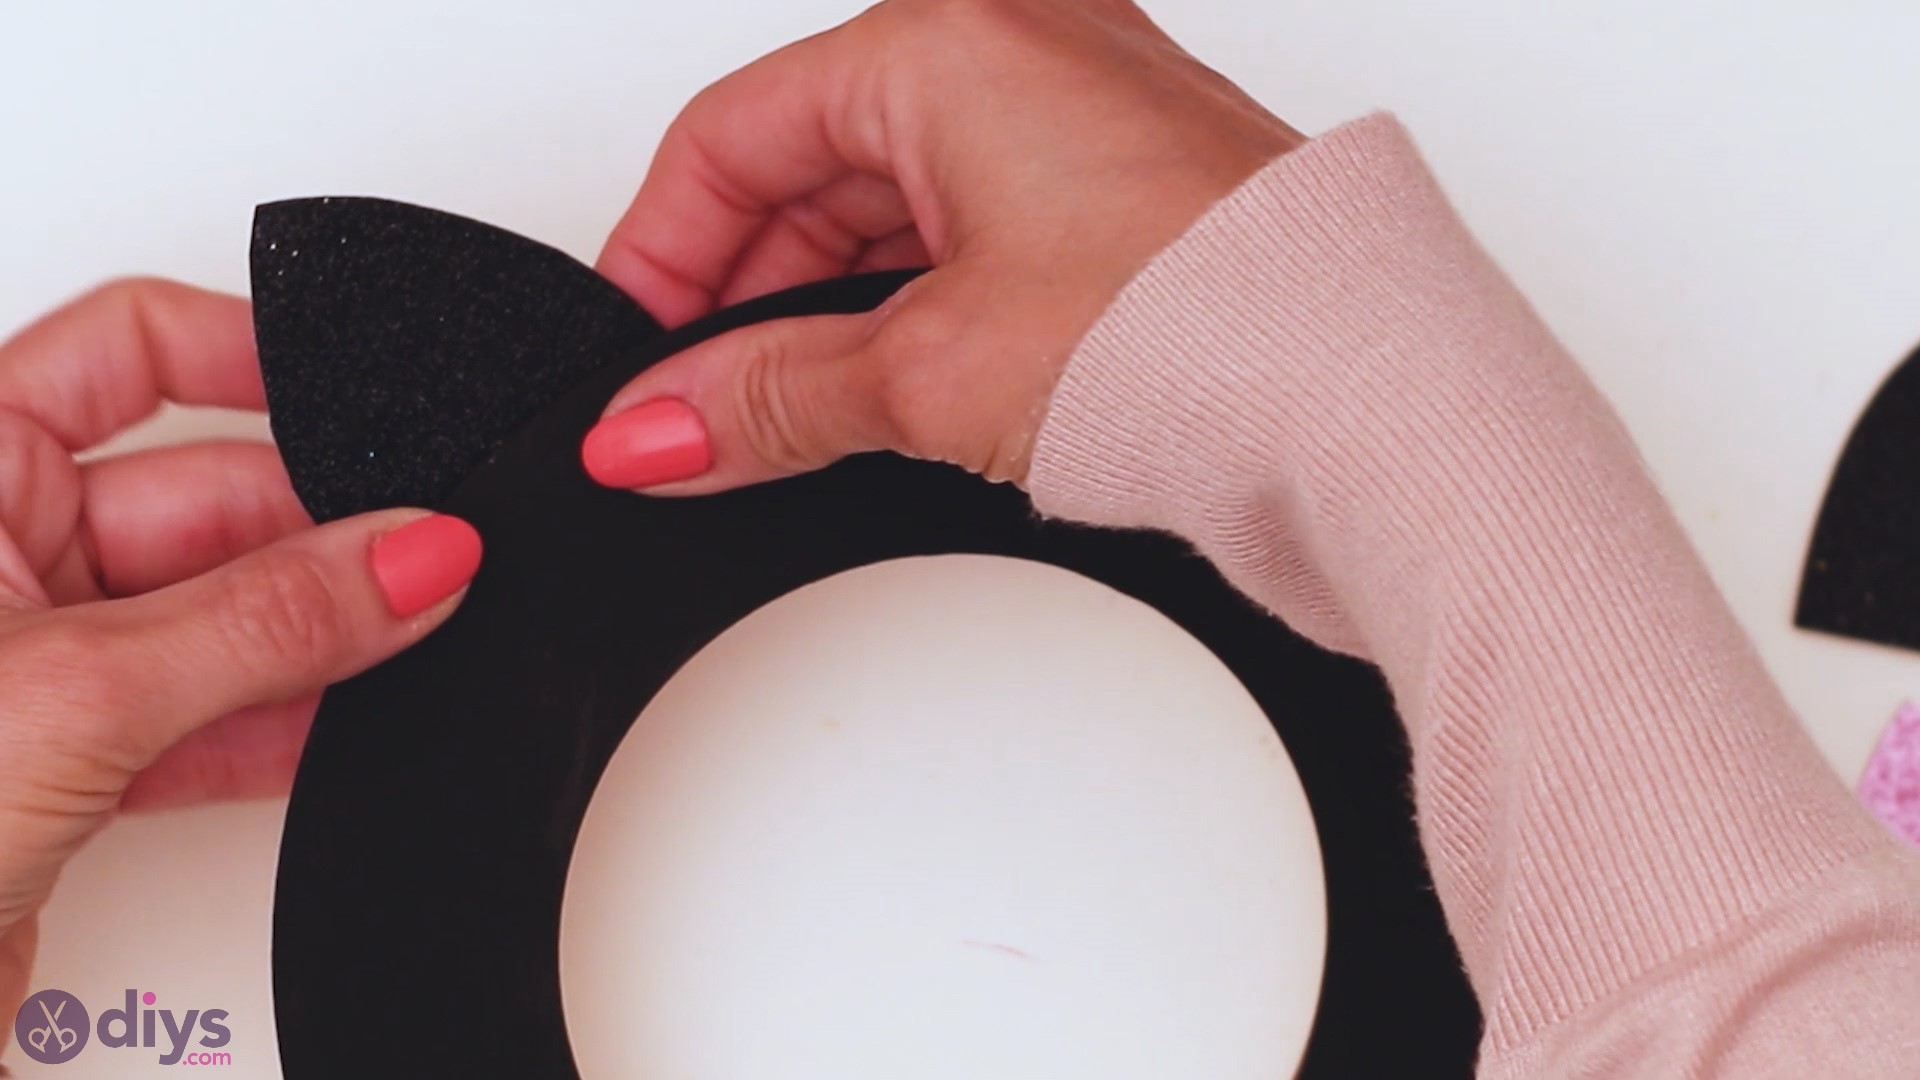
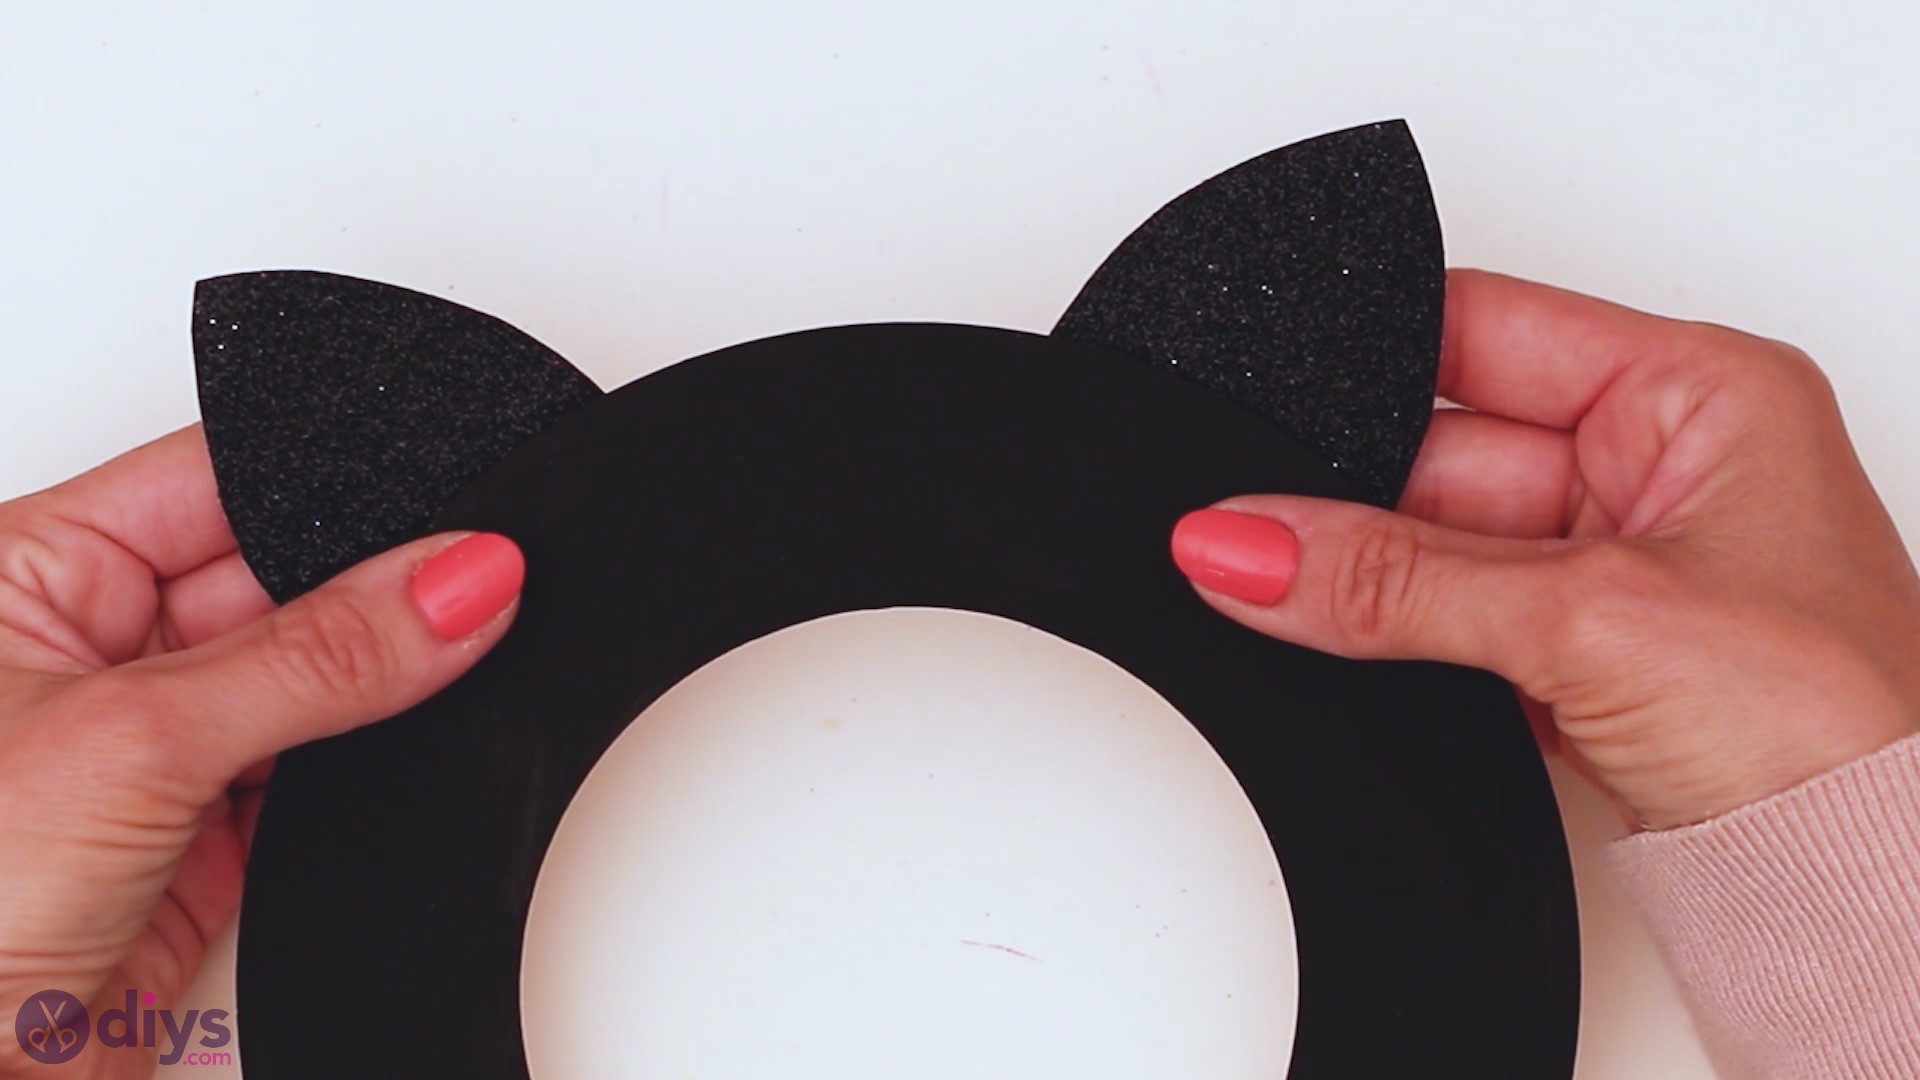
Grab the circular black frame and place the first ear on one of the sides. And then, once you've practical hot mucilage to the second true cat ear, you tin do the same with the second. As a rule of pollex, y'all only have to make sure you place them relatively in the same position and some altitude autonomously – like they'd sit on the head of a cat.
Side by side, it'southward time nosotros add the pink interiors for the true cat ears. Before yous add whatever type of glue, measure upwardly the piece of paper to brand certain it's the right size, equally yous'll want to have some black visible behind the pink.
Once that's washed, apply some hot glue to the back of the pink material and apply information technology over the blackness ears, making sure it touches the side of the frame.
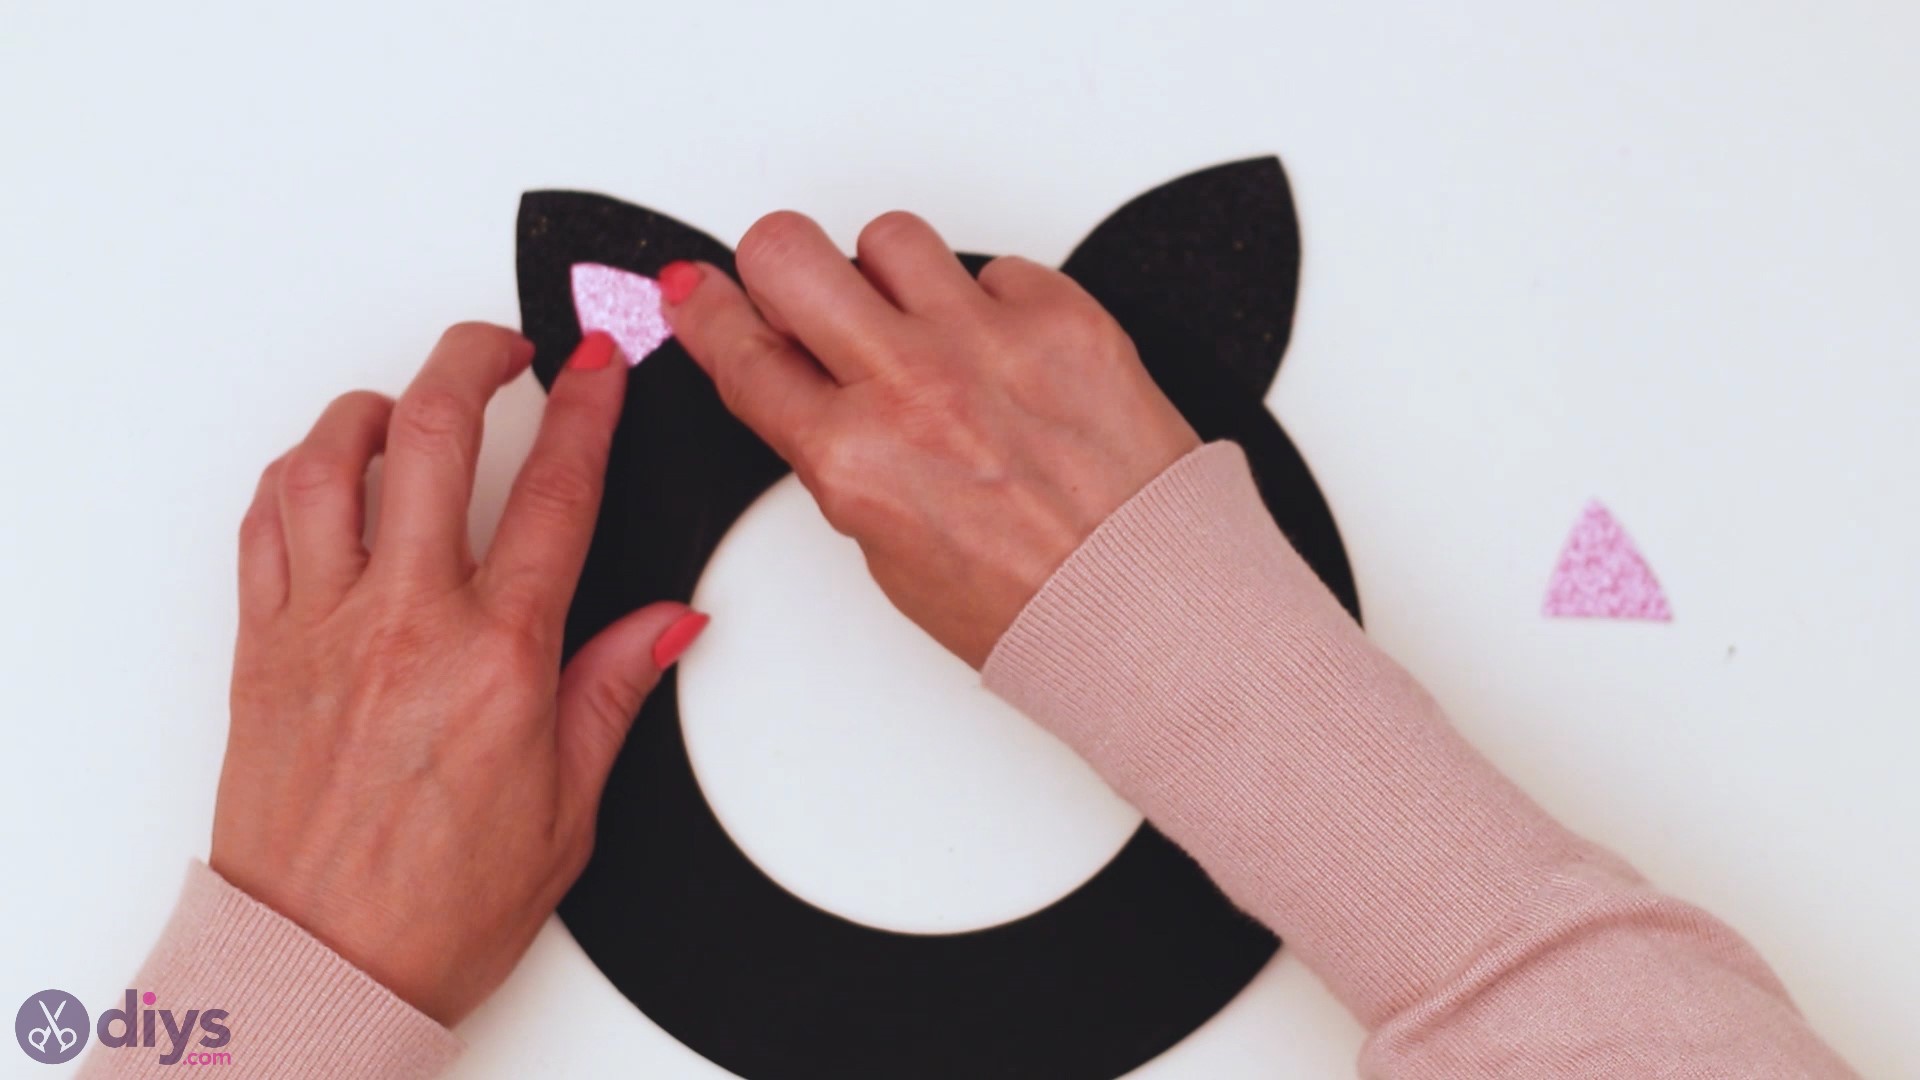
Repeat the process for the 2nd ear!

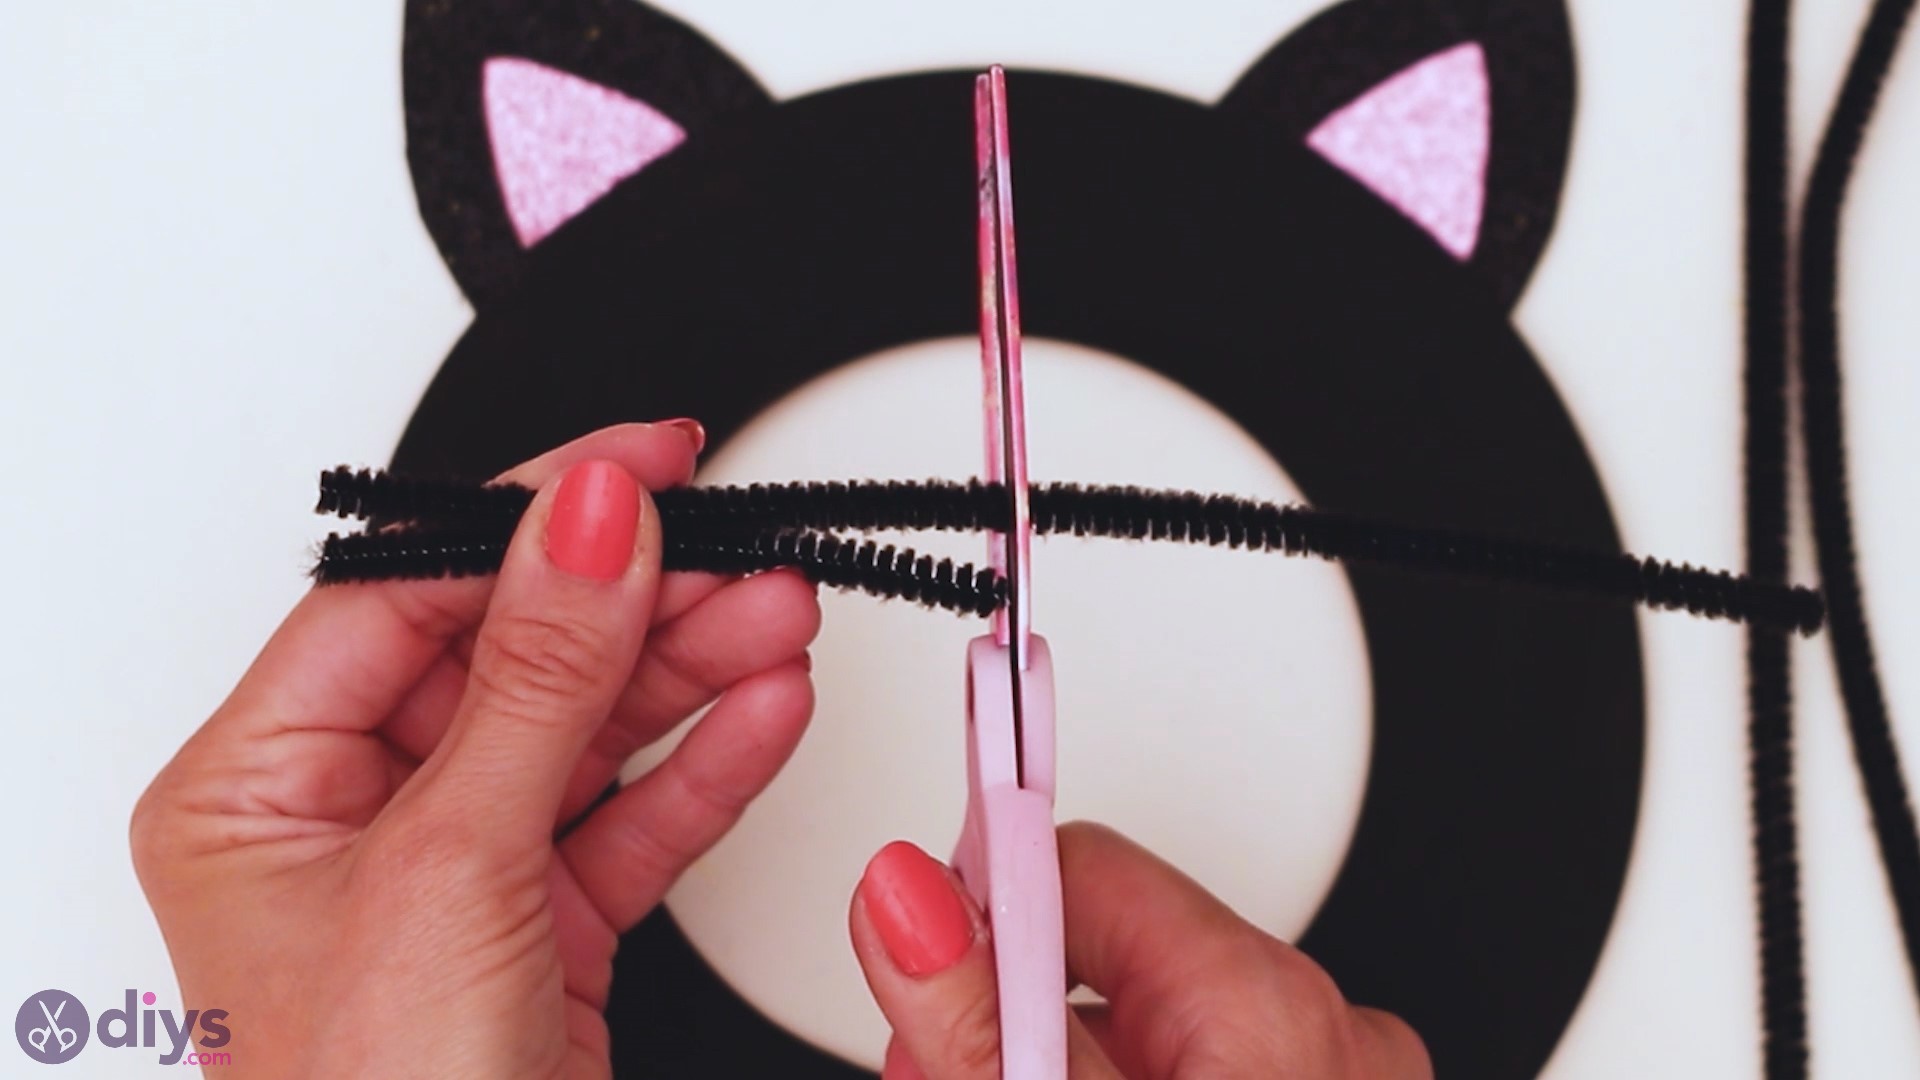
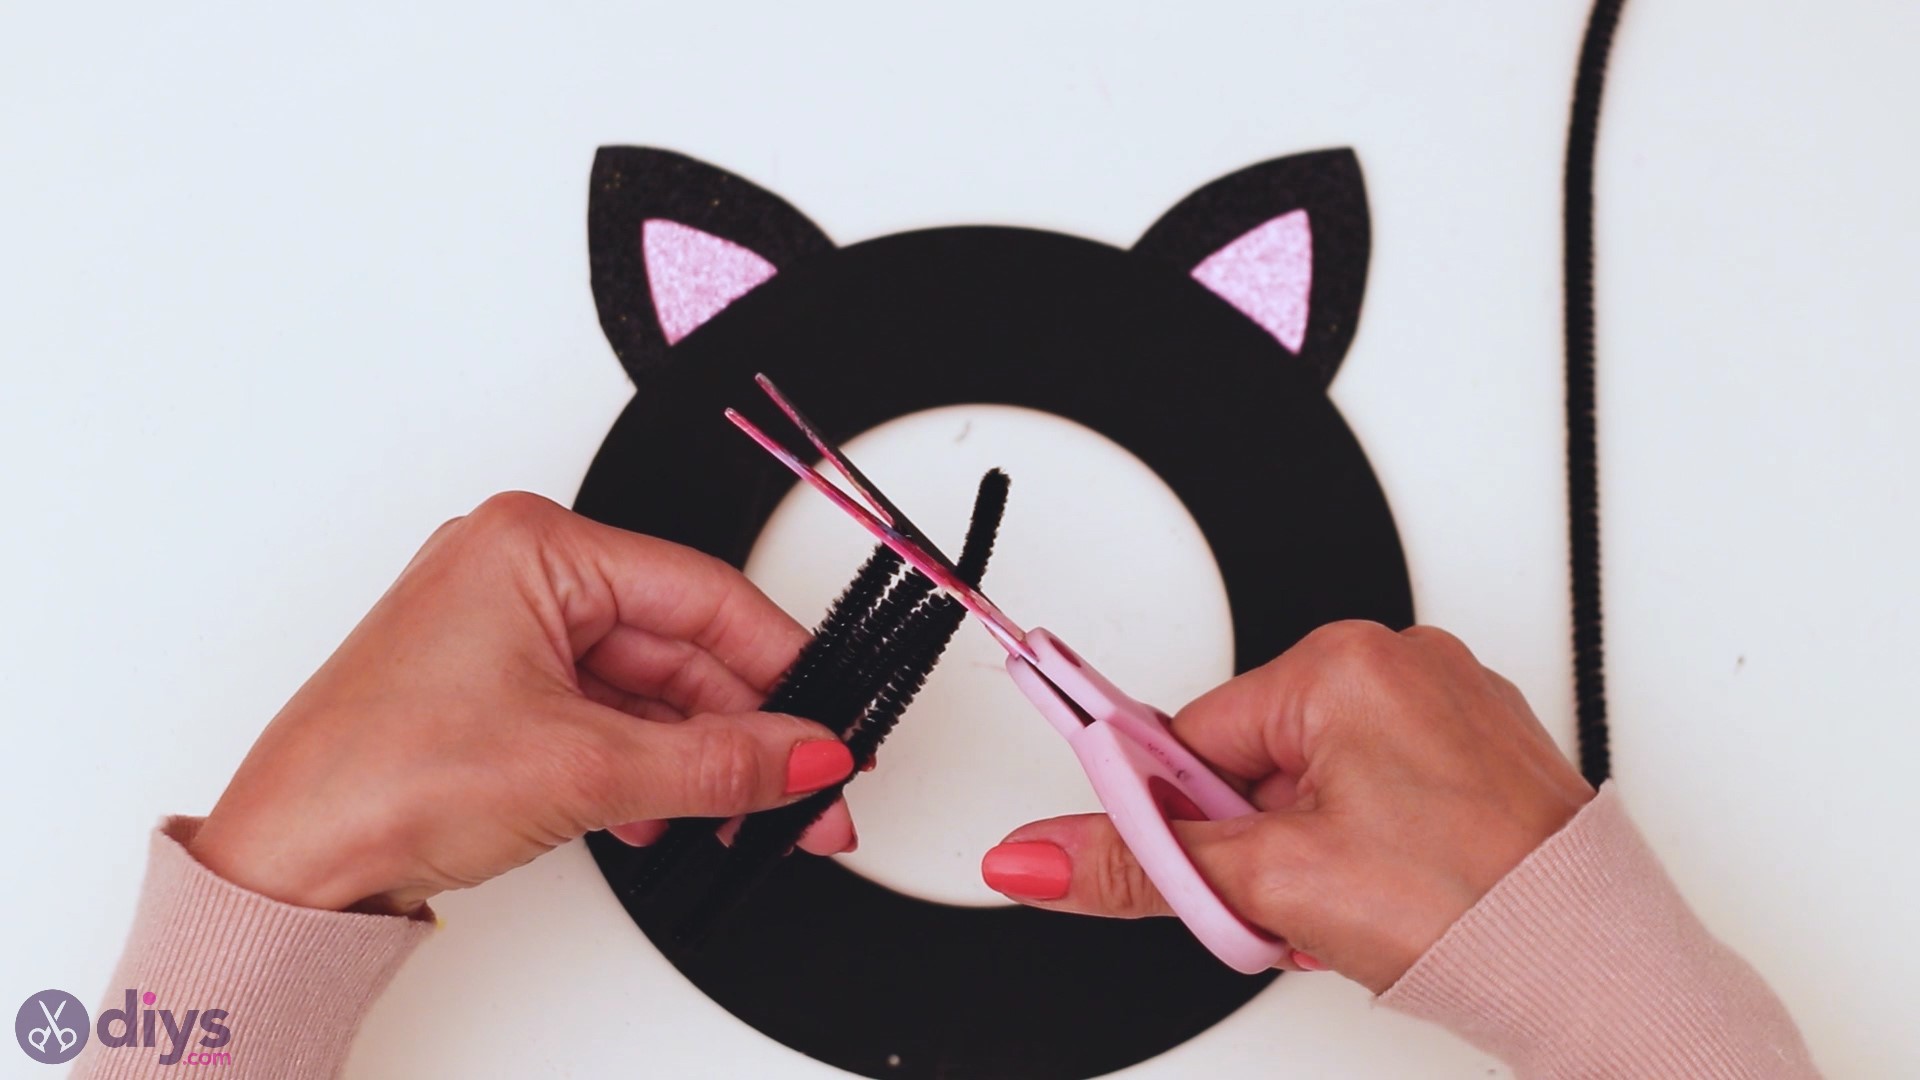
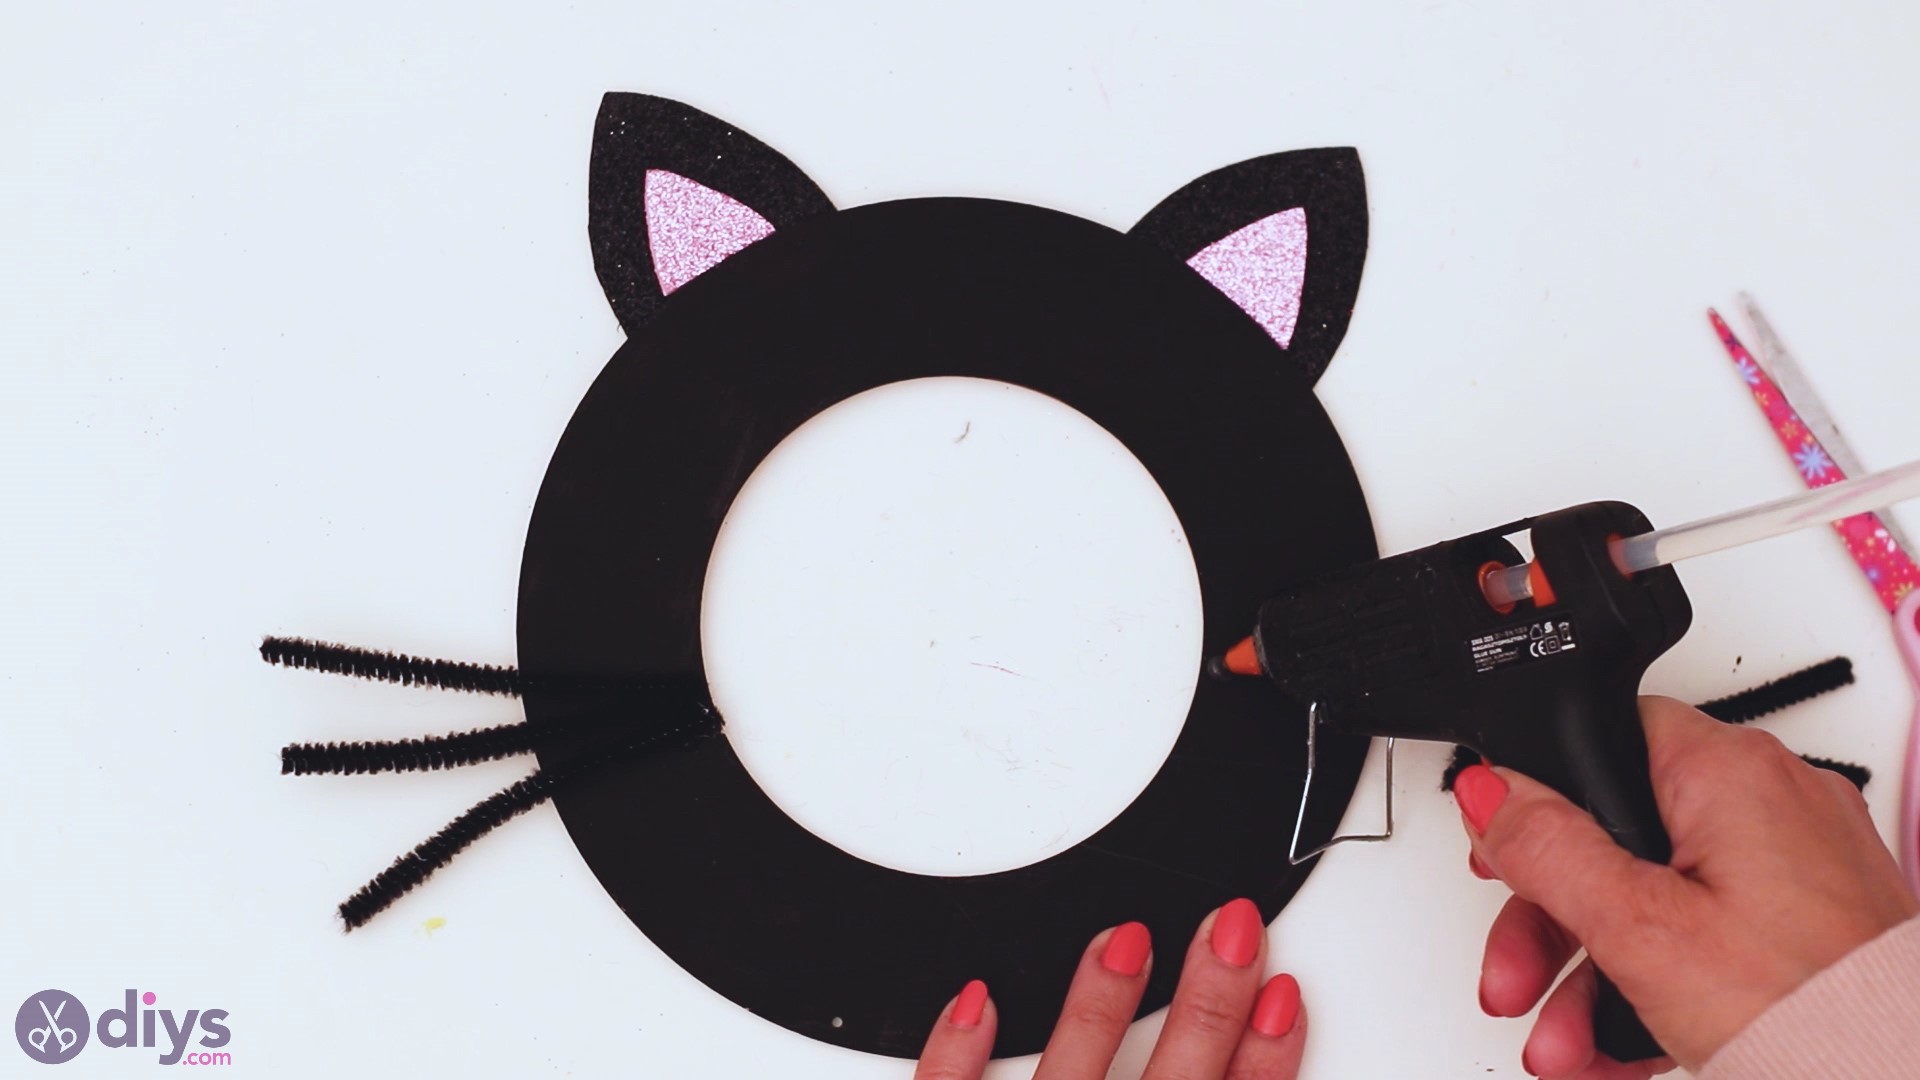
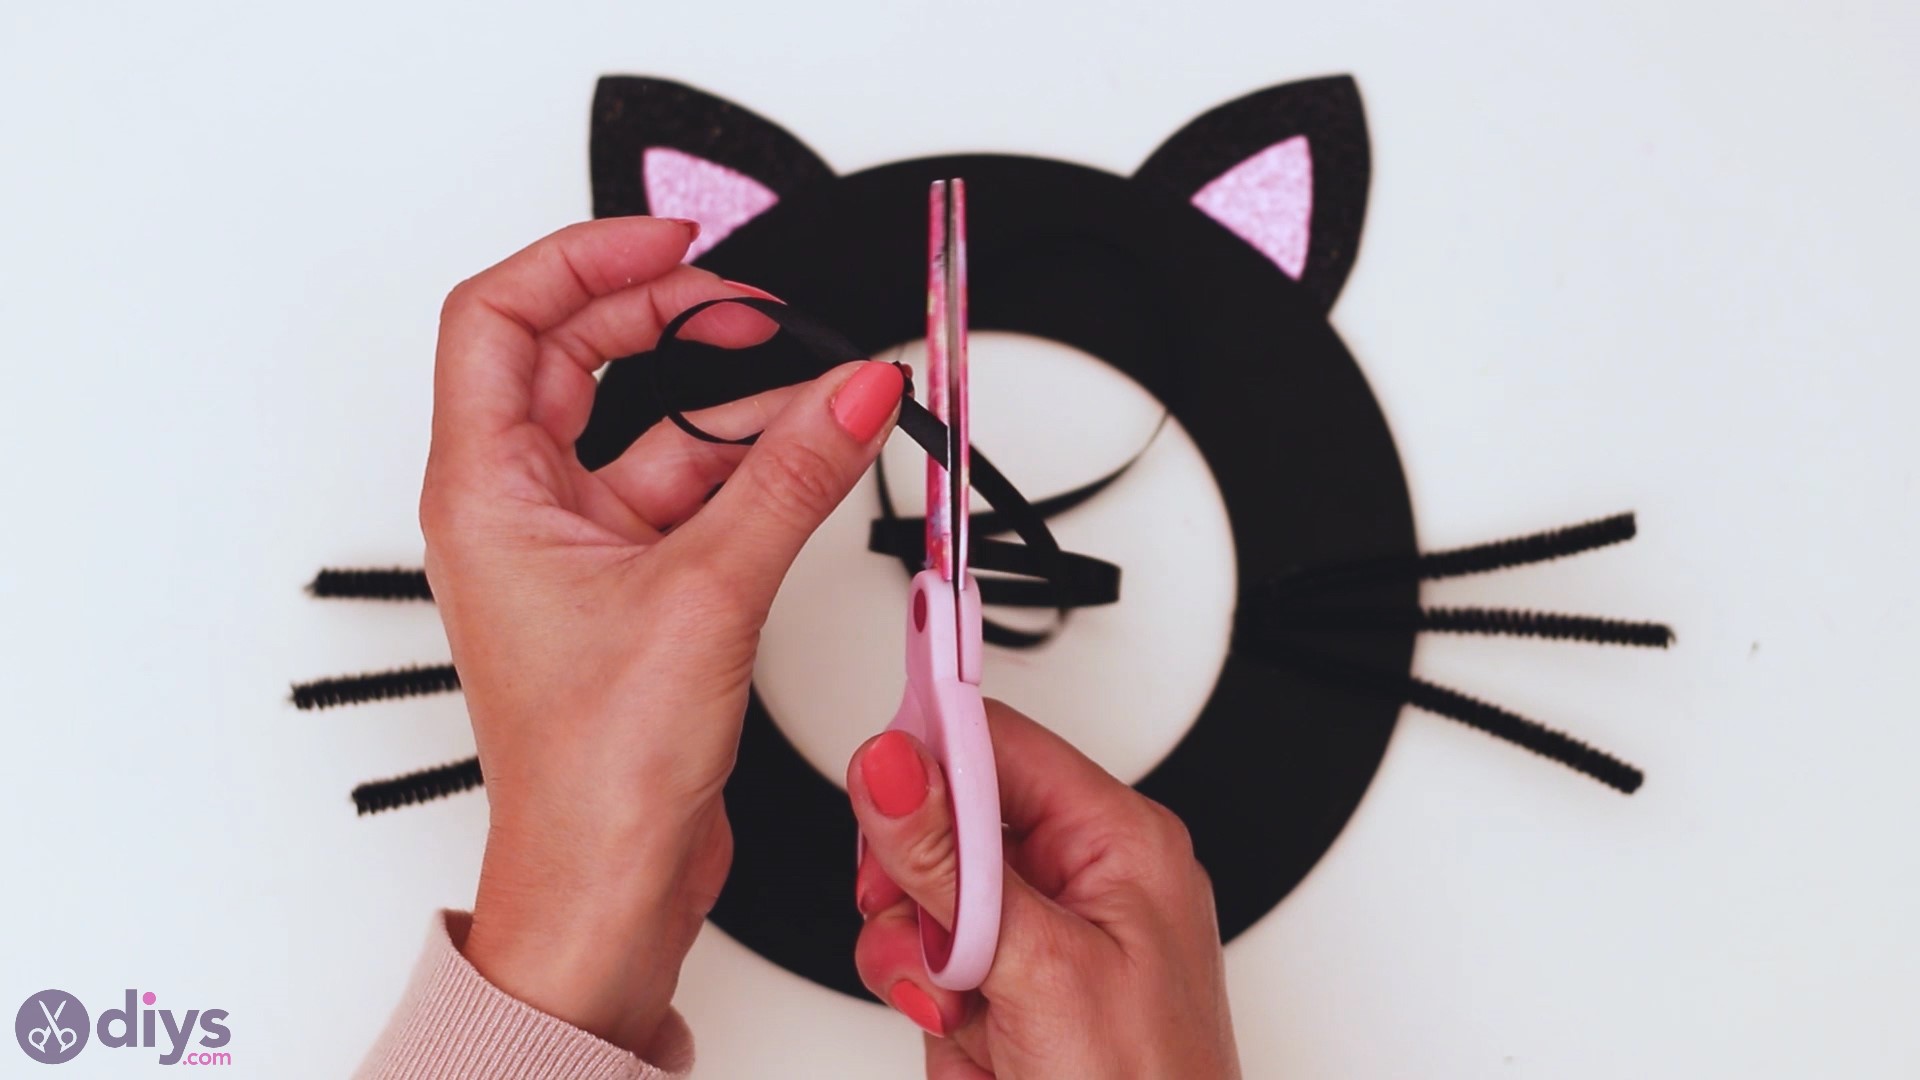
Pace 4: Give the Cat Some Whiskers
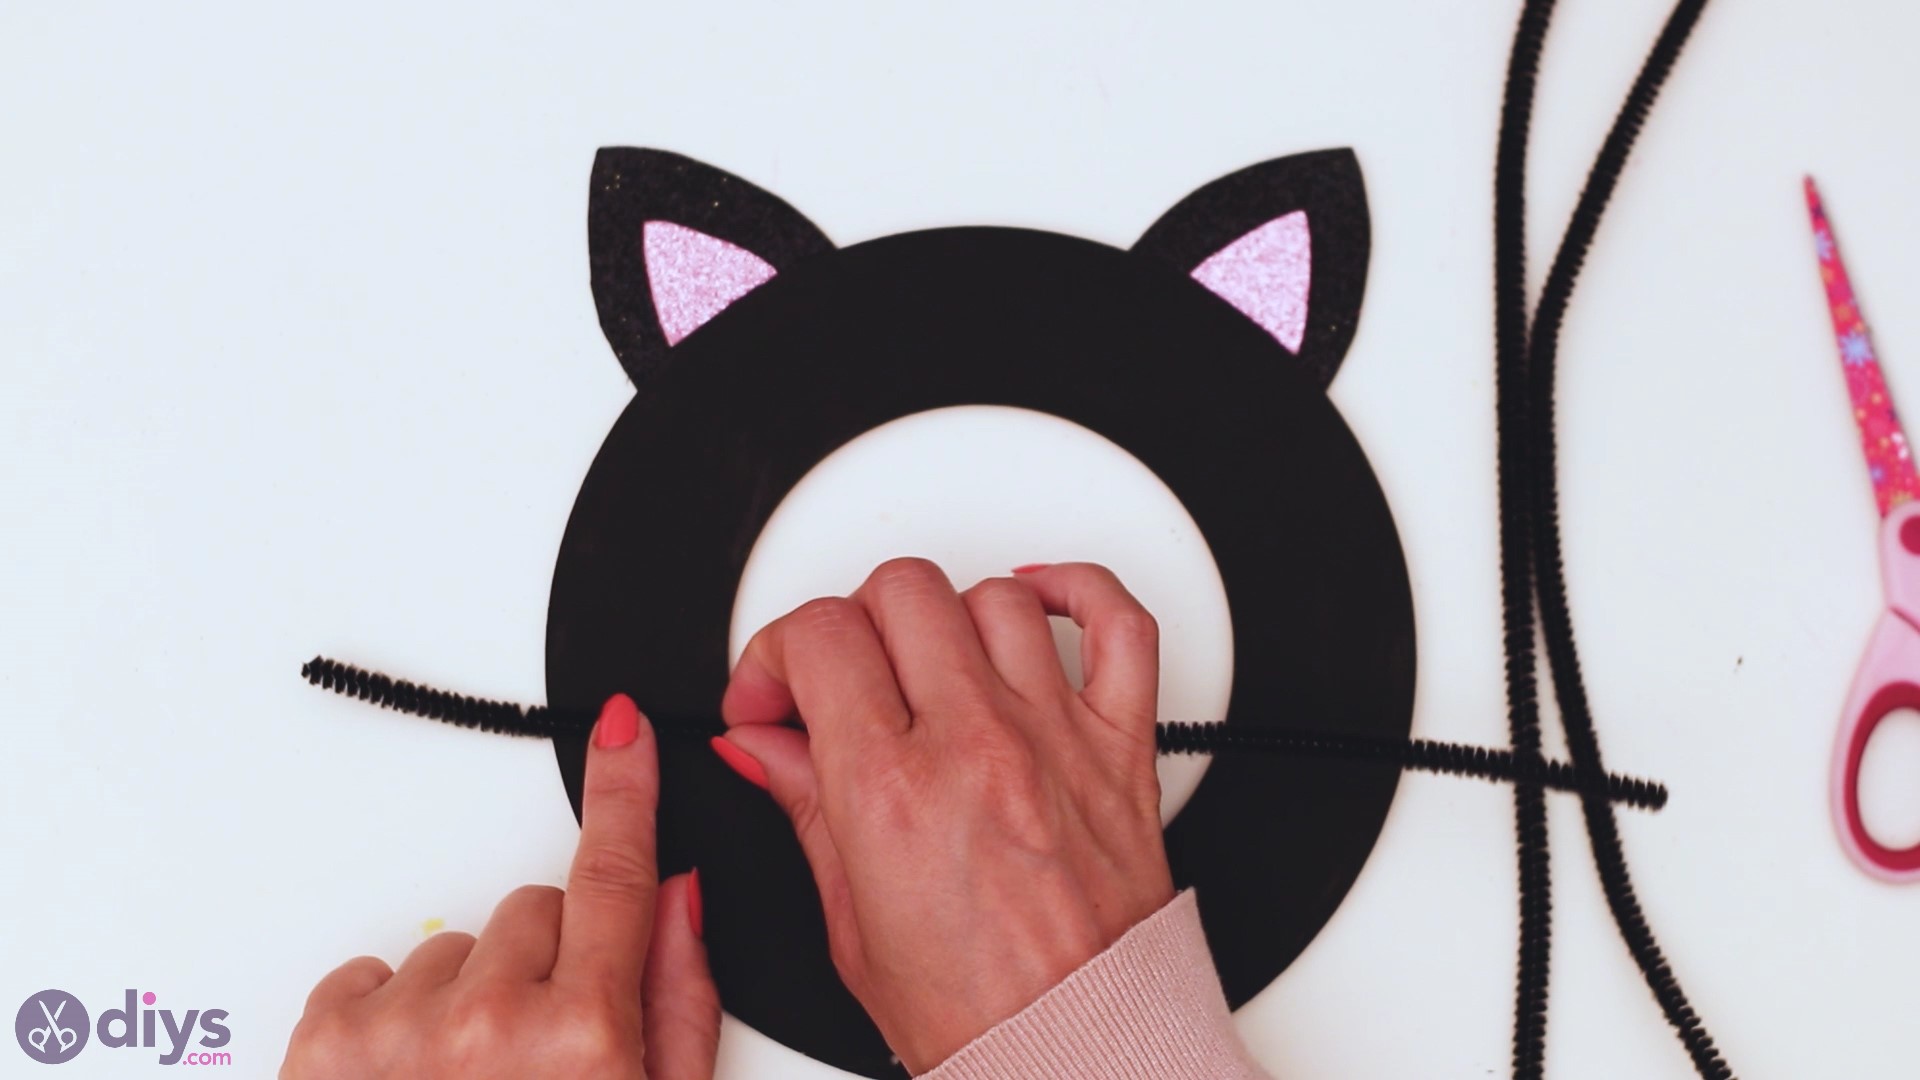
For the next pace, you want to get the black pipage cleaner pieces. Nosotros advise you bend each piece in halves and then in one case more, and utilize the scissors to cut a piece in 4.
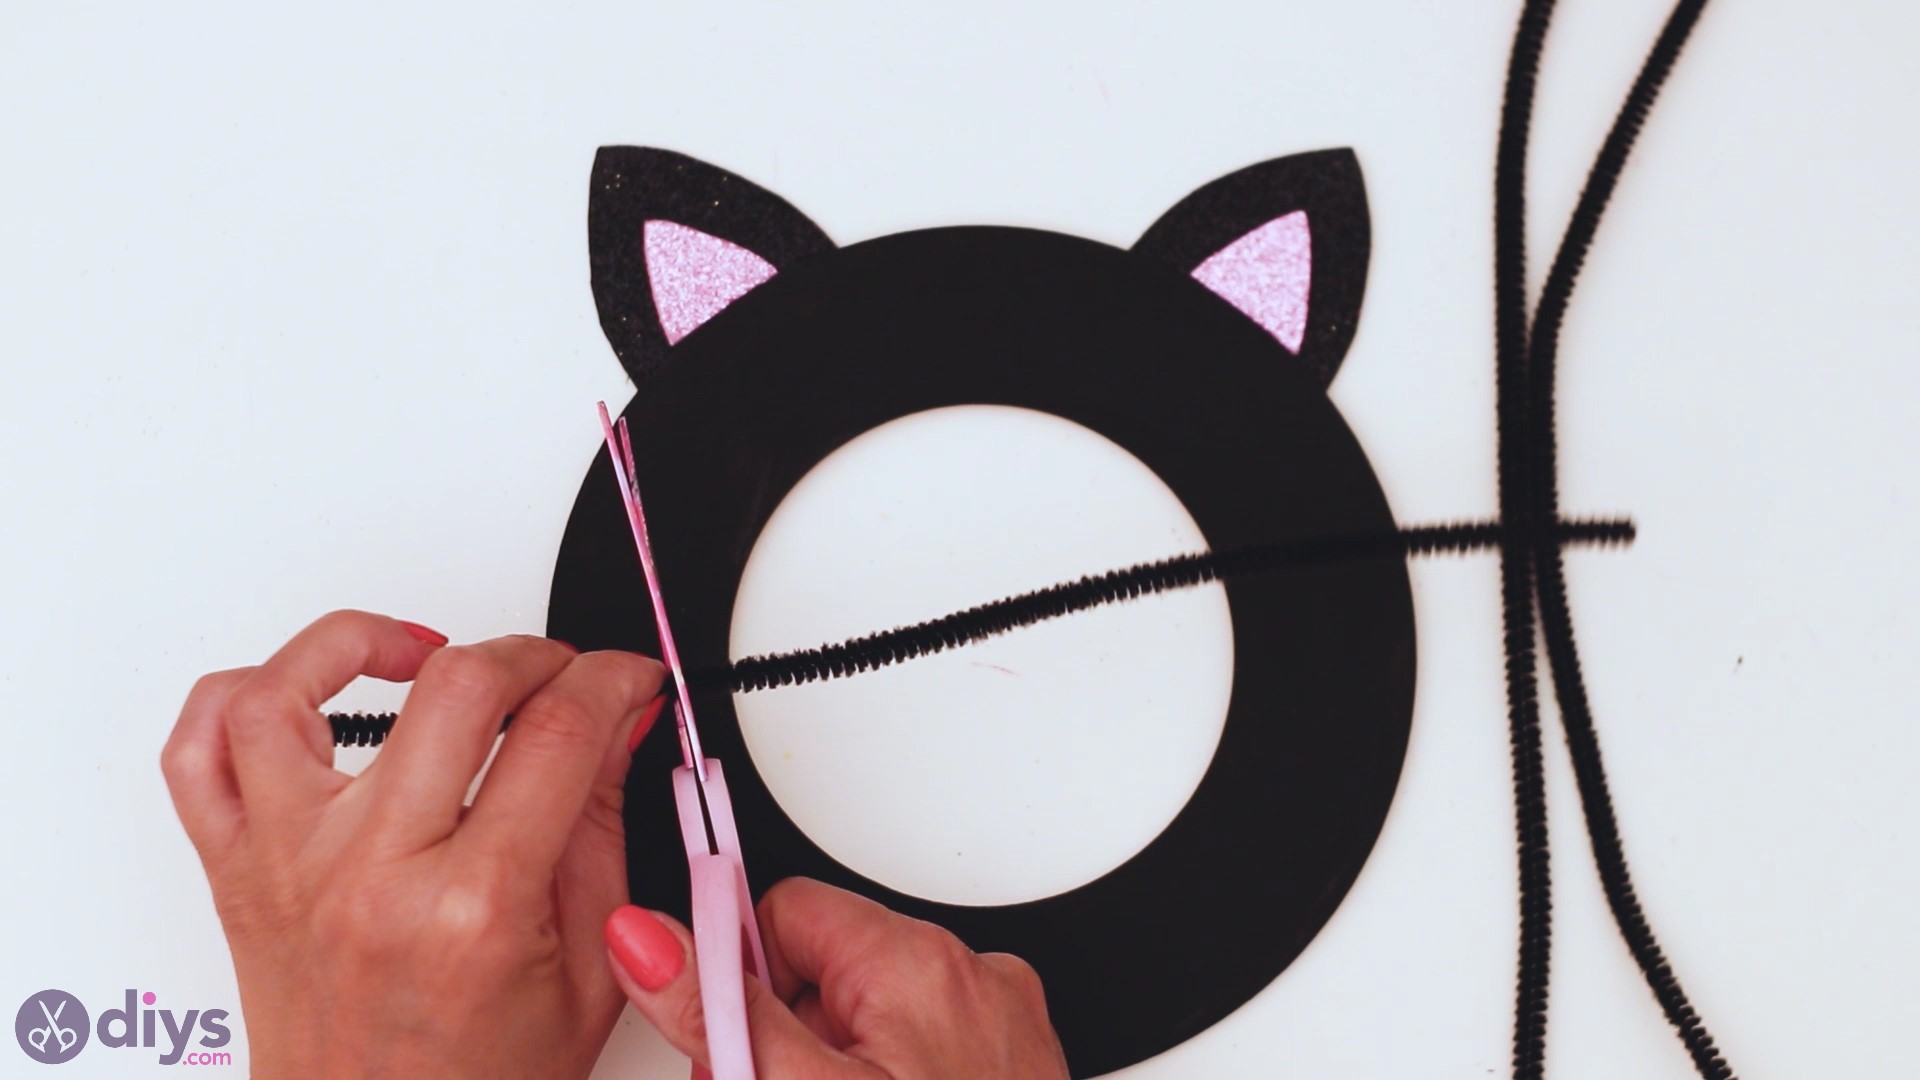
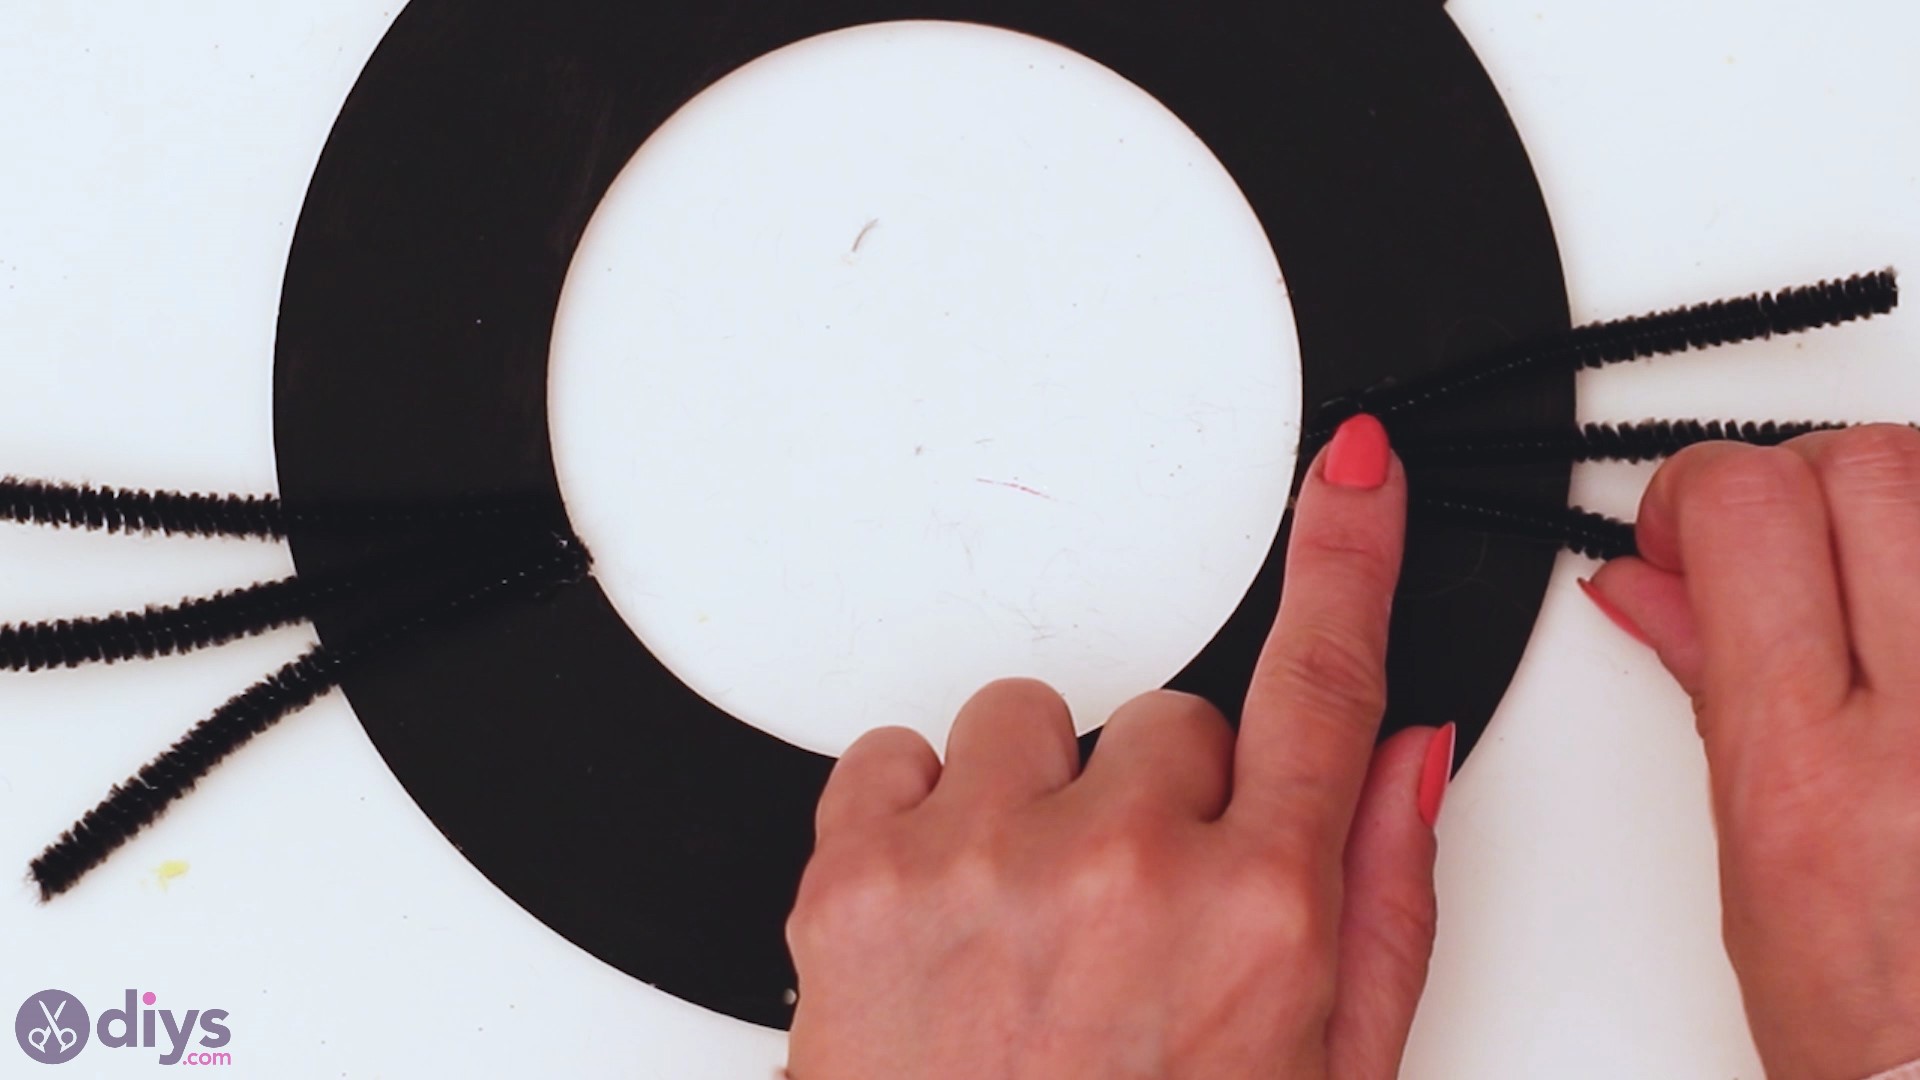
Brand sure they're notwithstanding size so your kitty looks prissy.
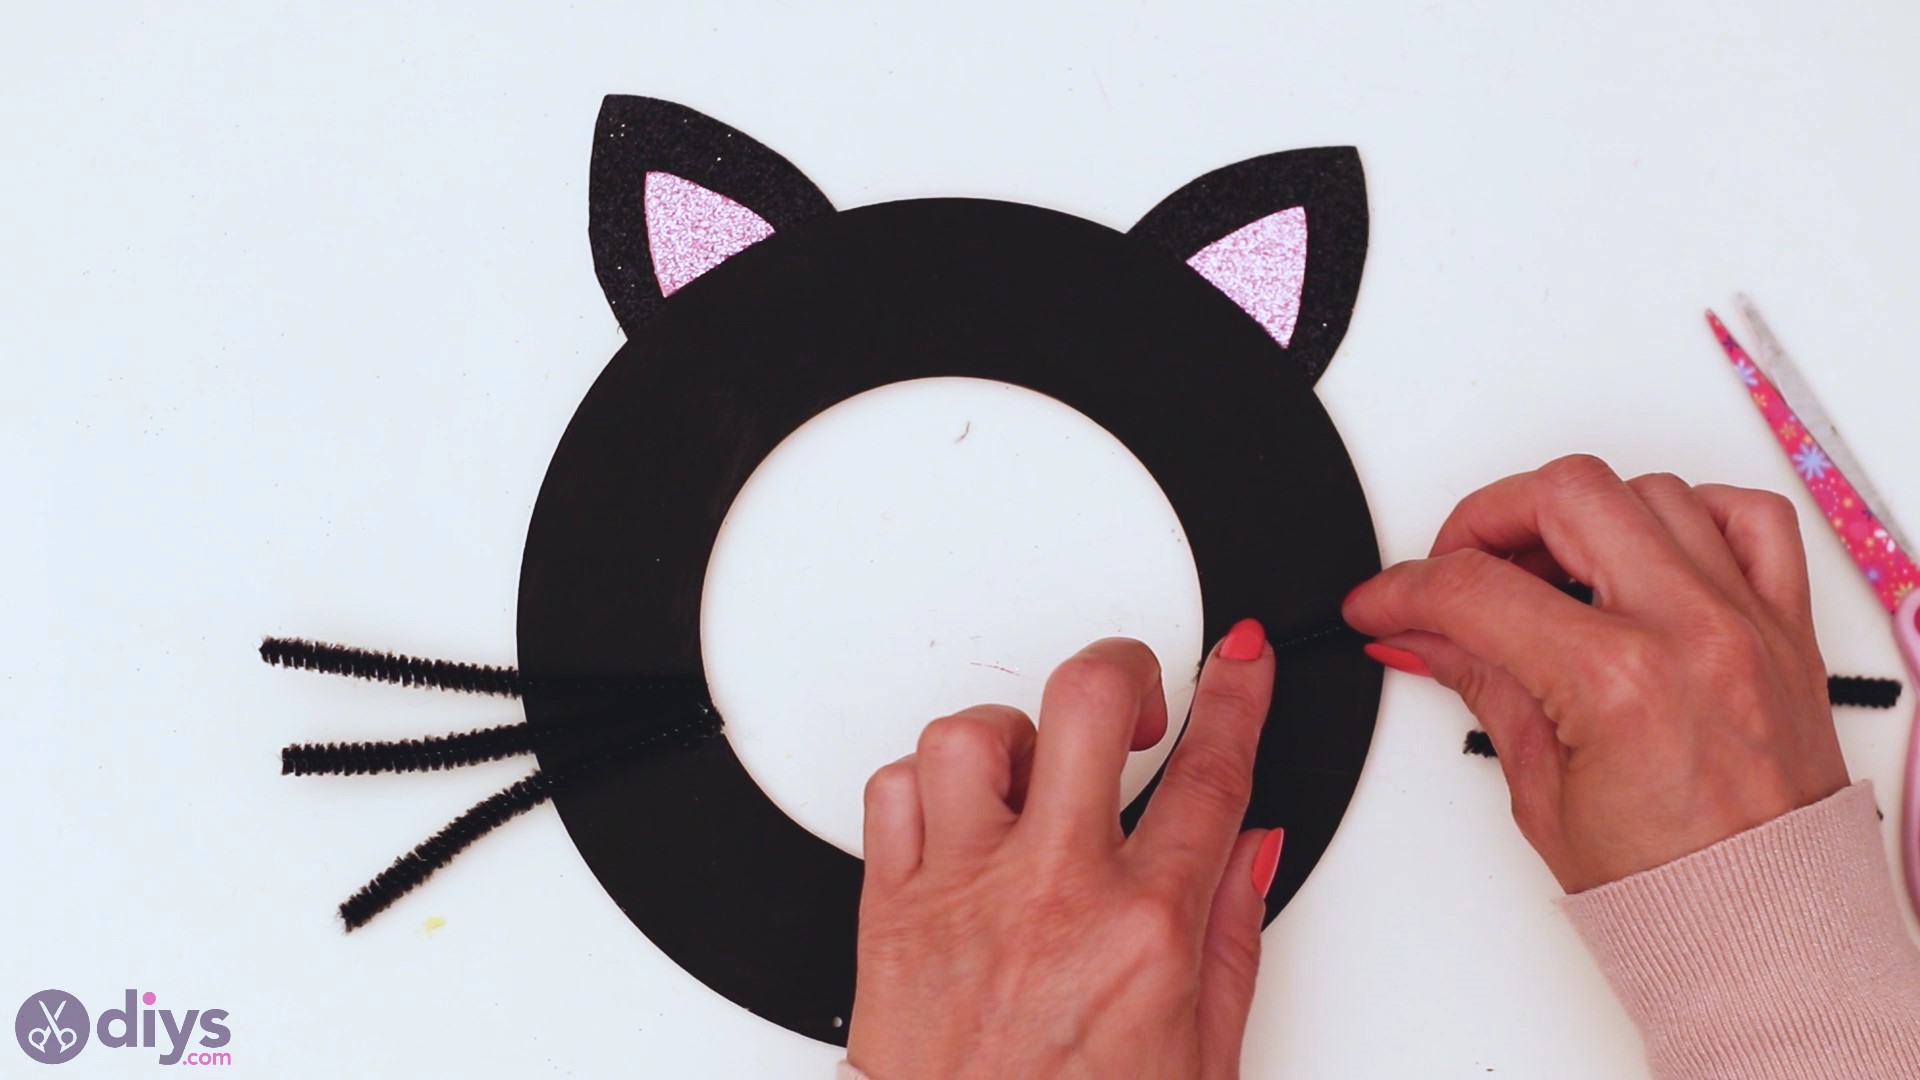
Then, you lot desire to conform 3 whiskers on i side and iii on the other.
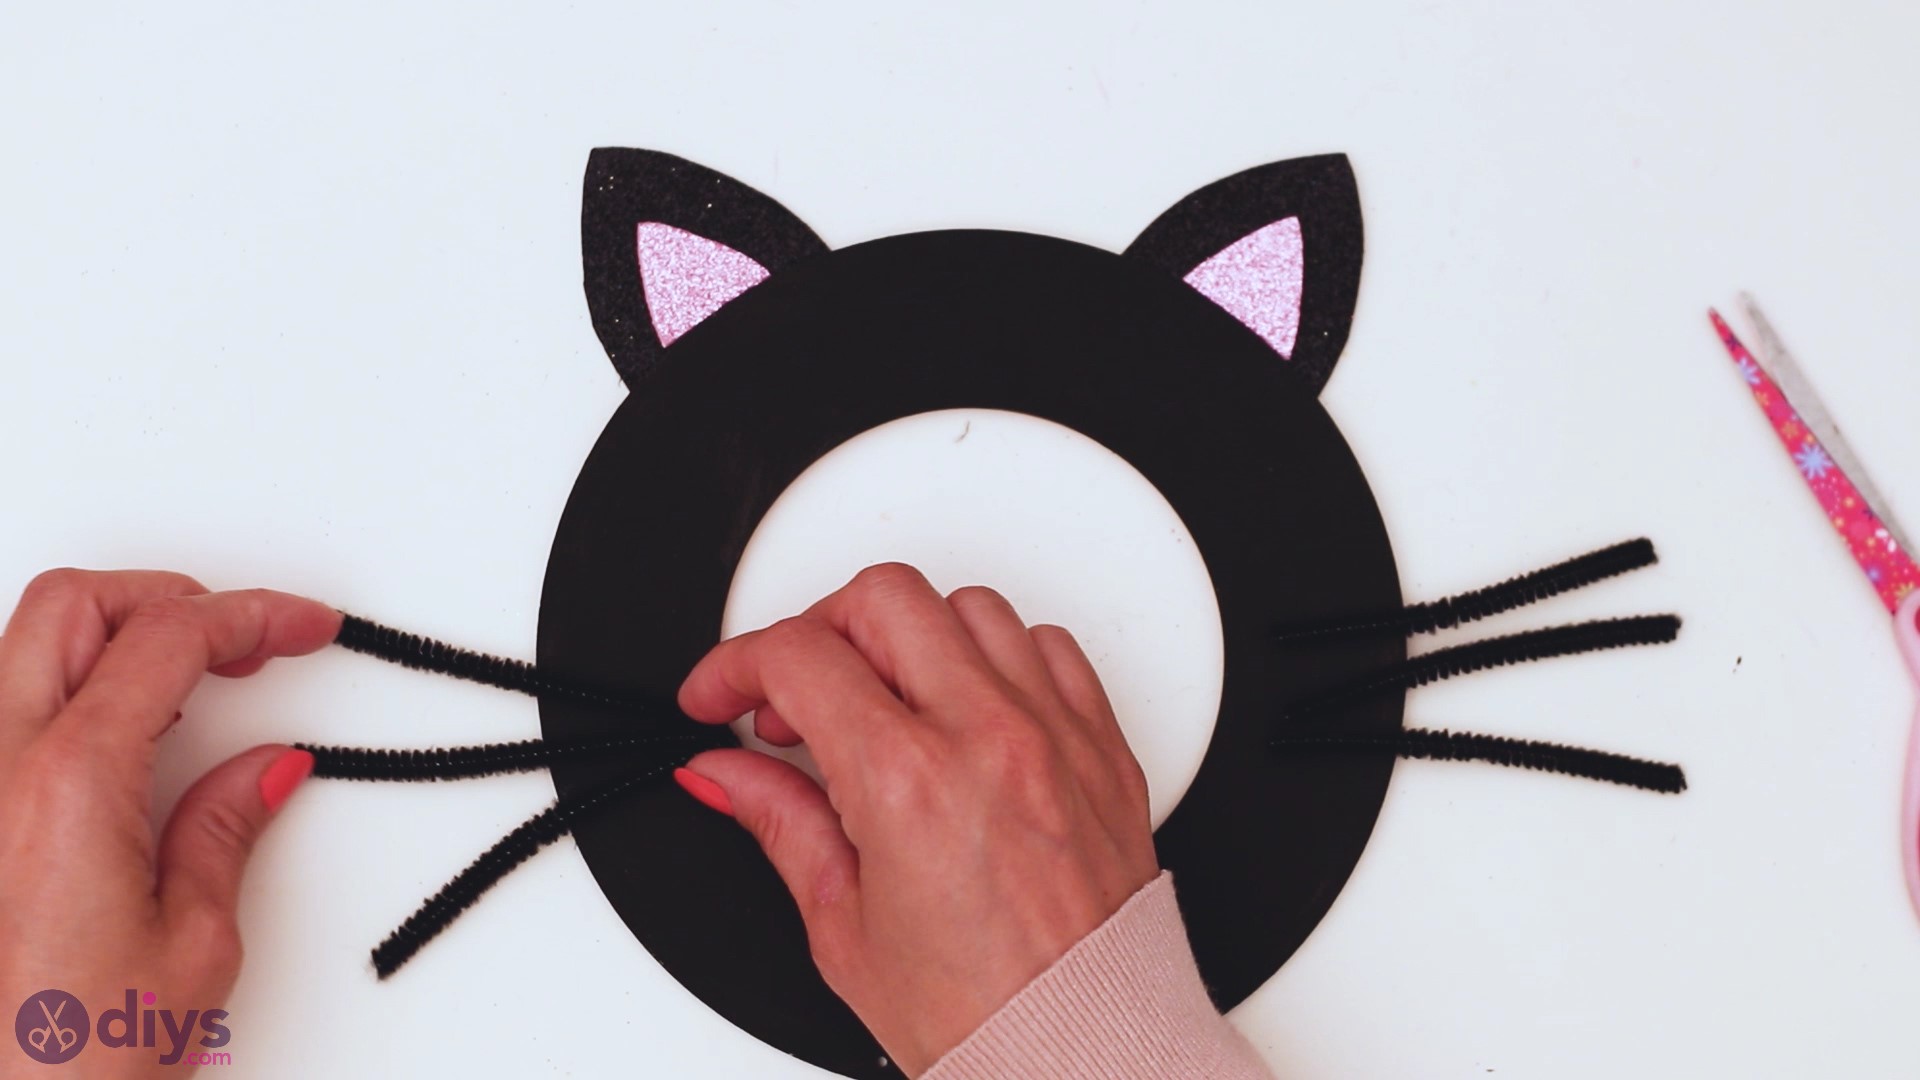
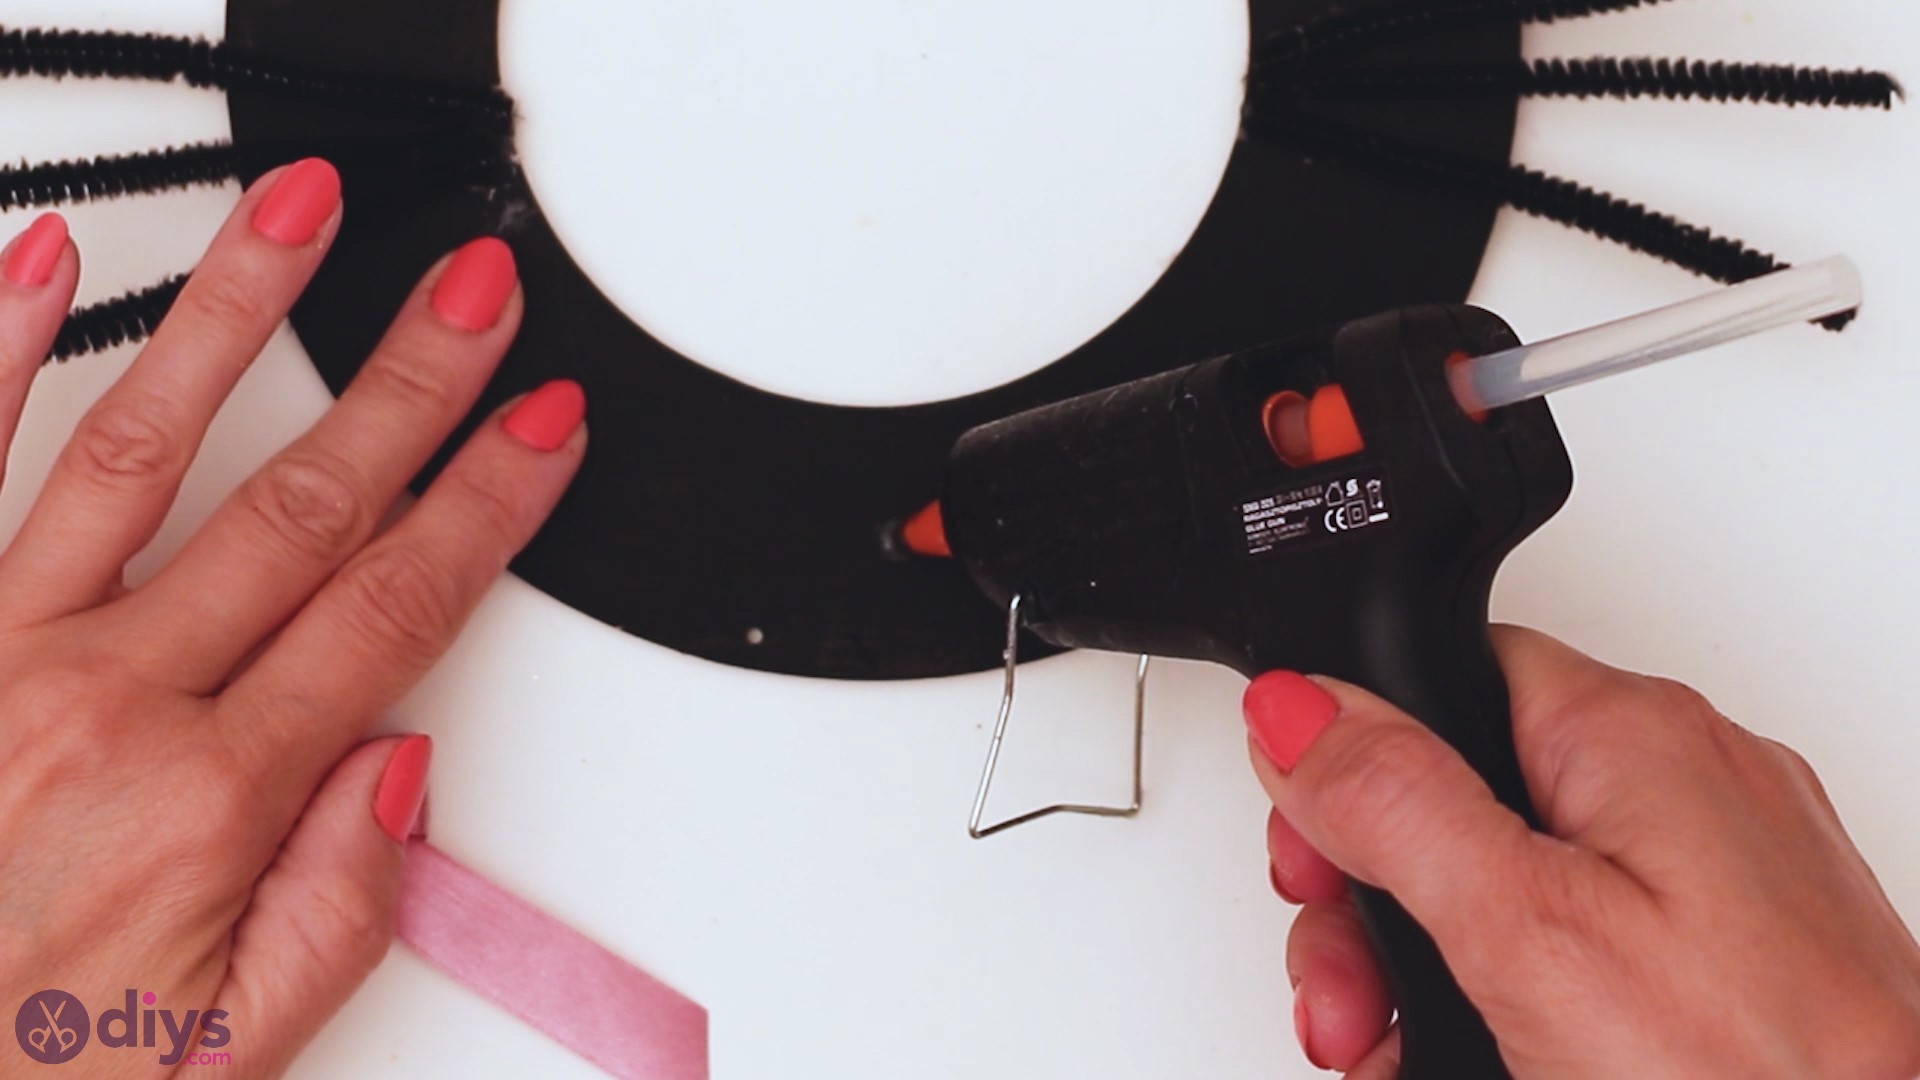
Grab the glue gun and place some hot glue to the very end of each of the whiskers.

Brand sure you printing the pipe cleaner into the wood lath. It will take a few seconds for the hot glue to solidify.
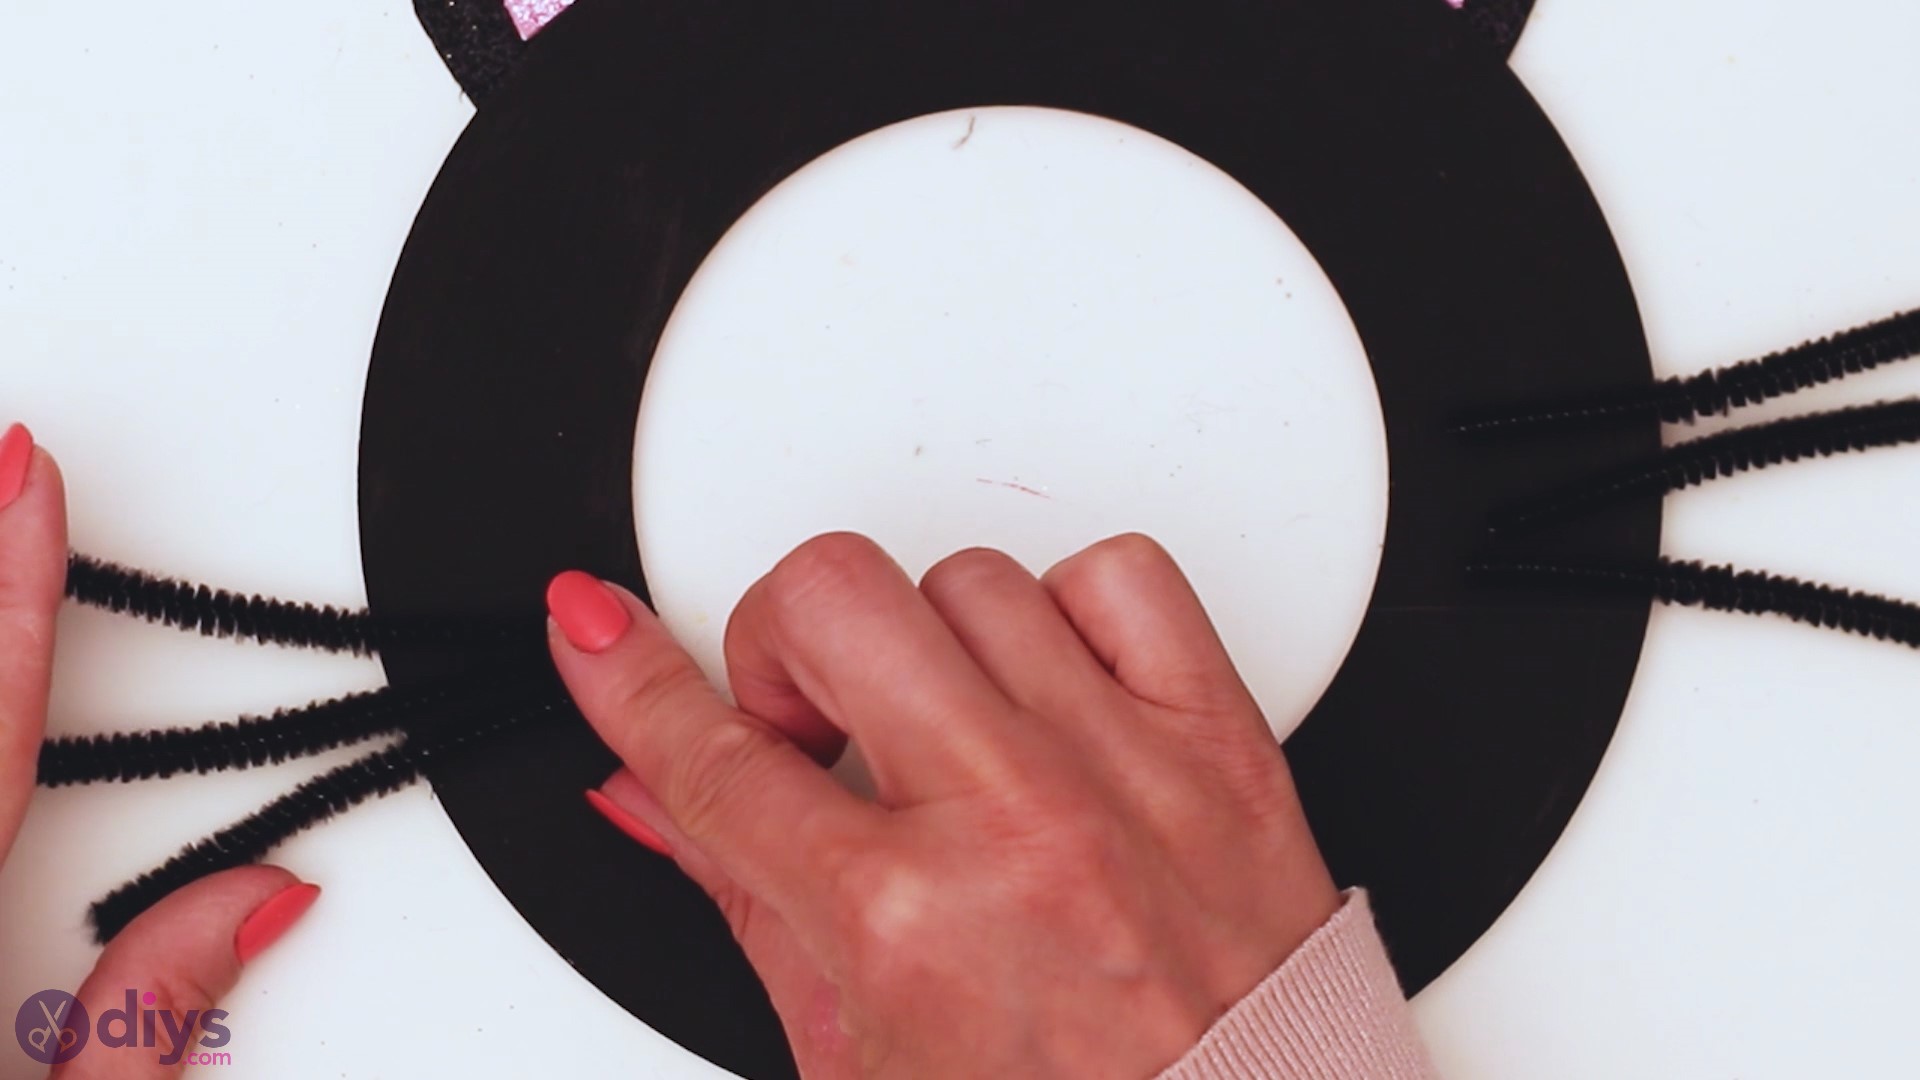
Repeat the process on the other side of the Halloween cat.
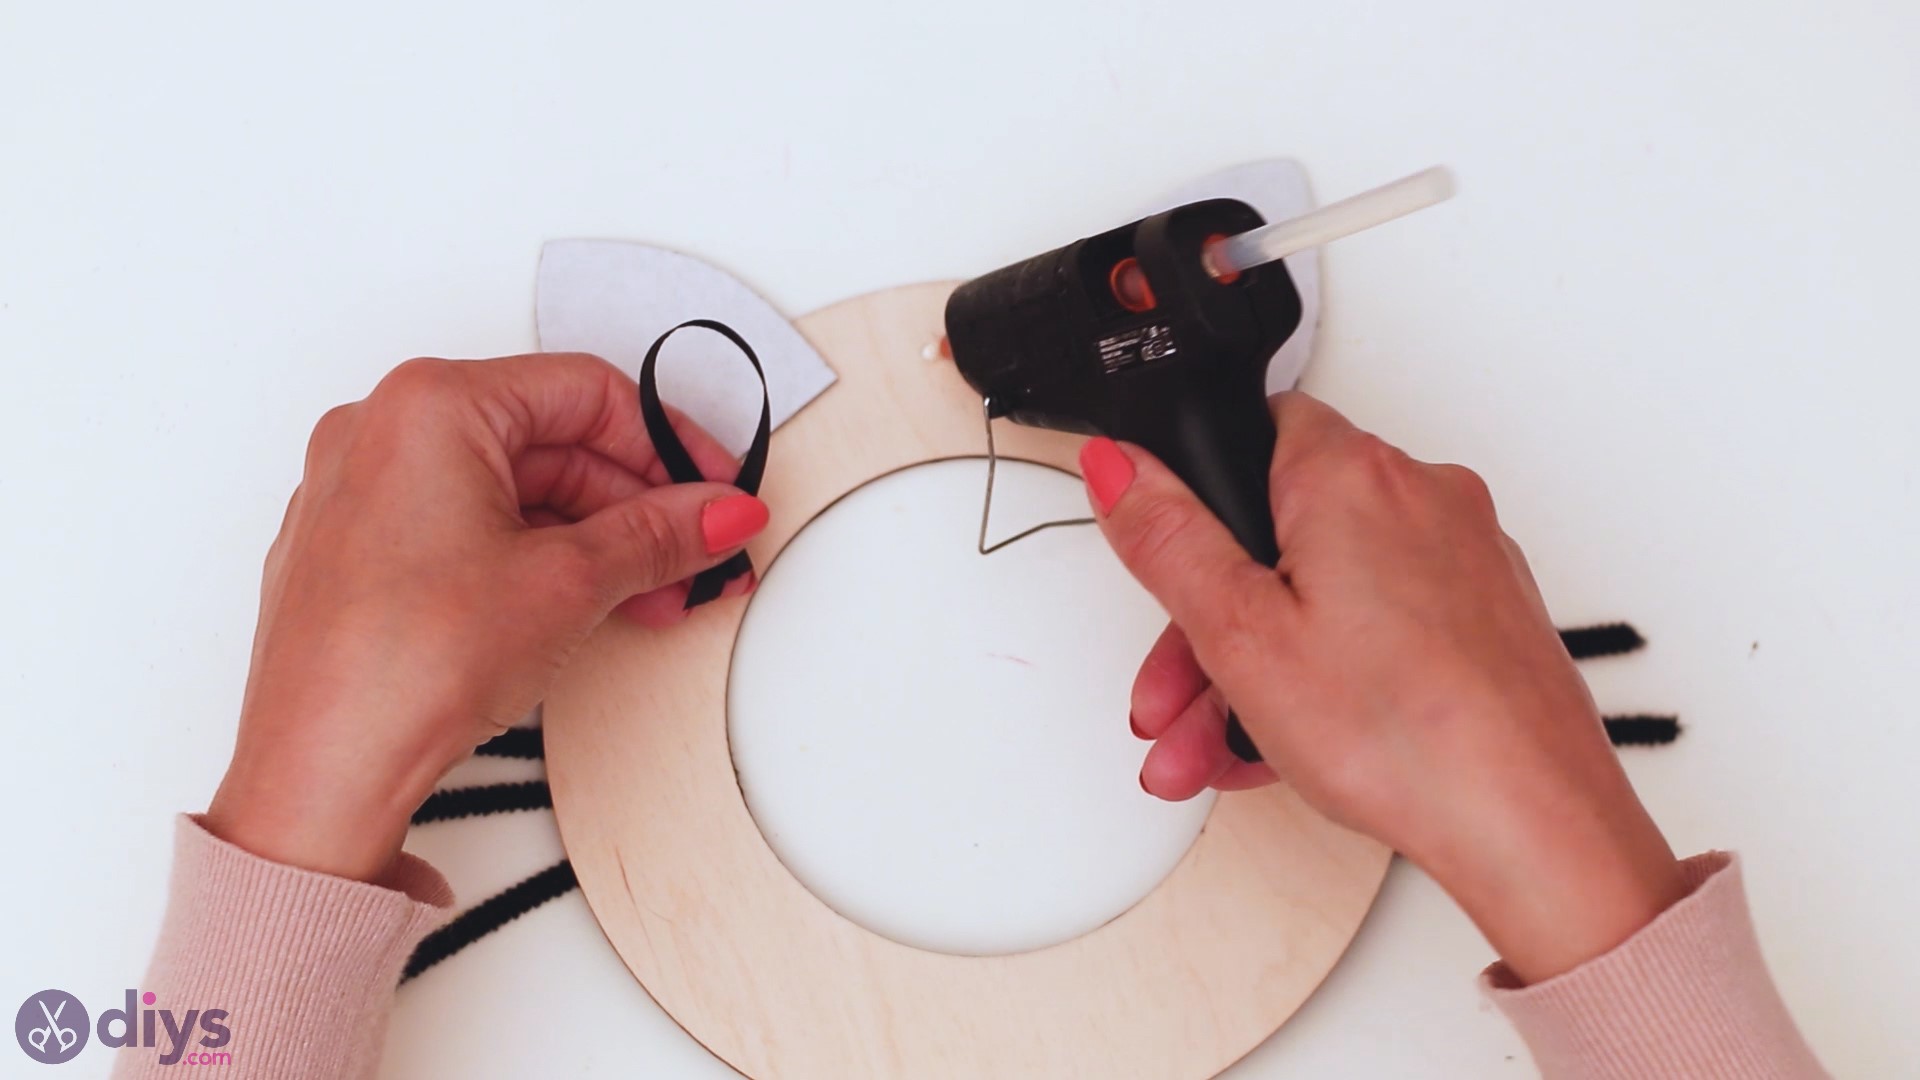
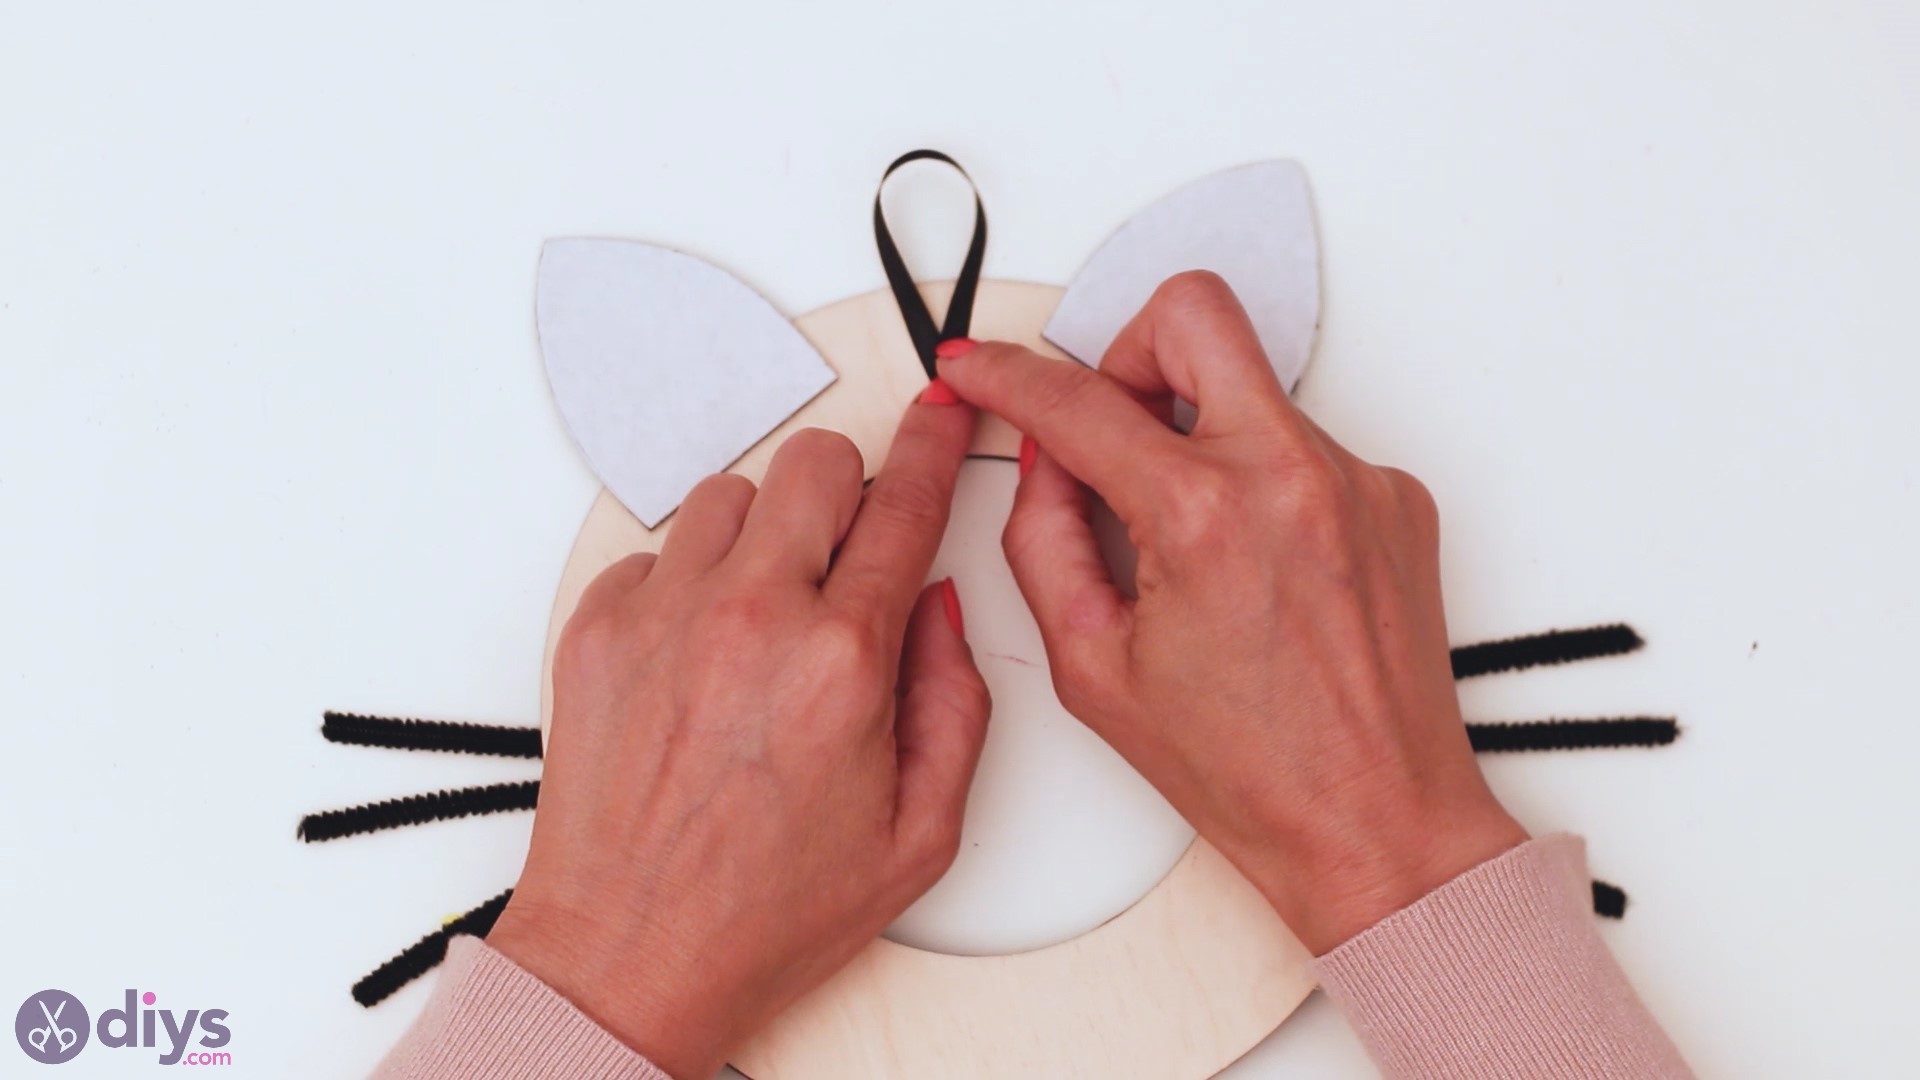
Stride 5: Add a Hanging Ribbon
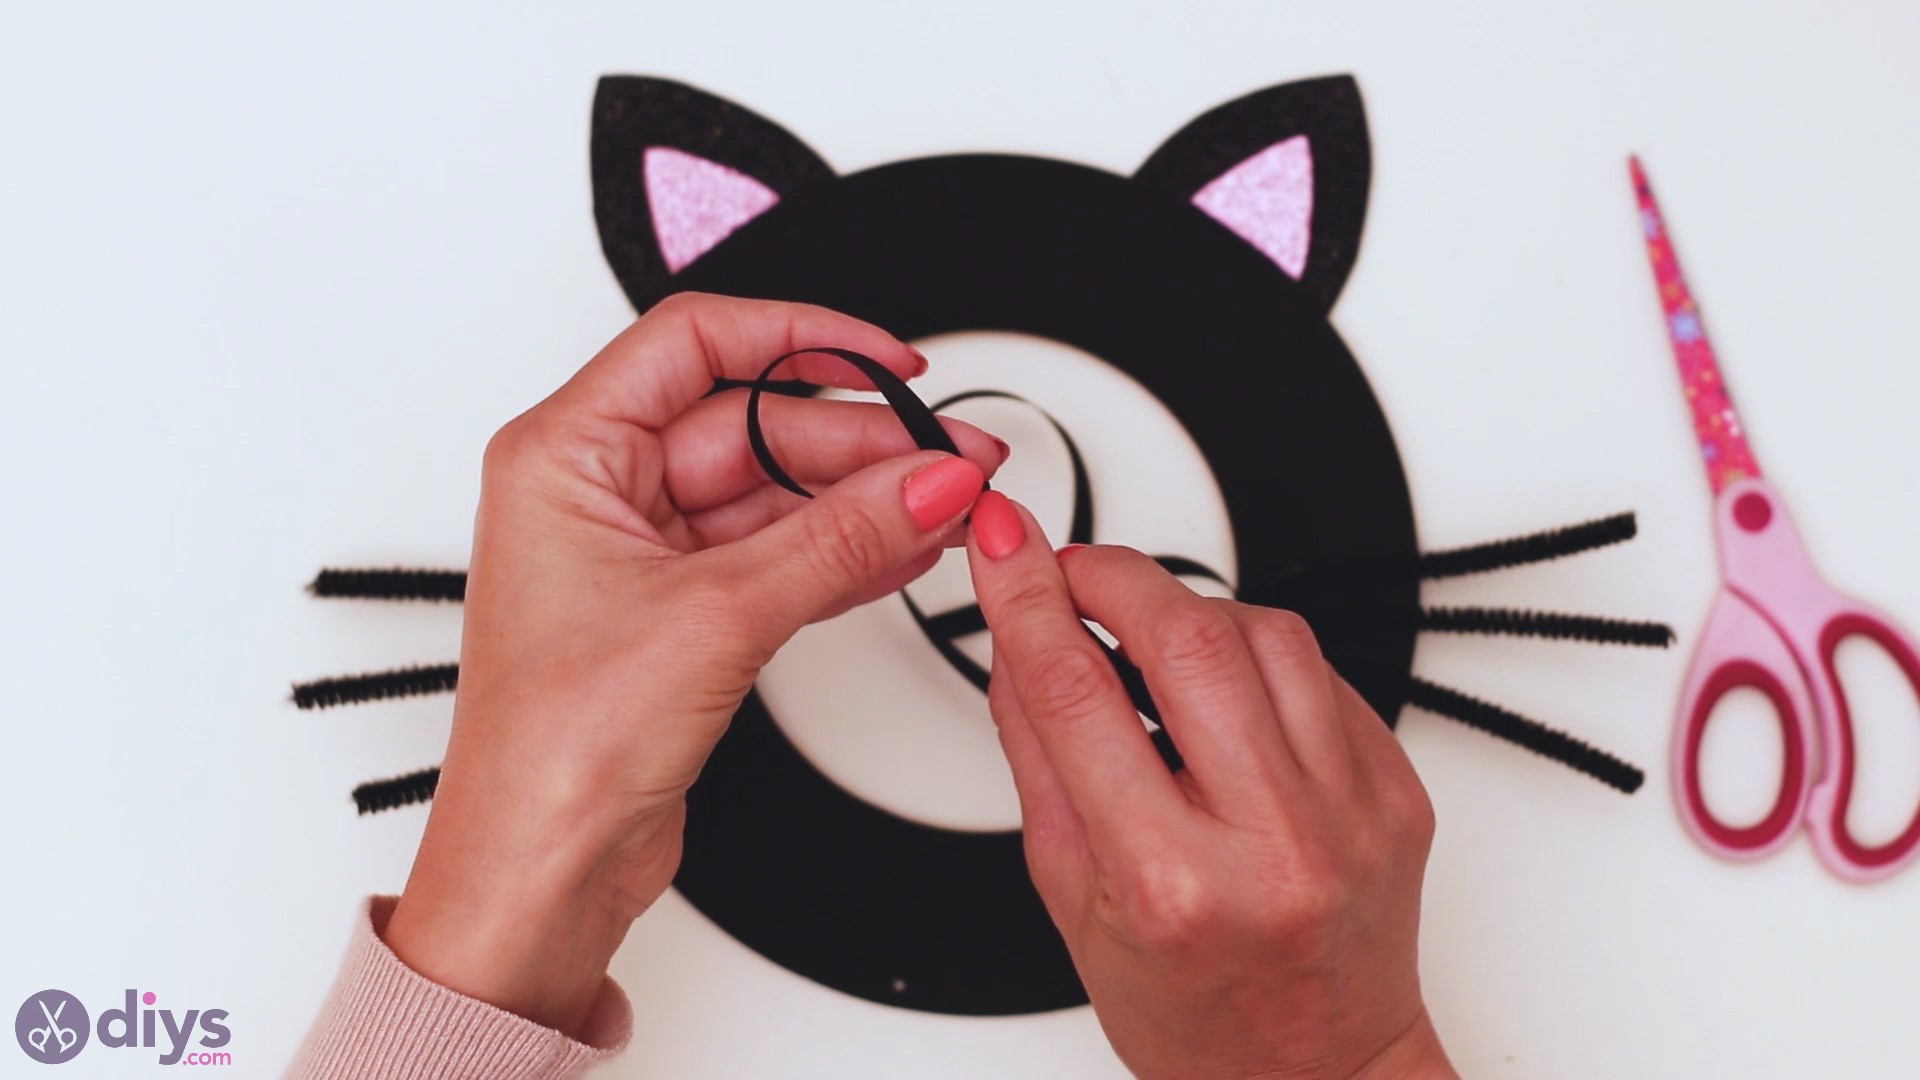
Up next, we're going to have to add a hanging ribbon to the dorsum of the wood frame. Nosotros went with the slim blackness ribbon and created a simple loop, making certain the 2 ends overlap. The length of the loop is all upwards to you and depends how low you lot want the decor slice to hang.
Once you've used your scissors to cut the length you want, you tin can add together a flake of hot glue on the dorsum of the wood frame and press the ribbon loop into that.
Make sure to keep the cloth pressed there for a few seconds and so the glue sets.
Stride 6: Let's Make a Ribbon
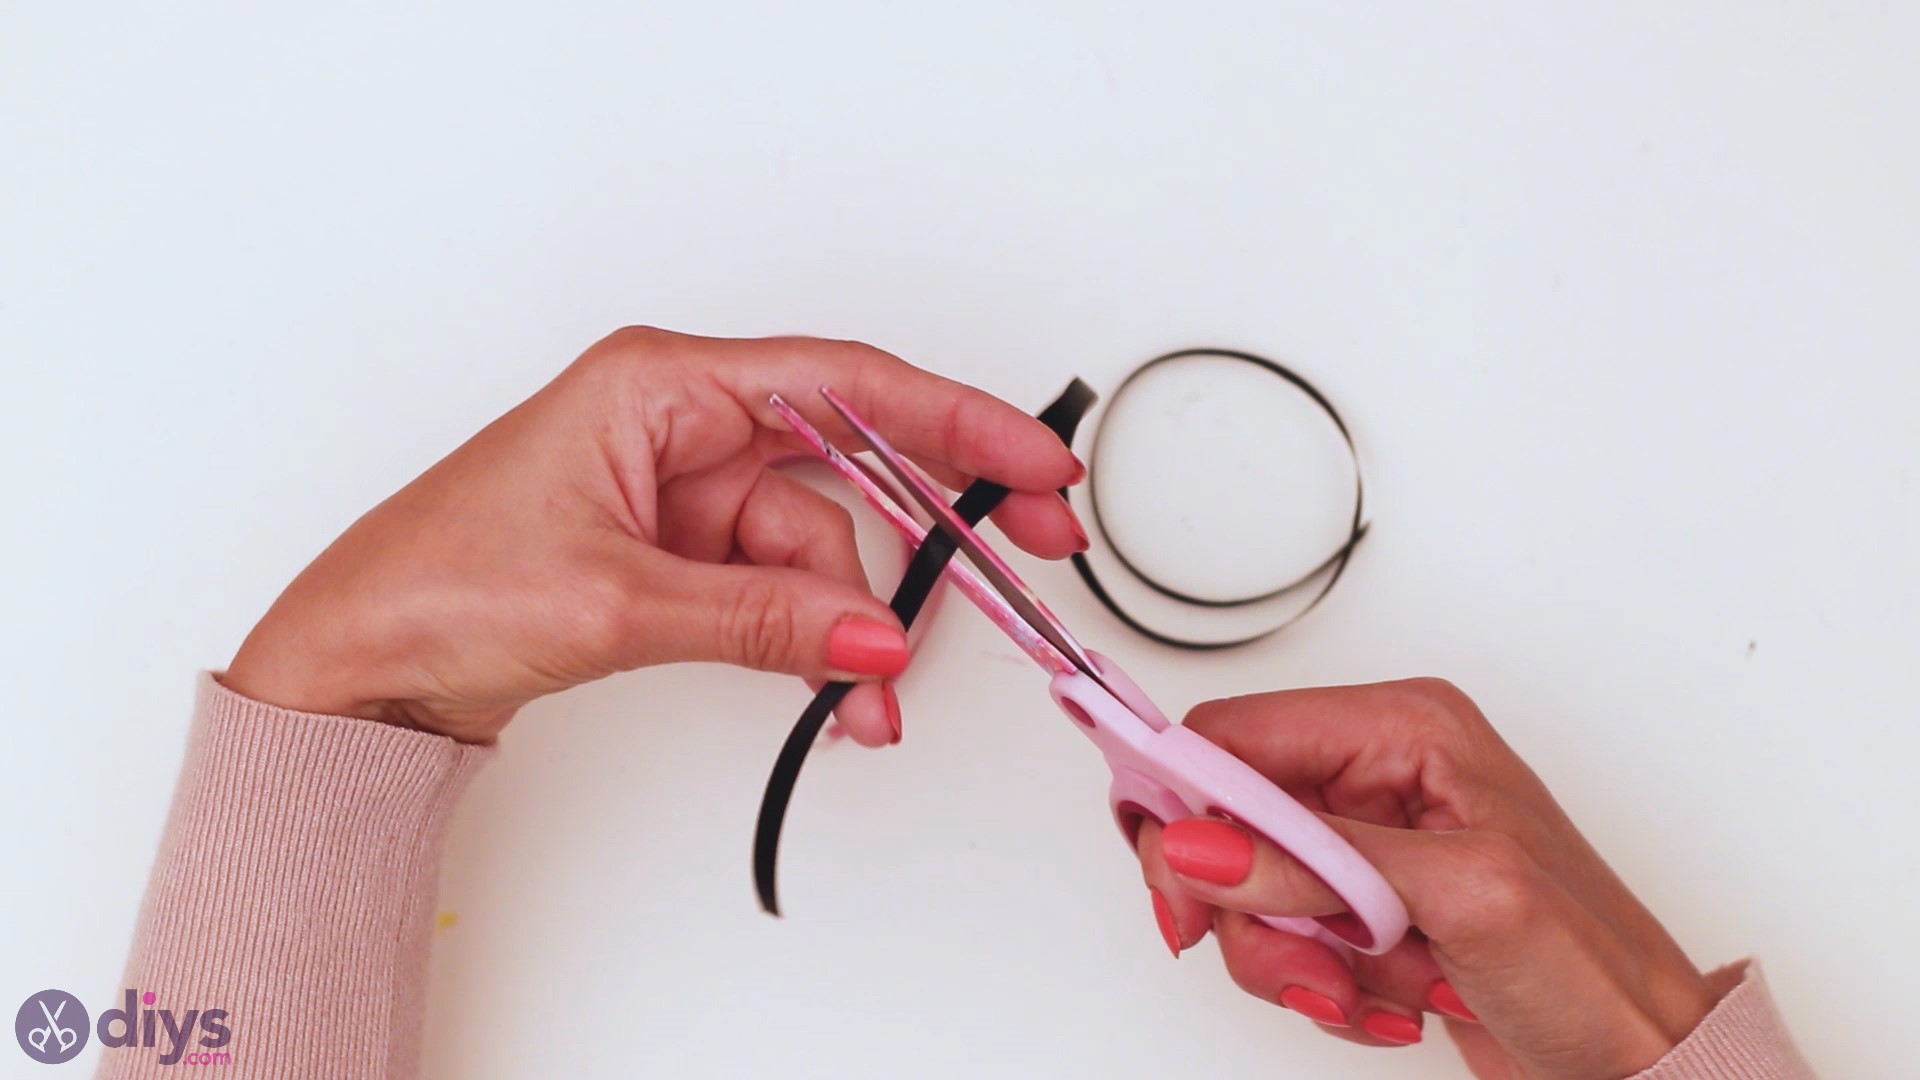
Next, we cutting some other small piece of the black ribbon. We're going to apply this to tie the bow, then information technology doesn't have to be also long.
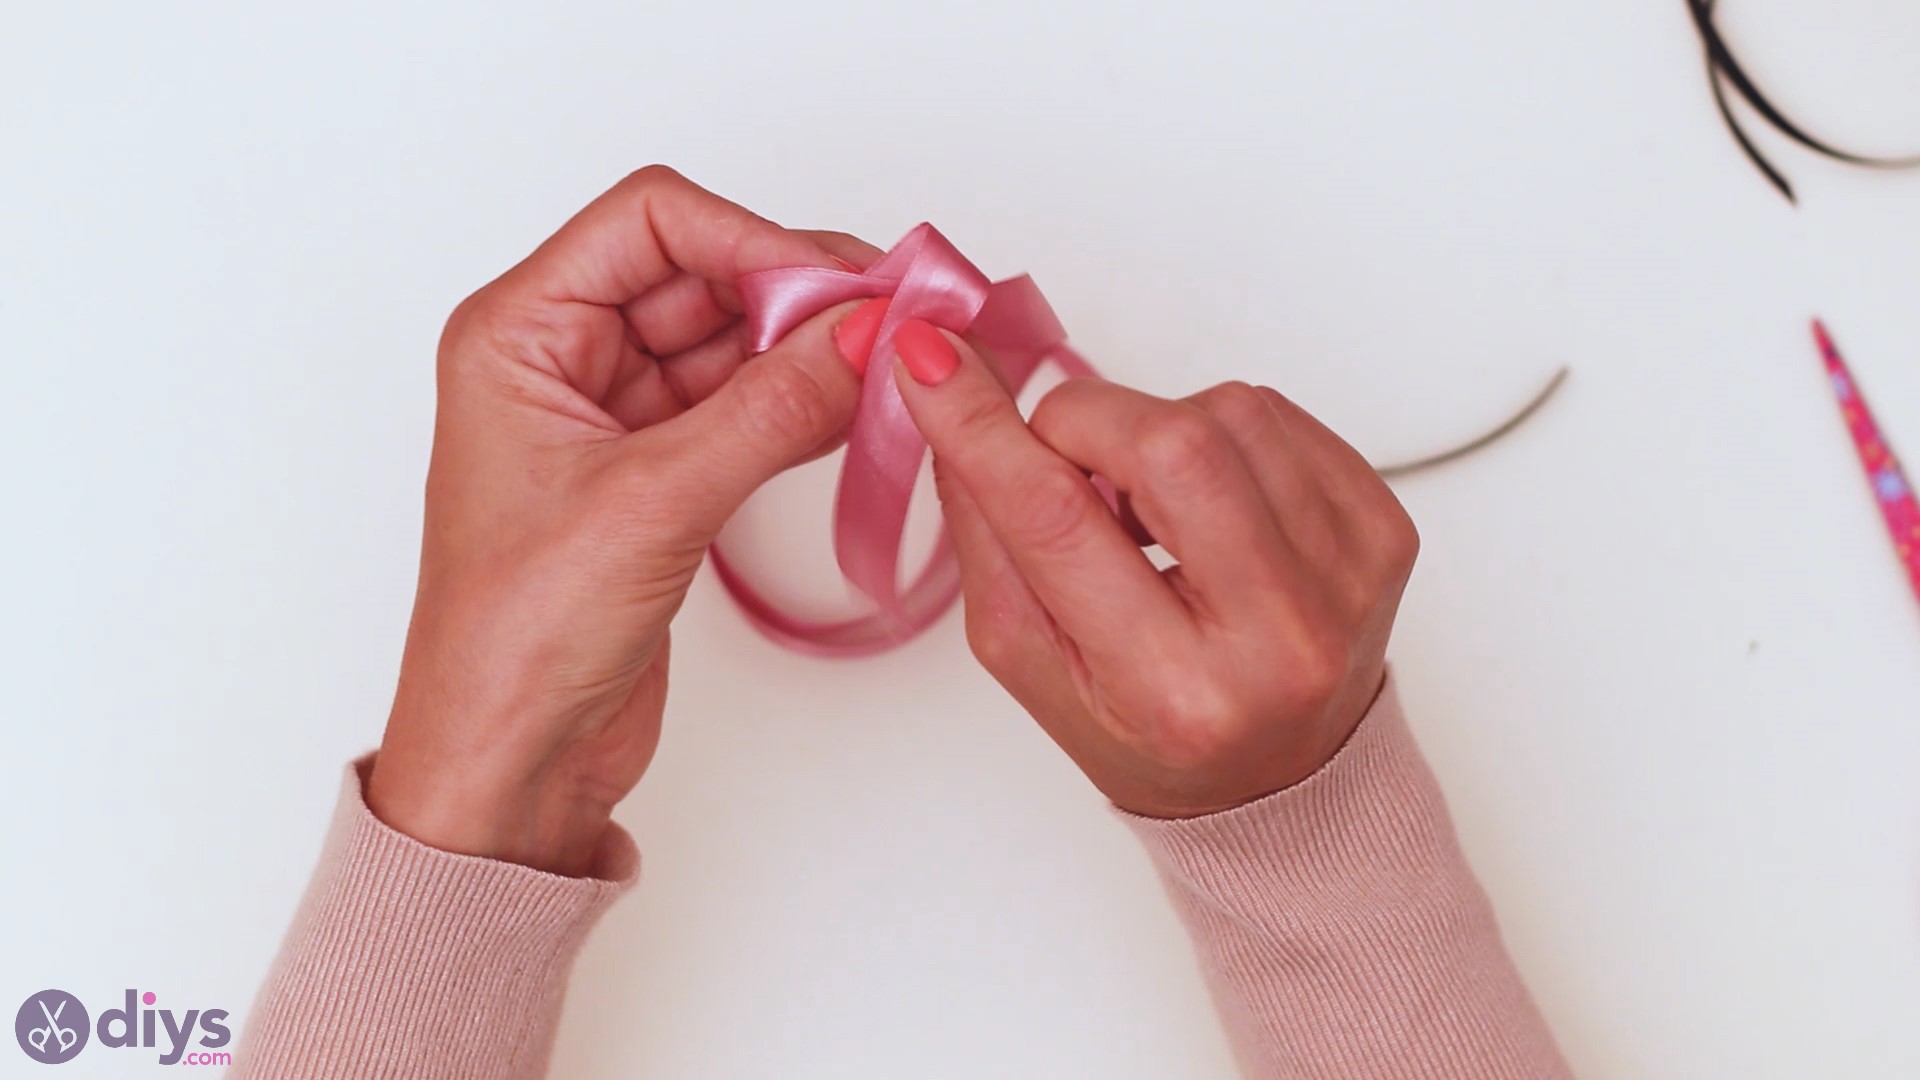
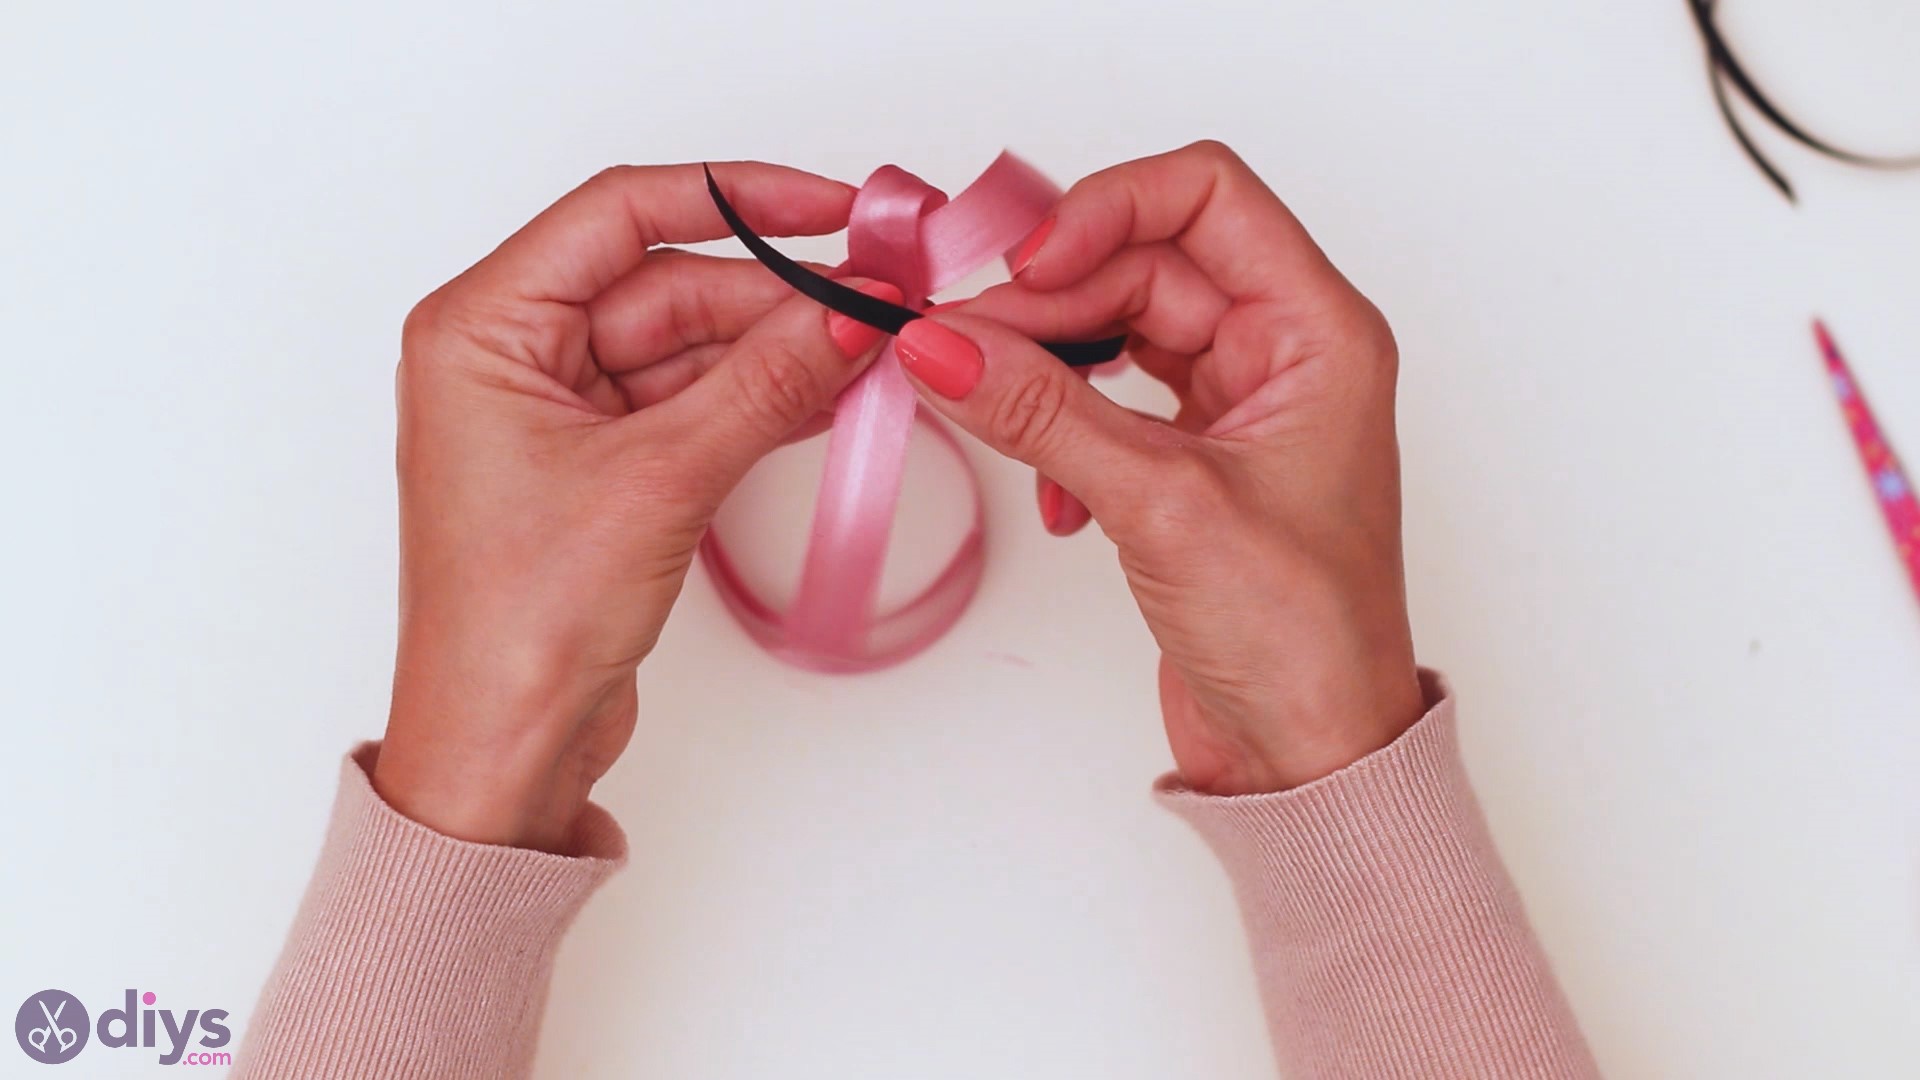
Next, selection up the pink ribbon and arrange it into the shape of a bow. Get the modest black piece of ribbon and tie a knot around the centre of the pinkish material.
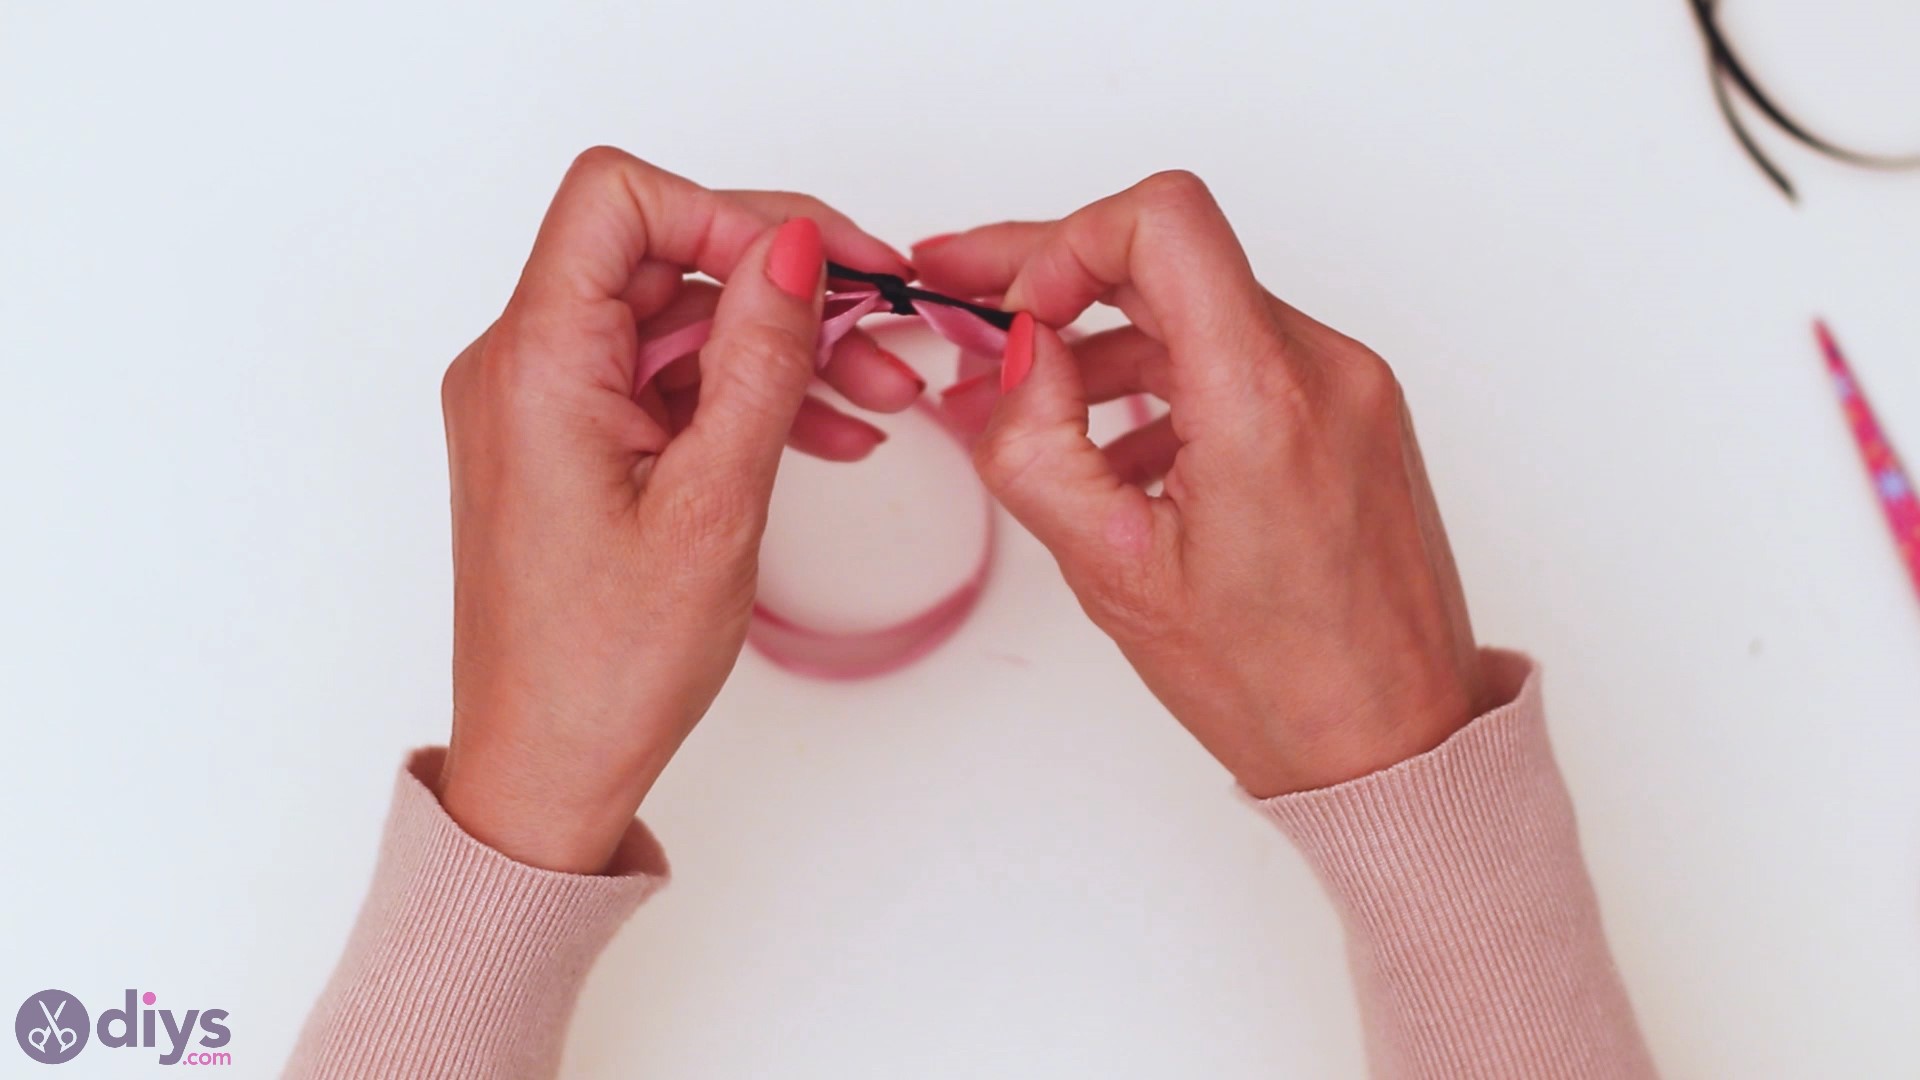
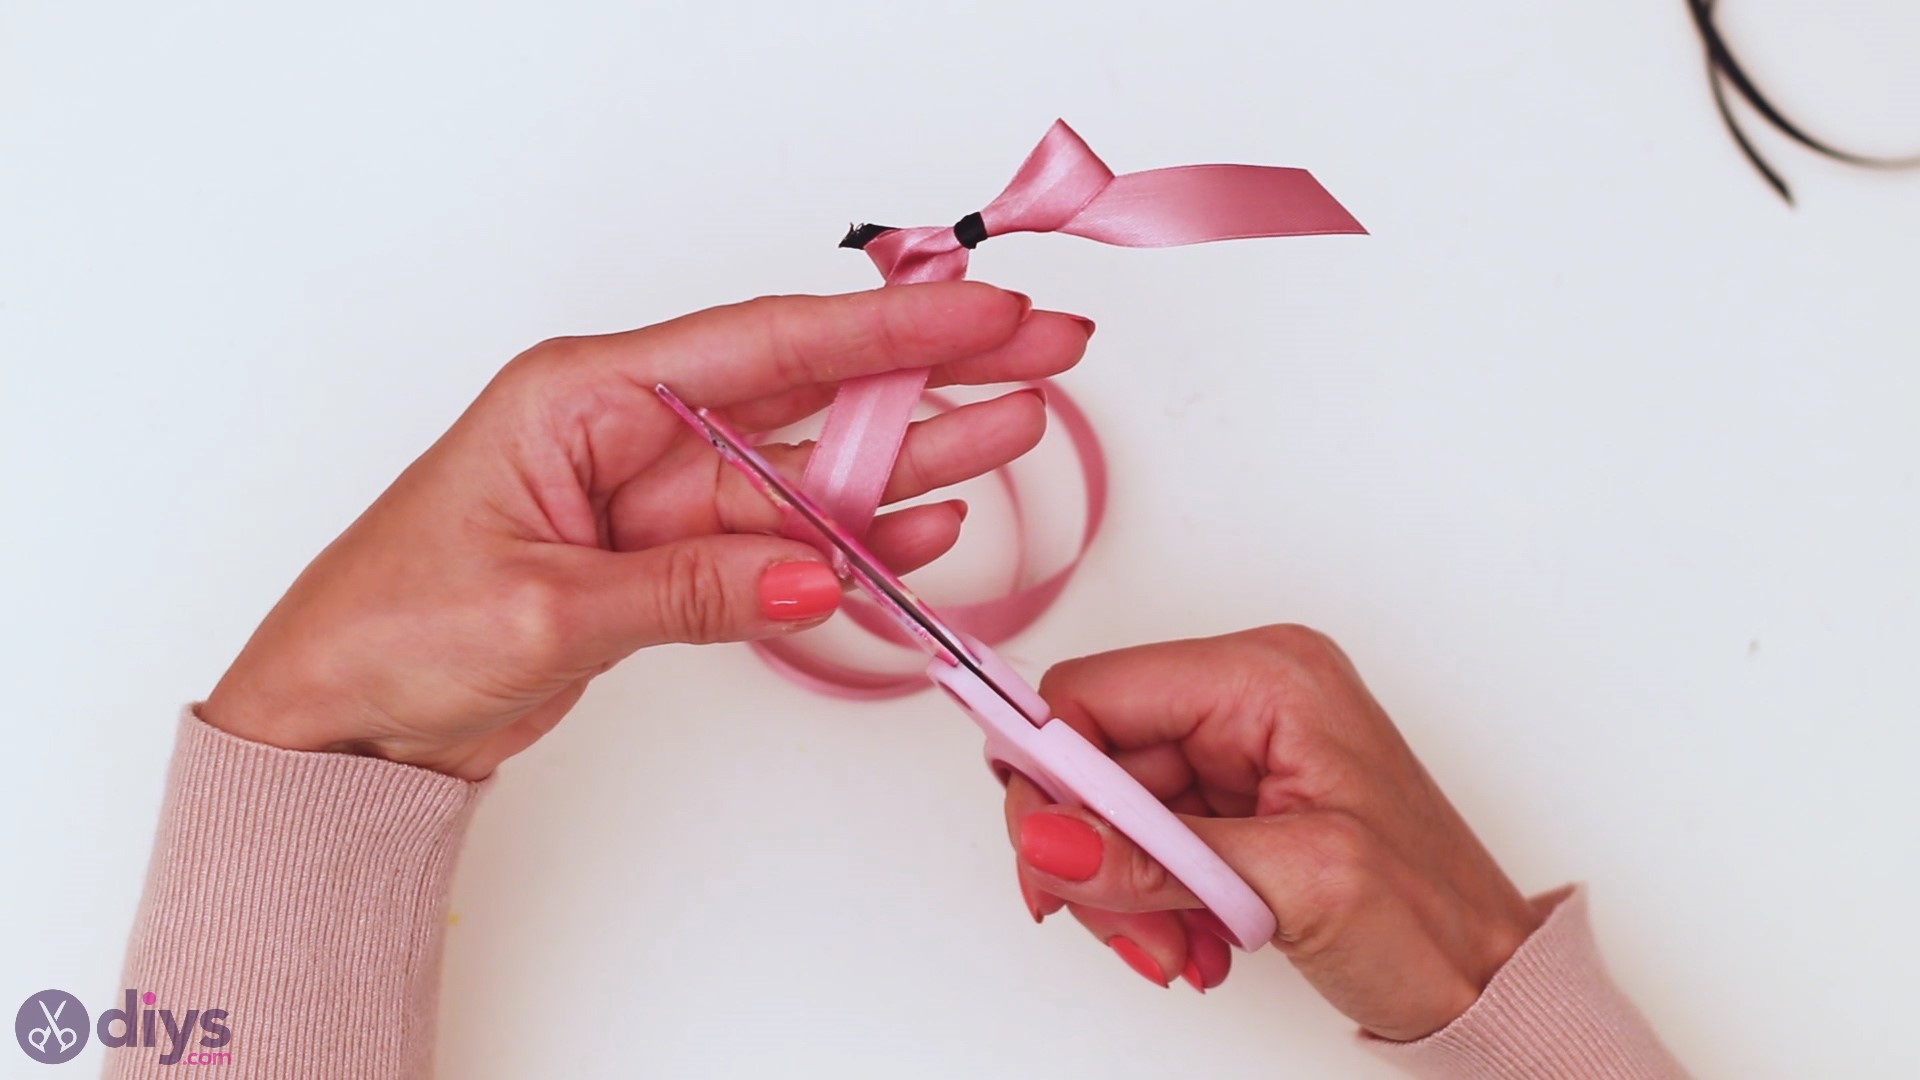
One time y'all've done your double knot, go the scissors and cut the pink ribbon tails at an angle. Then, trim the black ribbon also, so none of the tails testify.
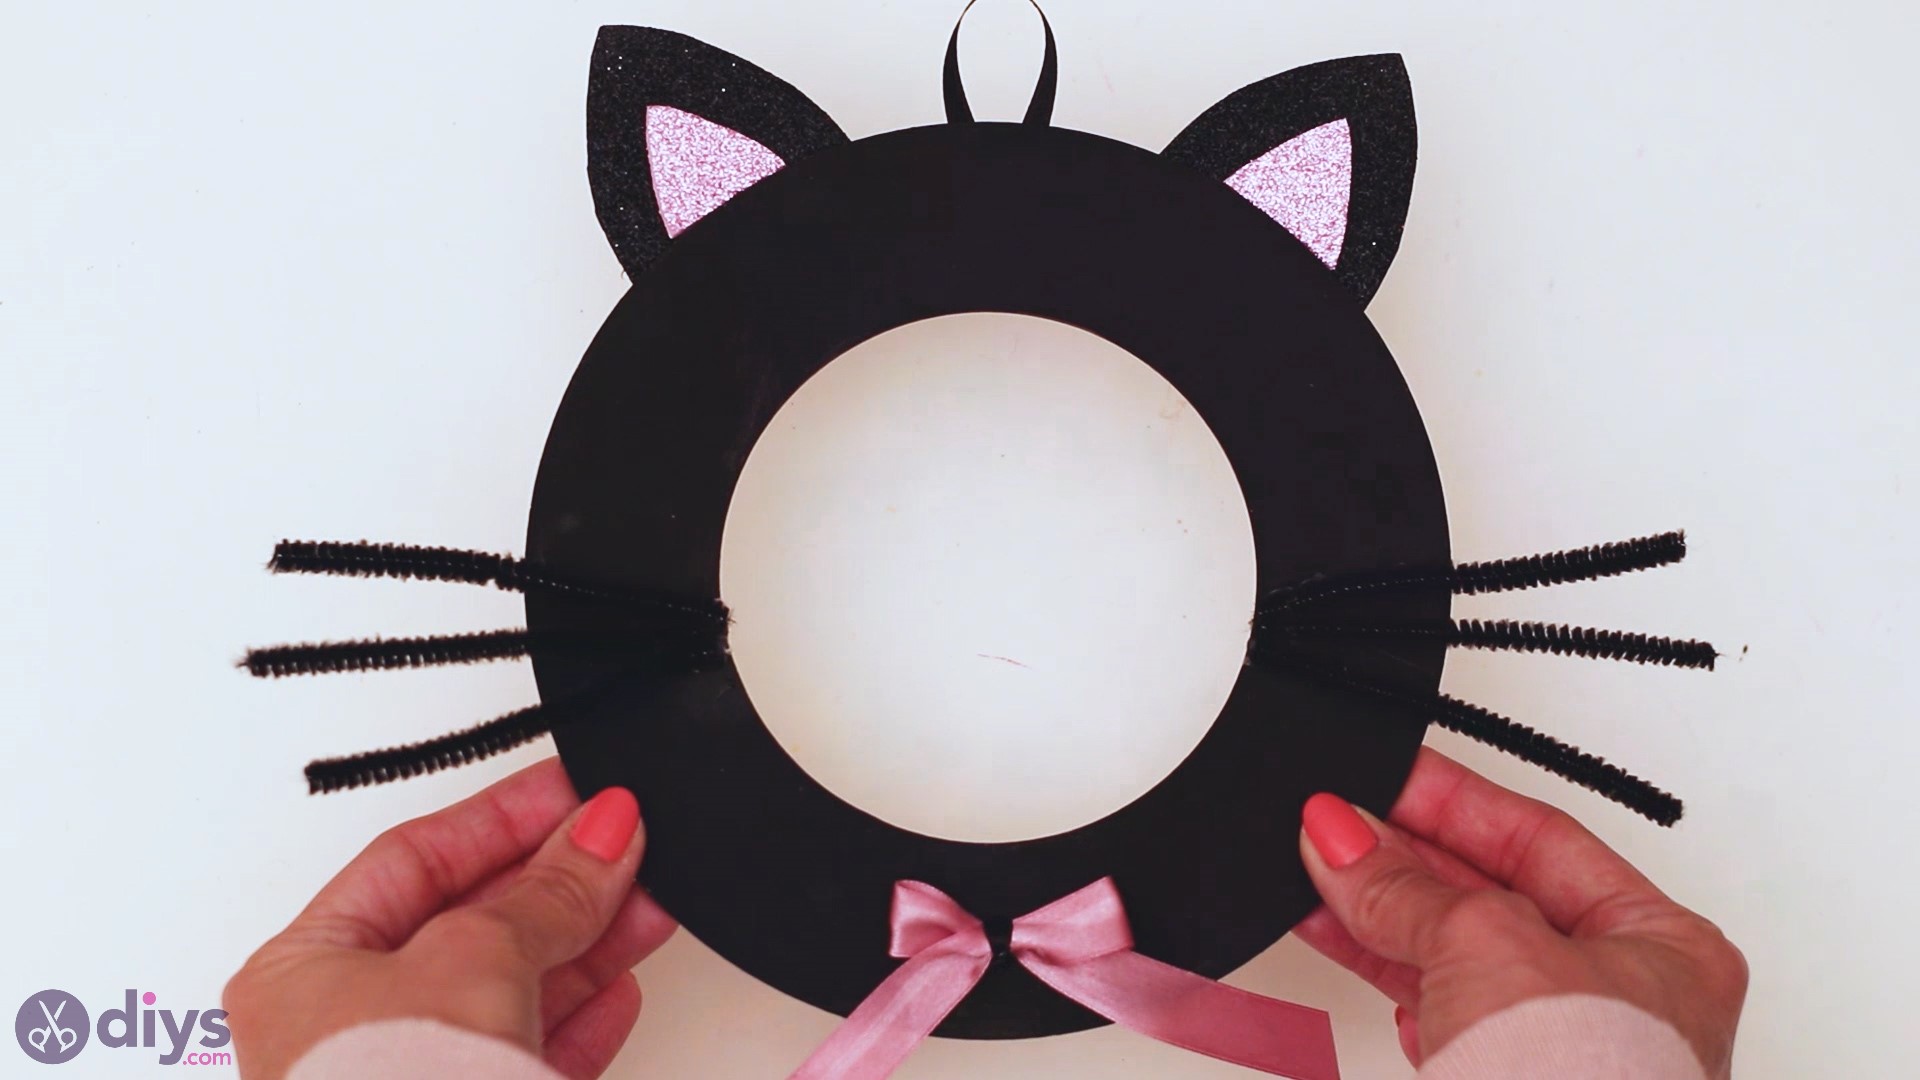
Plop some hot glue to the middle of the lesser area on the wood board and place the ribbon over information technology.
Again, make sure you lot press the ribbon for a few seconds, so the hot glue settles.

And you're done! This Halloween decorpiece is super cute and nosotros promise you enjoy it just the same!

Source: https://www.diys.com/diy-halloween-cat/
0 Response to "DIY Halloween Cat - Make Your Own Halloween Black Cat Wall Decor"
Post a Comment